


*This post was sponsored by Cricut and contains affiliate links. All thoughts are my own.
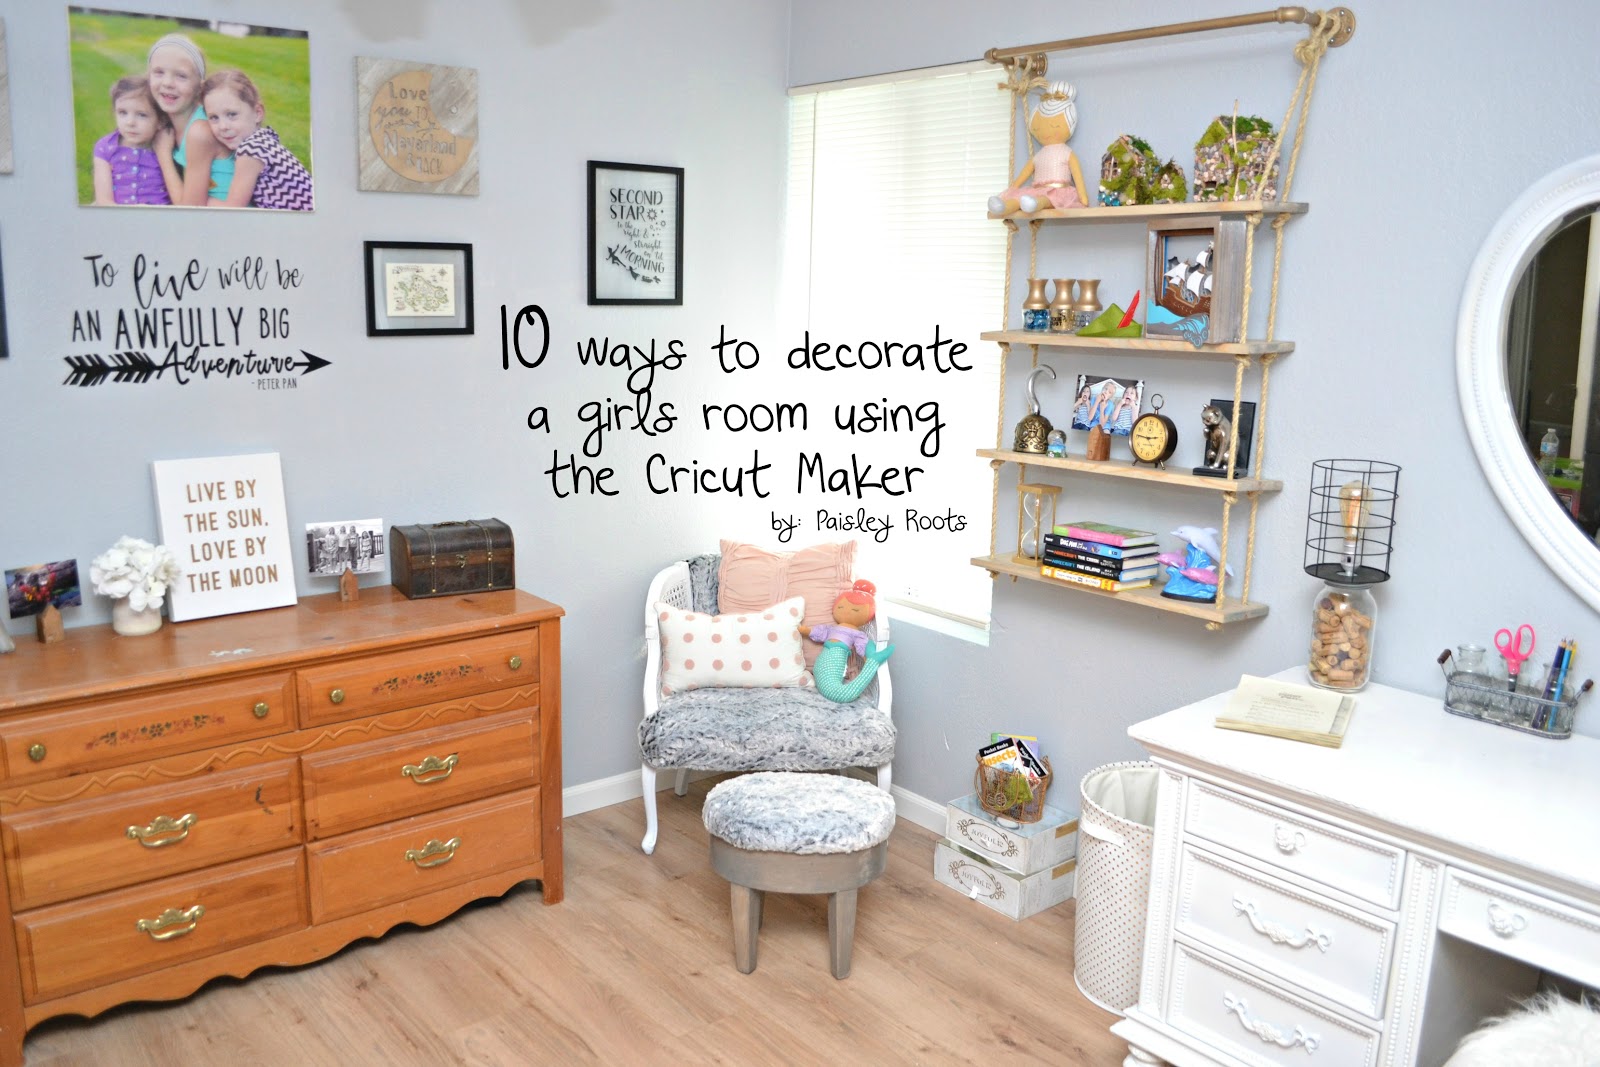
One of the items on my "to-do" list is to make sure that I would really decorate my kids rooms in the new house. We've kind of lived like college students with a mish-mash of things and nothing that is really decorated. That had to change and I've been so excited with how many projects I've been able to make using the Cricut Maker!
The inspiration for this room is Riley Blake Designs Neverland line. The colors are just gorgeous and Peter Pan is such an amazing theme for a kids room! I know most are for boys, but there is so much in Peter Pan that is for girls.
Not just Fairies and Mermaids, but the Indians and Pirates totally appeal to my girls as well!
They may just be an Indian and Pirate IN a Peter Pan play and have completely fallen in love with Neverland, so I think it was the perfect choice for them!
All but two of the decorations I made are using Fonts and Images you can find in Design Space. All I made using the Cricut Maker*!
Let's get started!
Let's get started!

1. Clever Girls
This is one of my favorite quotes for my girls and had to go in their room!
To make it you will need a 12" by 12" frame (I chose a wood one), a 10" by 9" piece of Cricut Premium Vinyl in Midnight*, and some Cricut Transfer Tape*.
Check out the video on how to make this sign!
Check out the video on how to make this sign!
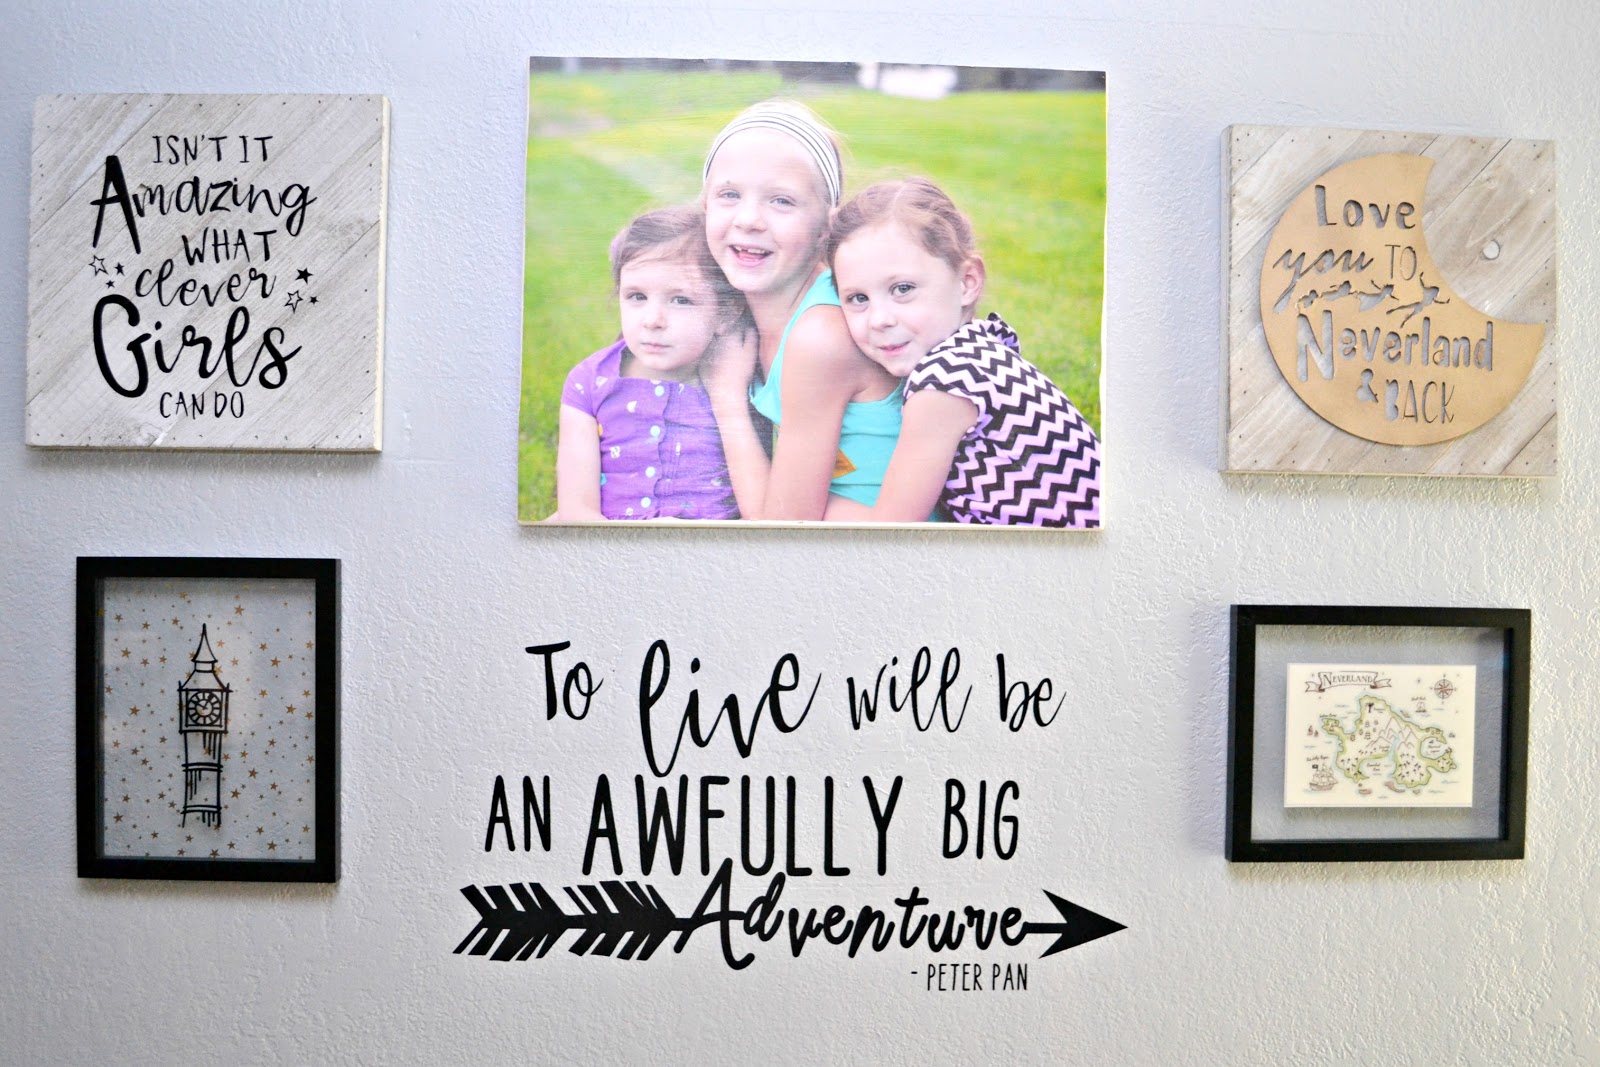
Of course this quote had to be in their room!
It's 13" tall by 24" long, but you can always adjust this in Design Space if you want it a different size.
You will need Cricut Removable Vinyl in Midnight*(I'm recommending the removable, but I used Cricut Premium Vinyl in Midnight*) and some Transfer Tape*.
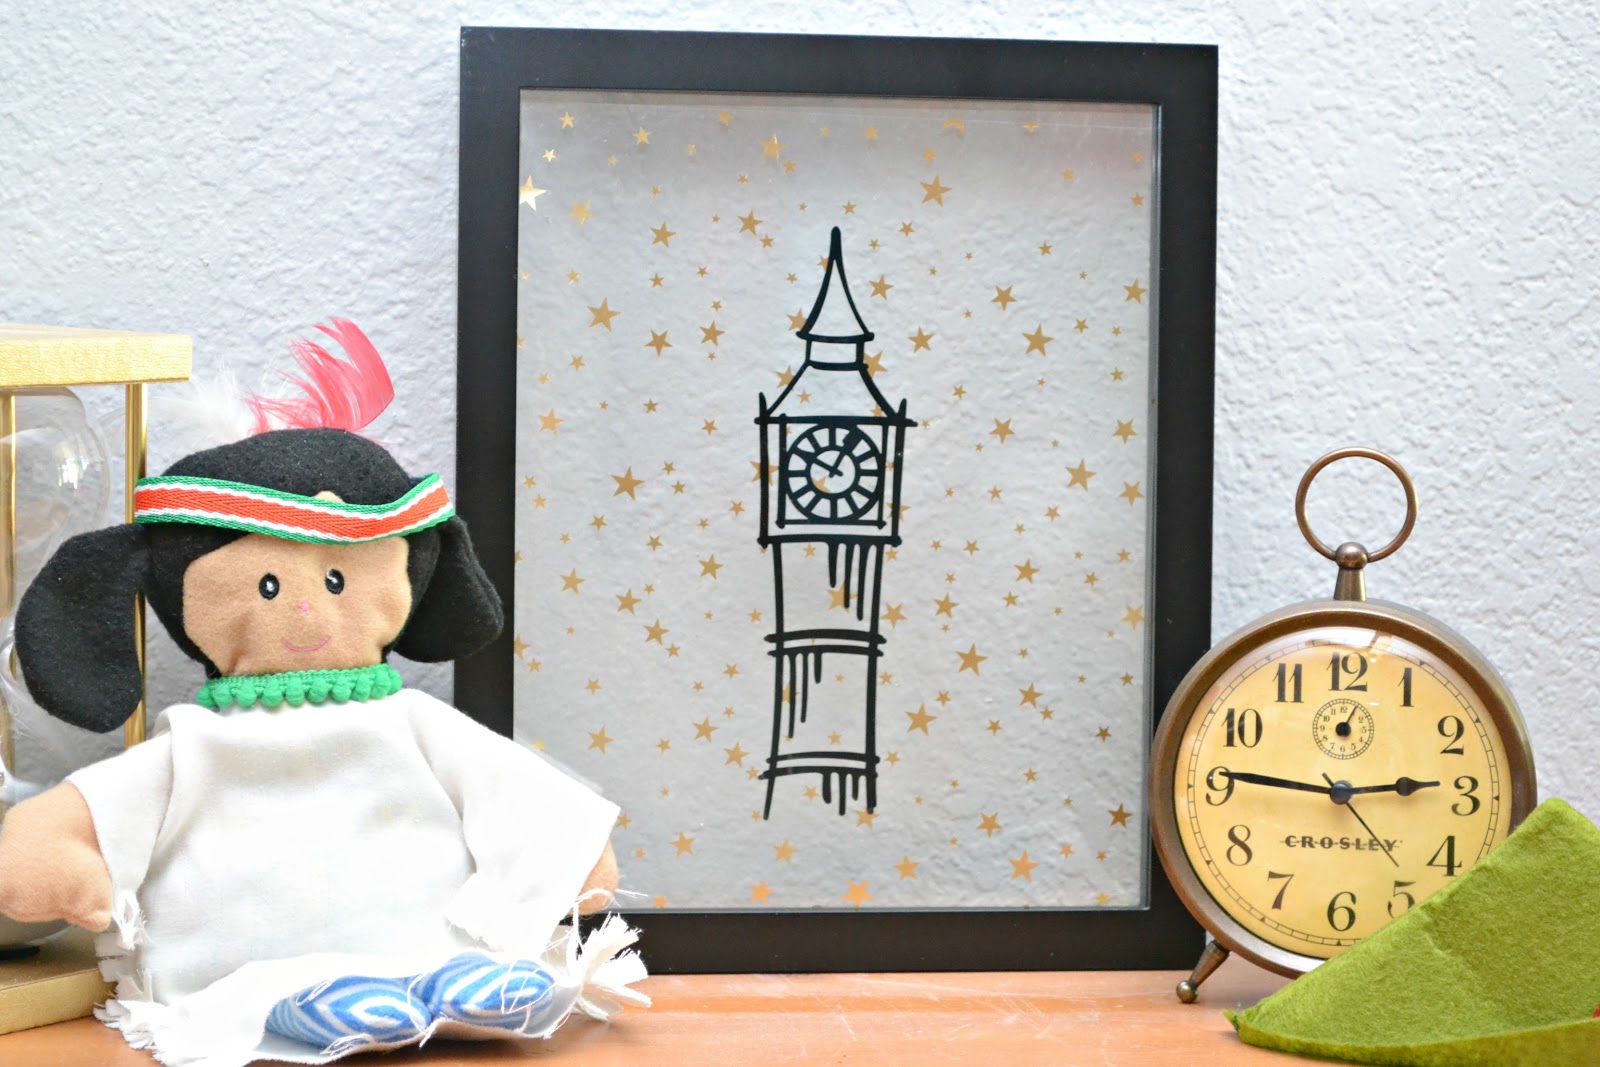
3. Big Ben
This next one is a picture of Big Ben that you can find in Cricut Design Space.
I used some Foil Acetate* and Cricut Premium Vinyl in Midnight* and put it on a 5" by 7" glass frame.
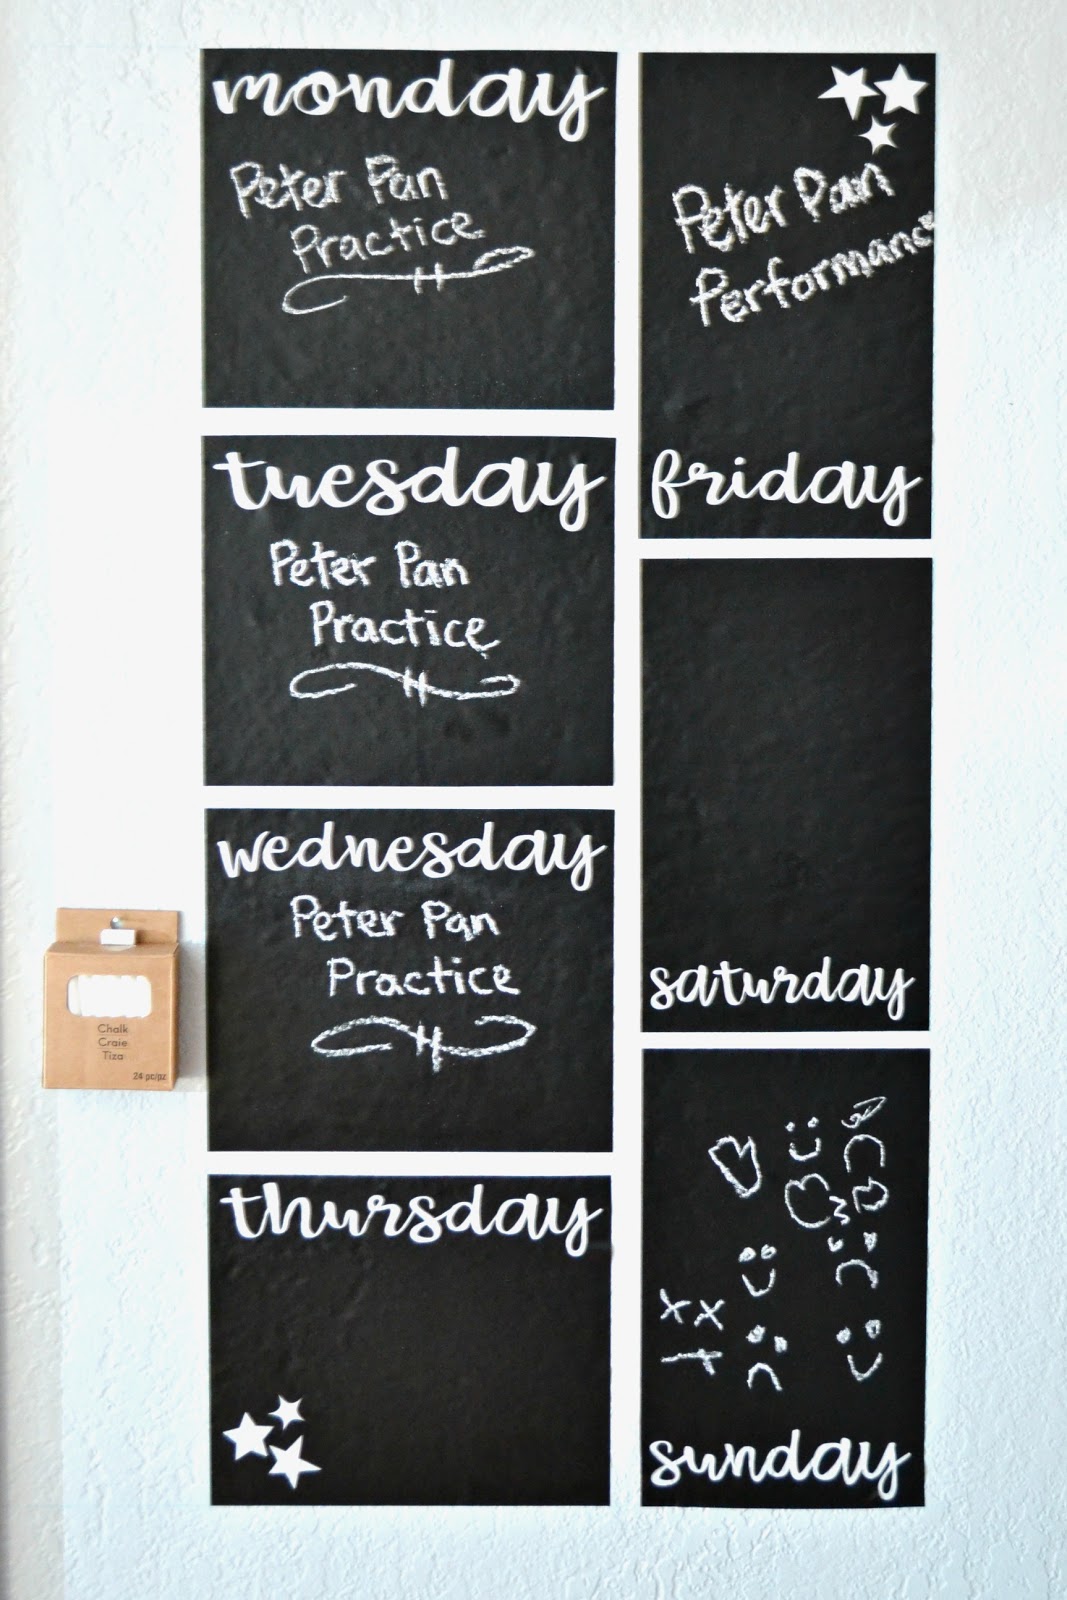
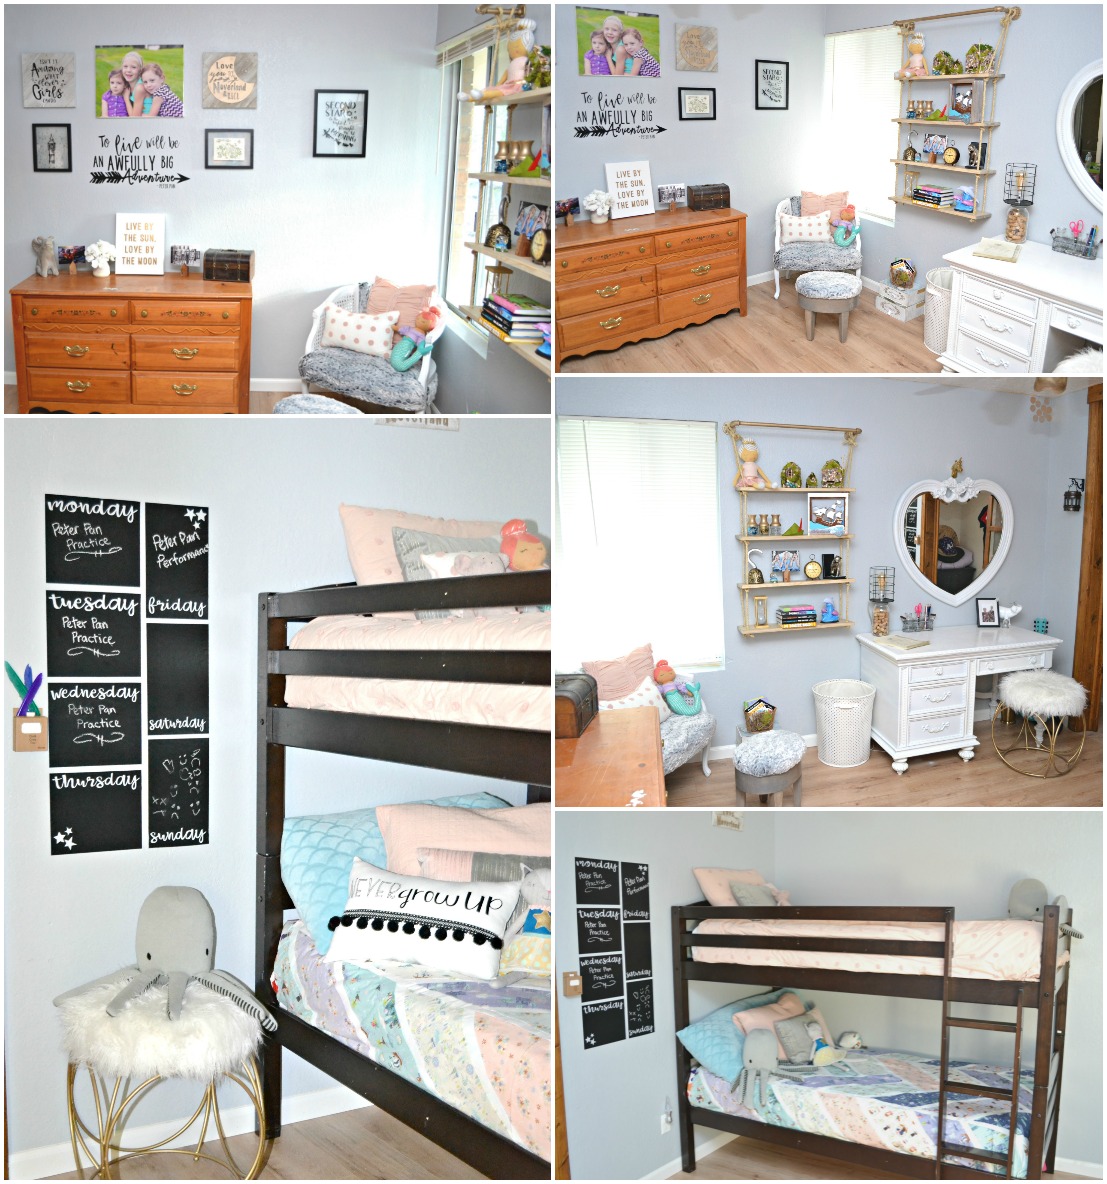
4. Chalkboard Vinyl* Weekly Chalkboard Calendar
This has been one of all our favorites! We had a vinyl chalkboard in our last house and my kids always loved to draw pictures and write what was going on that week. You have no idea how stoked I was when I found out Cricut had Chalkboard Vinyl!
This has been one of all our favorites! We had a vinyl chalkboard in our last house and my kids always loved to draw pictures and write what was going on that week. You have no idea how stoked I was when I found out Cricut had Chalkboard Vinyl!
I designed this Calendar in Design Space. It will make an 18" by 37" Calendar, which of course you can adjust if that size doesn't work for your space.
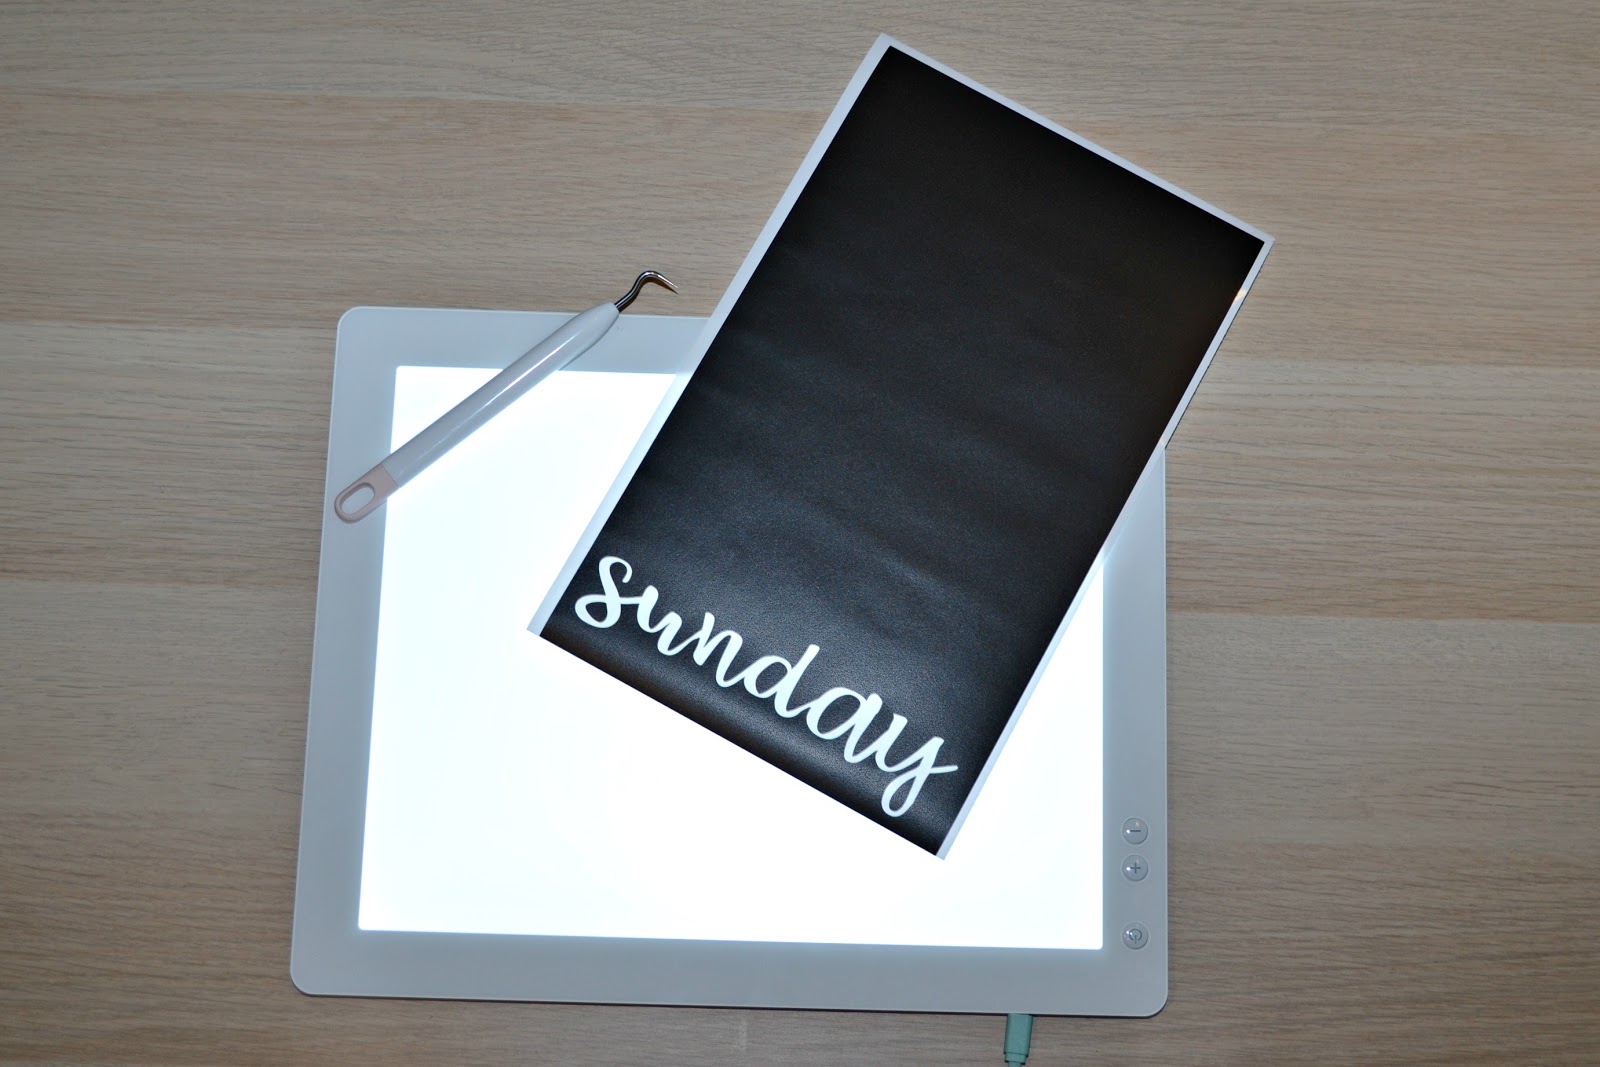
Have I mentioned how much I love using Cricut's BrightPad* to help weed?
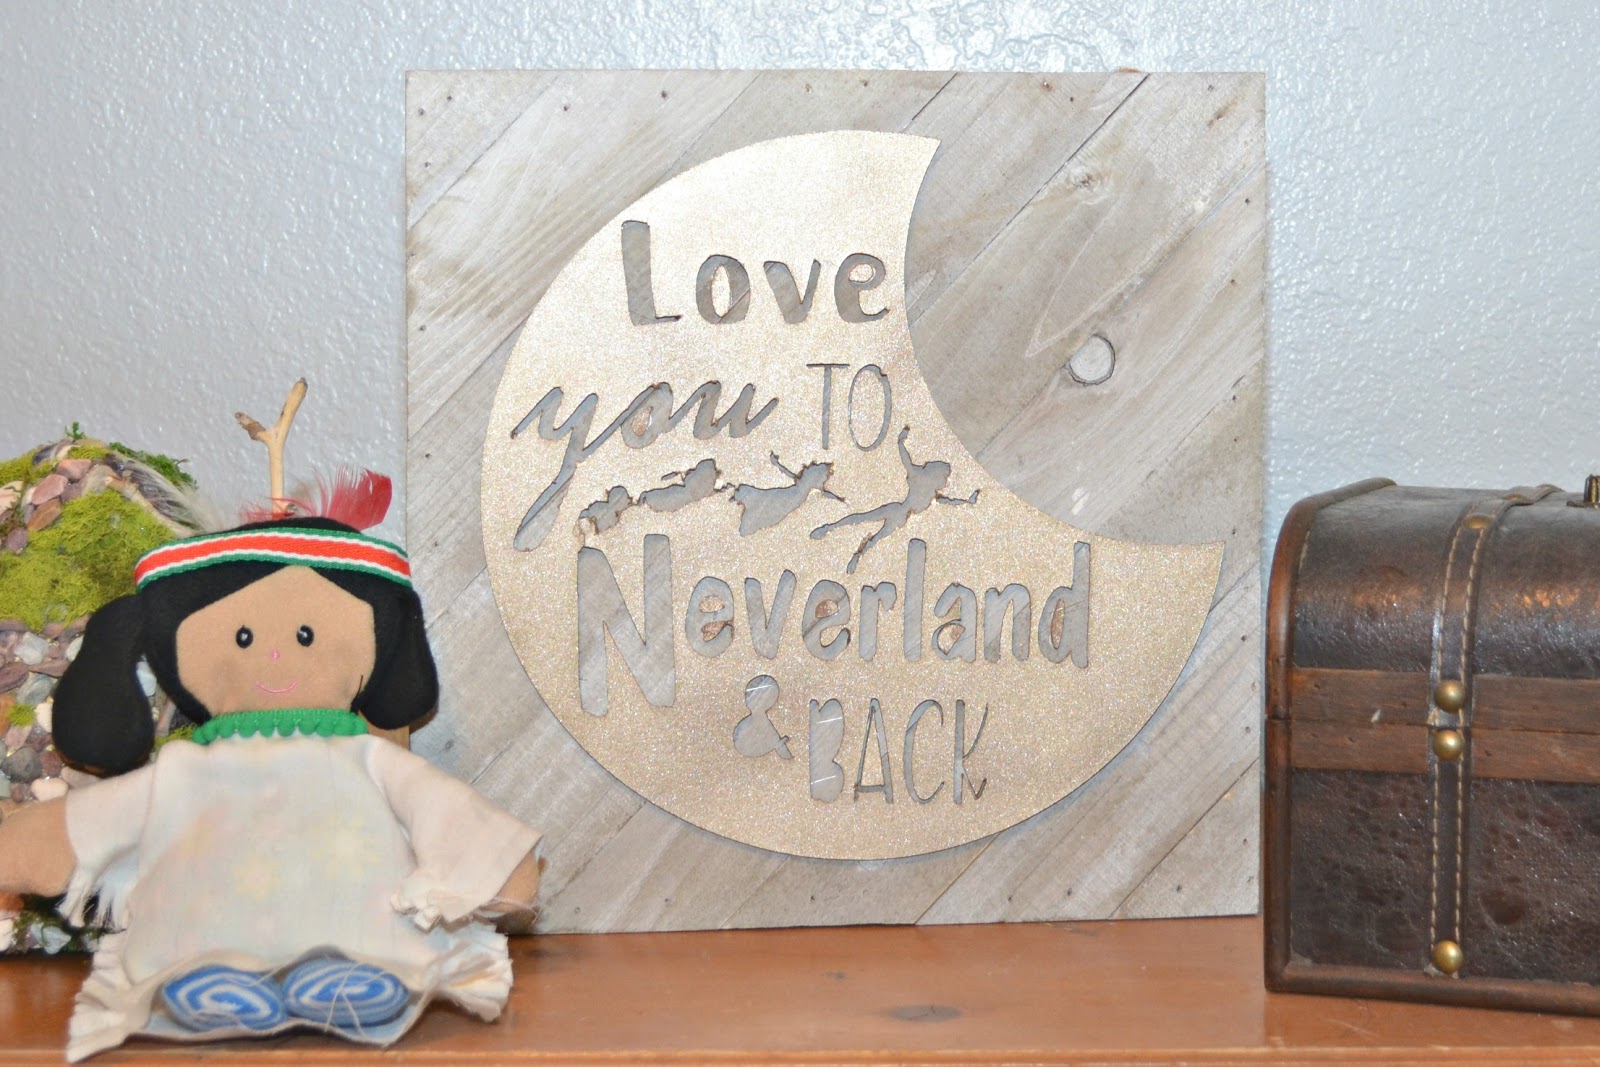
5. Love you to Neverland
To make this you will need a 12" by 12" frame and Cricuts 2mm Chipboard*.
You will also need Cricut's Knife Blade* to cut into the chipboard and some extra time! Did you know that the Cricut Maker will go over the design 20 times for Chipboard? This makes sure that you get good clean cuts all the way through.
Once the design was cut, I used Gold Spray paint and then just used super glue to glue the chipboard onto the wood frame.
I'm still amazed that the Maker was able to cut this out so perfectly! Vinyl, Fabric, Chipboard....so many things the Maker can cut!
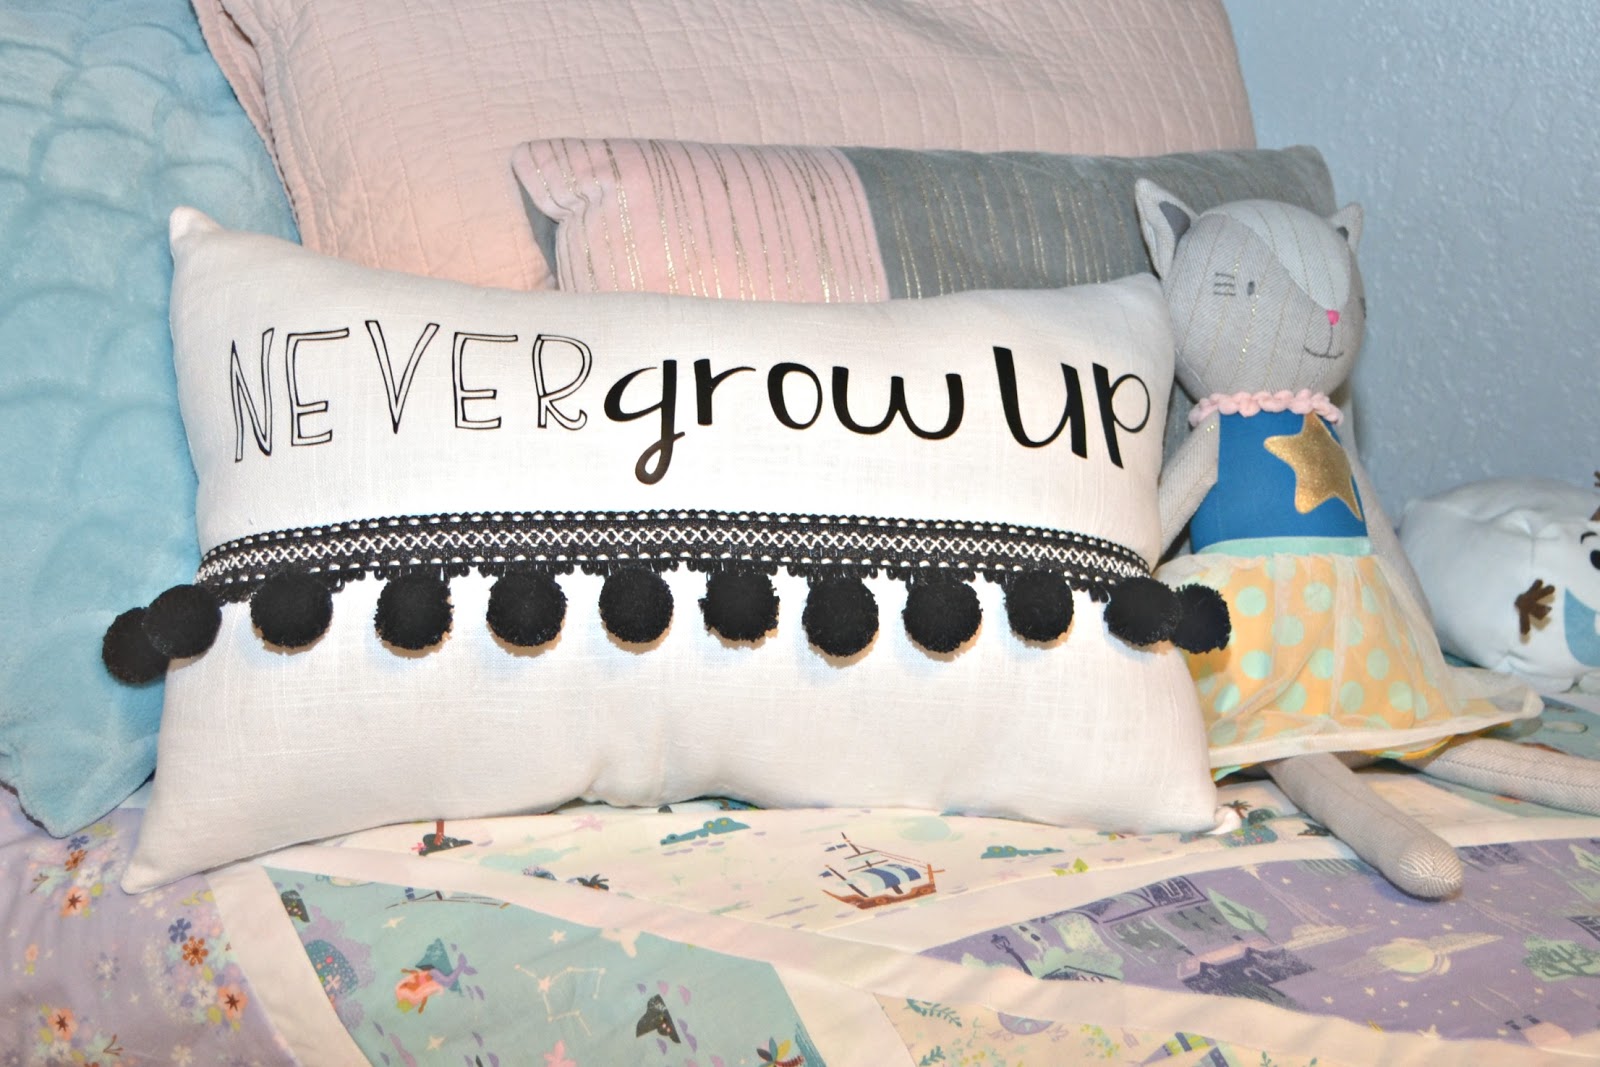
6. Black Iron-on Vinyl Never Grow Up
For this fun pillow you will want Cricuts Iron-On in Black*.
The finished pillow is 19" by 13".
For this fun pillow you will want Cricuts Iron-On in Black*.
The finished pillow is 19" by 13".
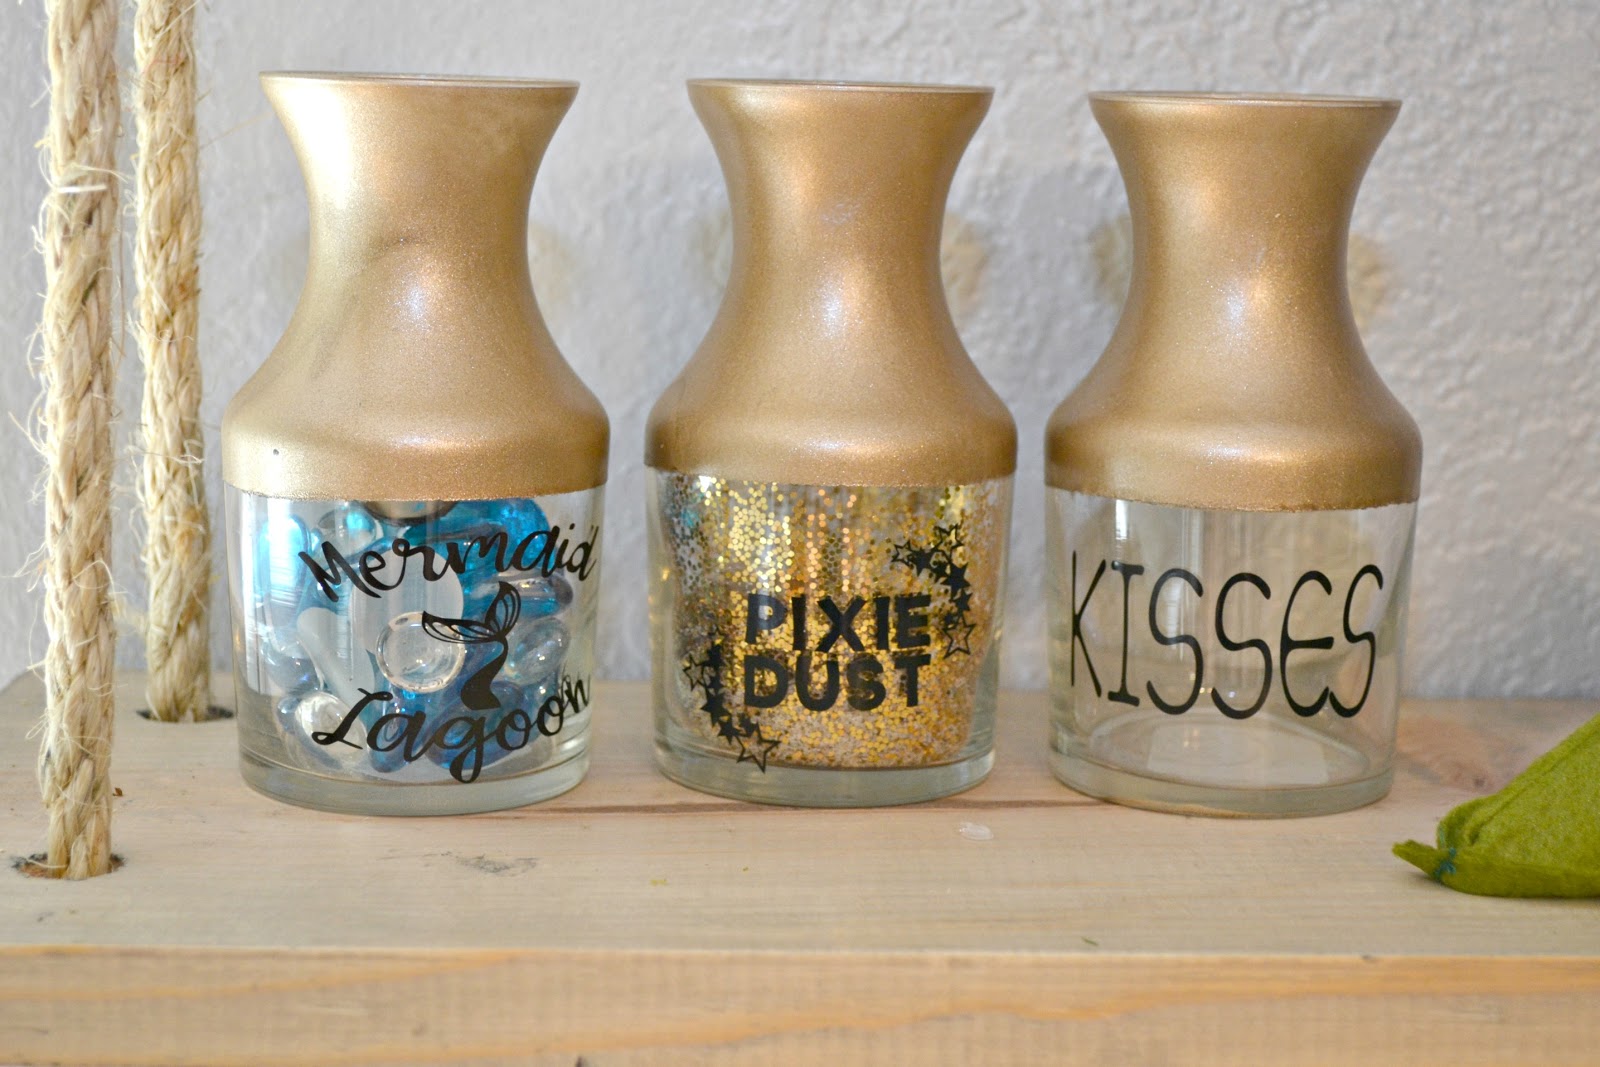
7. Neverland Jars
We had to have some jars to hold onto some very important Neverland bits and bobs.
You may notice that the "kisses" jar is empty. I'm afraid we can never seem to keep kisses around for very long here!
To make these you will want 3 jars. I used painters tape to tape off the bottom and spray painted the tops with Gold.
You will also want Cricuts Premium Vinyl in Midnight* and some Transfer Tape*.
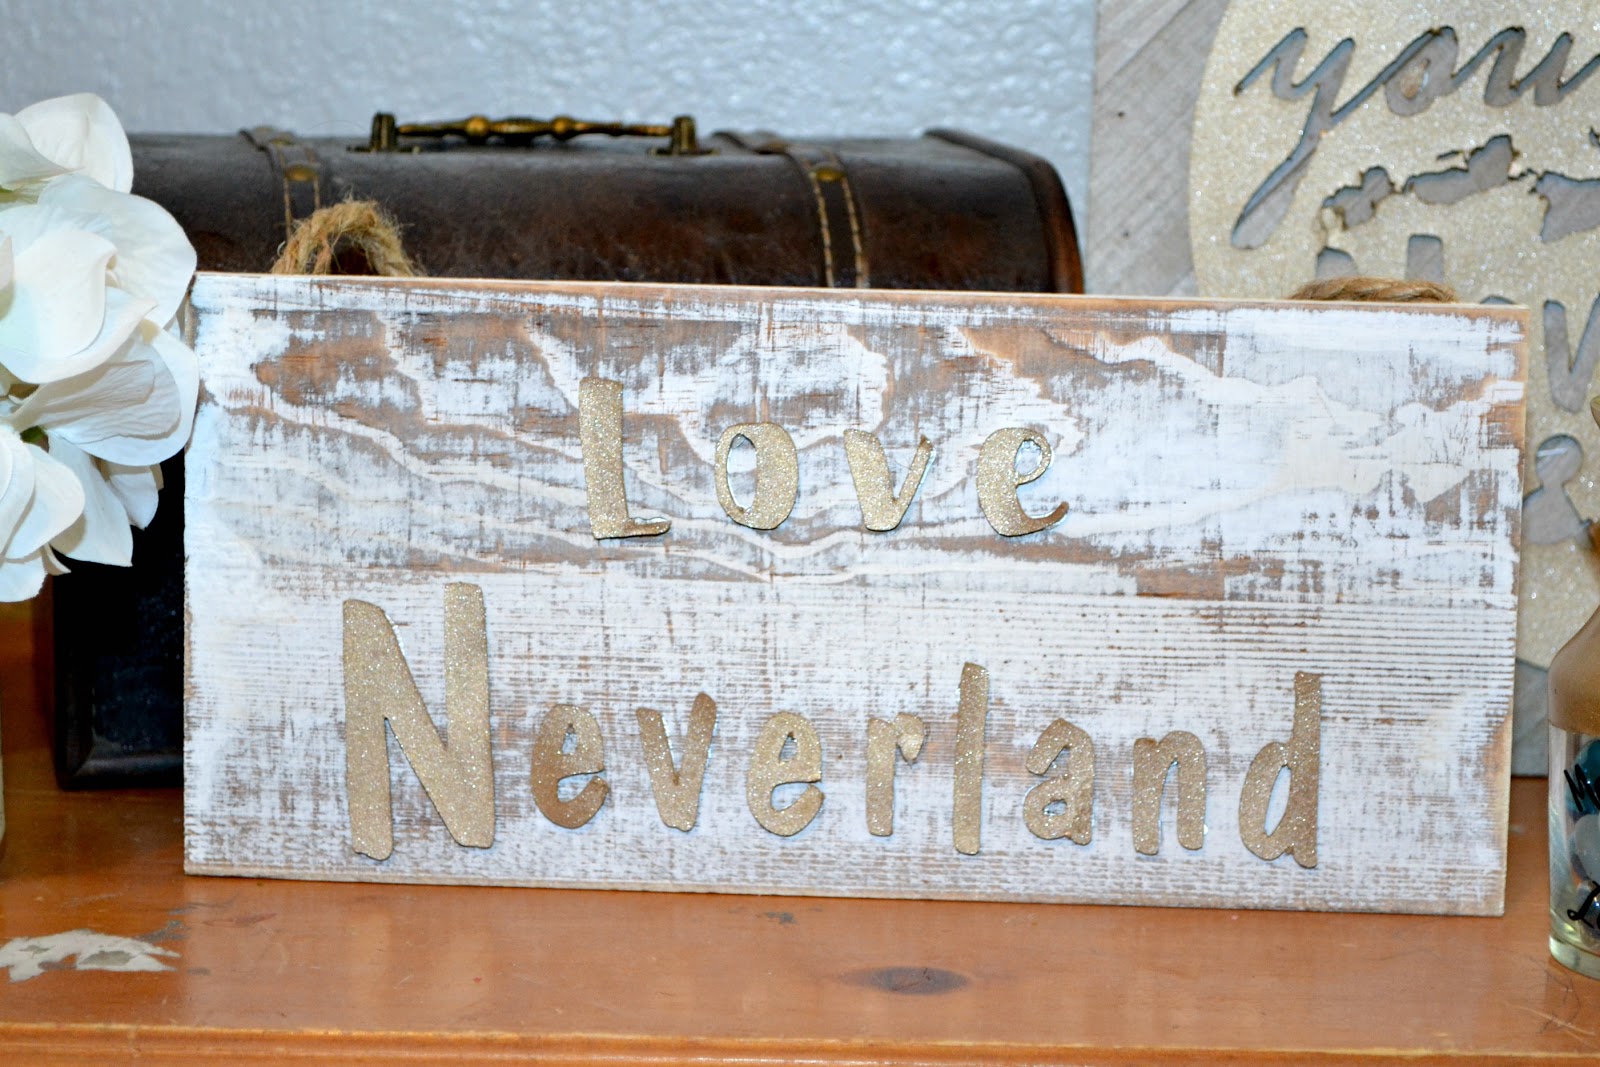
8. Love Neverland Sign
I love how the letters turned out from the "Love you to Neverland and Back" 2mm Chipboard* sign and couldn't bare to through them out, so we made another fun little sign to put over Zoe's bed.
I spray painted the letters gold just like the moon and again used a glue gun to glue them onto the wood frame.
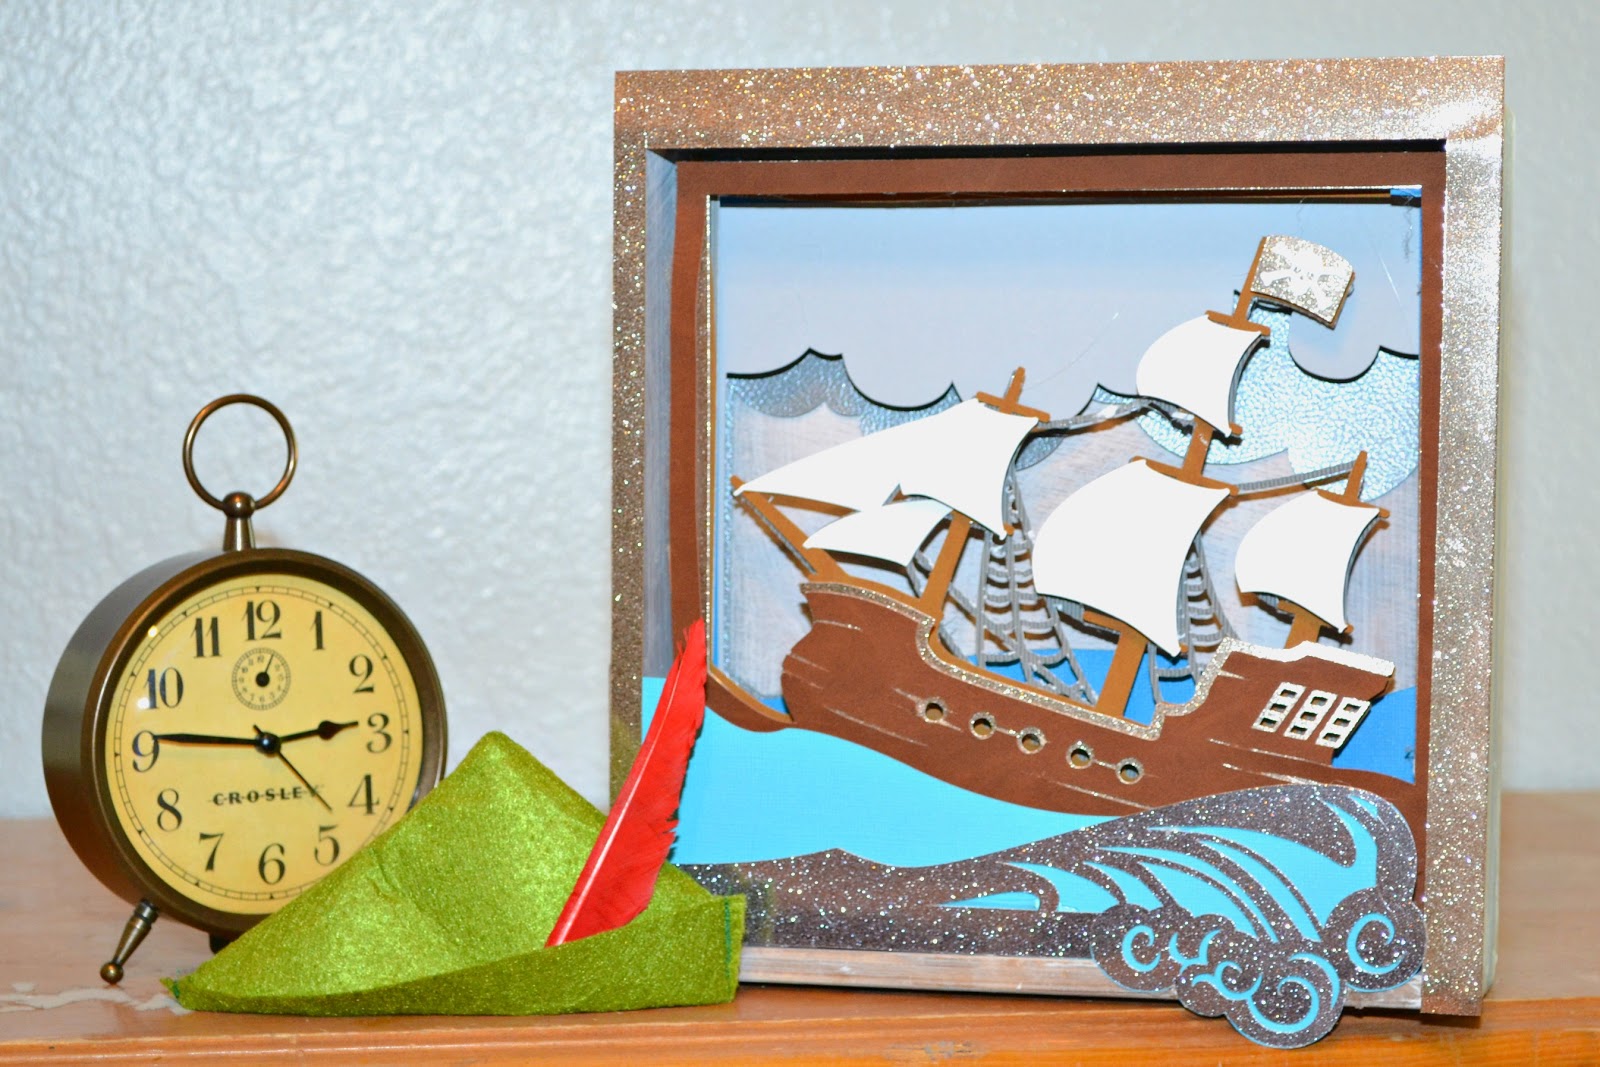
9. Pirate Ship
When I saw this project in Design Space I knew I just had to make it!
It calls for Cardstock*, but I got a little carried away with textures and ended up using Faux Suede*, Corrugated Cardstock*, and Shimmer Paper* as well as the cardstock.
When I saw this project in Design Space I knew I just had to make it!
It calls for Cardstock*, but I got a little carried away with textures and ended up using Faux Suede*, Corrugated Cardstock*, and Shimmer Paper* as well as the cardstock.
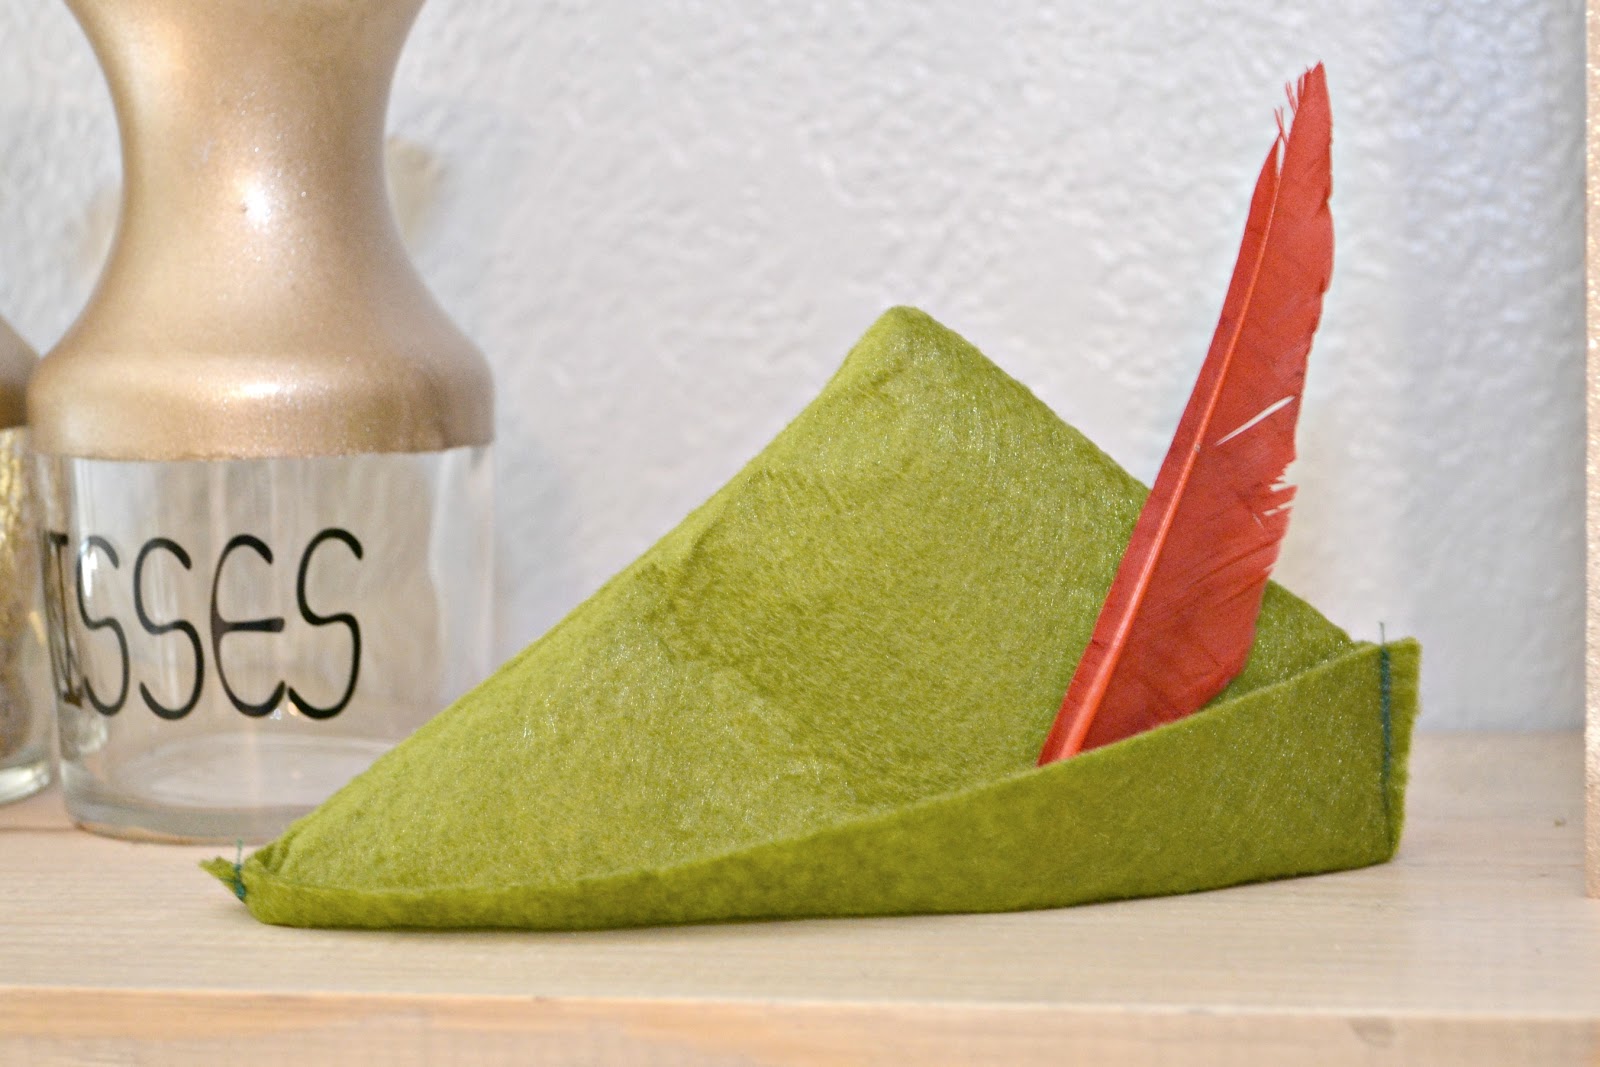
10. Felt Peter Pan Hat
This room would not be complete without Peter Pans hat!
I drafted the little hat and uploaded it into Design Space and used Cricut's Felt in Green from the Felt Sampler*.
This room would not be complete without Peter Pans hat!
I drafted the little hat and uploaded it into Design Space and used Cricut's Felt in Green from the Felt Sampler*.
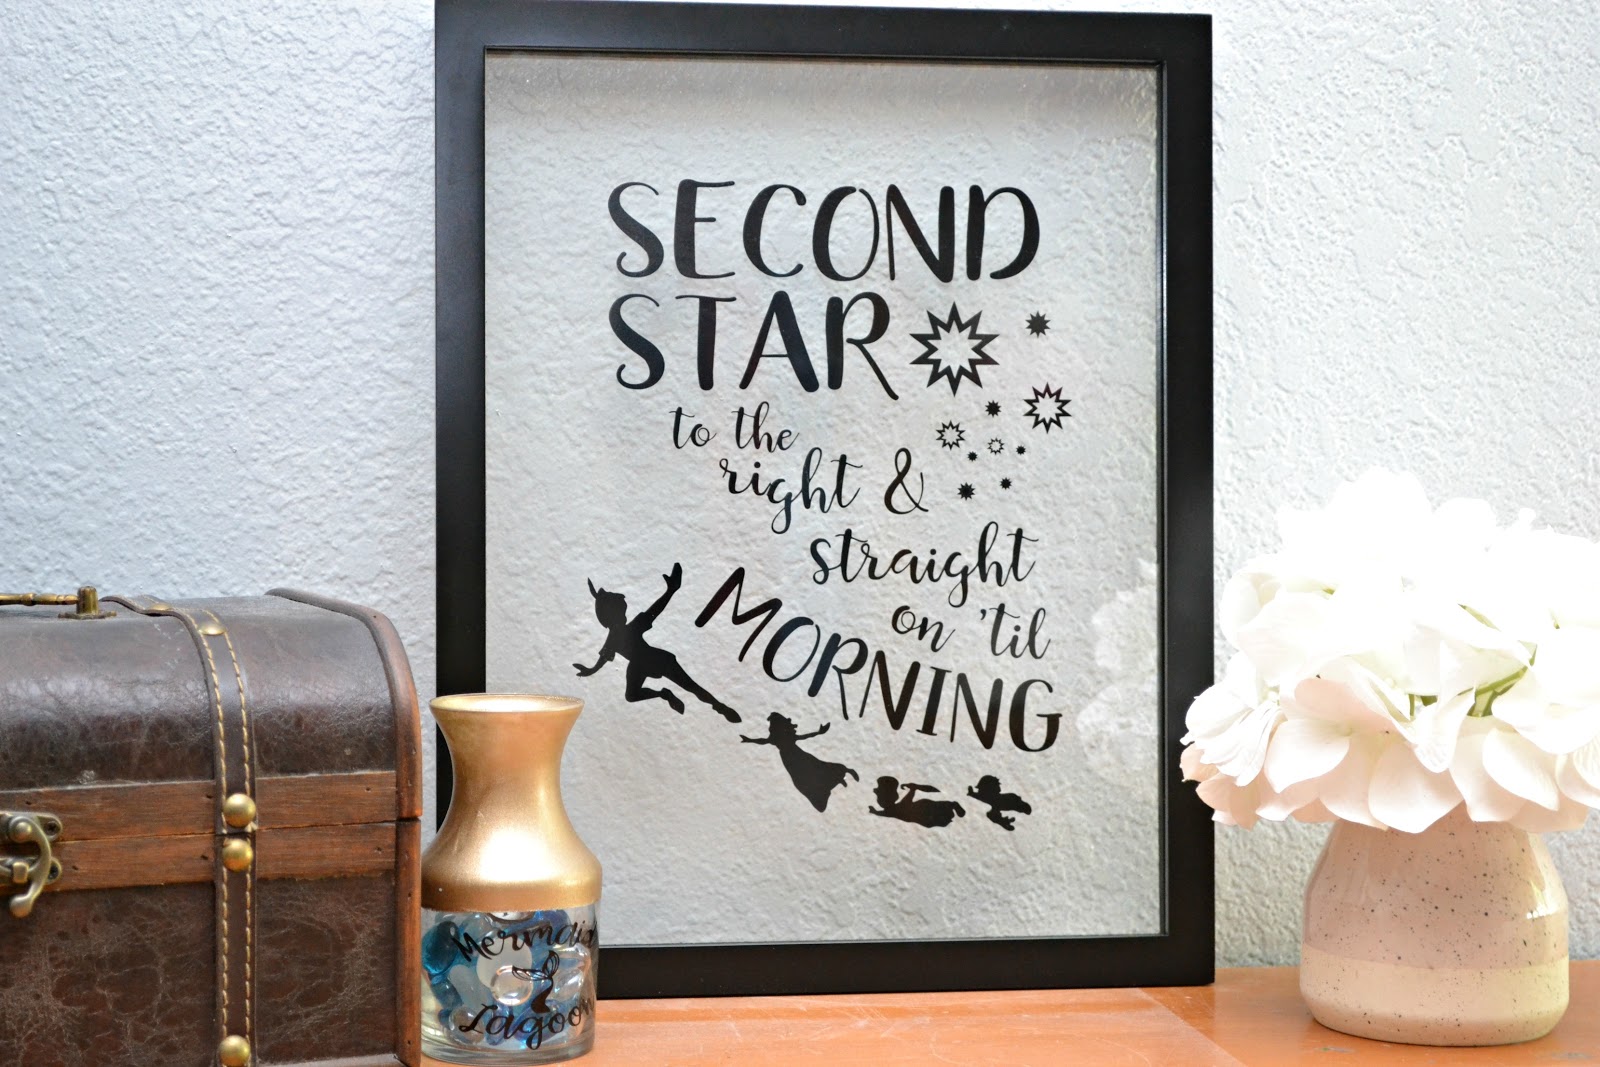
11. Second Star to the Right
The last picture we did was using Cricuts Premium Vinyl in Midnight* and transfer tape* and an SVG that I bought off Etsy. To be fair, if I had had more patience I could have made it all in Cricut Design Space. It would have been so much fun to use the Curve Tool for the words!
I used another glass picture frame, but this one is an 8" by 10".
Decorating their room has been so much fun! I can't wait to get started on Jude and Paisley's room!
Their theme is also based off a Riley Blake Designs line.
Any guesses what it is?
This is a sponsored conversation written by me on behalf of Cricut. The opinions and text are all mine.

I like this post. It look useful about this blog is unbelievably positive I visit this blog first time and motivate by this well done work. Mind blowing post keeps up rearrangement such great data. What's more, it is more helpful to everyone. You can utilize this custom essay writing service administration for any sort of scholastic written work. You can move your written work papers with quality from . Thanks lot for sharing here.
ReplyDeleteSeek out beautifully decorated interiors to look at. You can find numerous examples of beautiful interiors in design magazines or in your own community by visiting show homes, open houses for sale in wealthy neighborhoods, furniture showrooms, historic homes, art galleries, and offices of professionals such as interior decorators and corporate lawyers.DISHWASHER REPAIR in Rancho Cucamonga
ReplyDeleteHello, I would like to thank you for sharing this interesting information. I appreciate reading it. The material you have provided here will be useful for ma lot of people. I was actually looking for a place where someone can help me to find response paper assignment writing nevertheless, thanks.
ReplyDelete