


This post was sponsored by Cricut and contains affiliate links. All thoughts and opinions are my own.
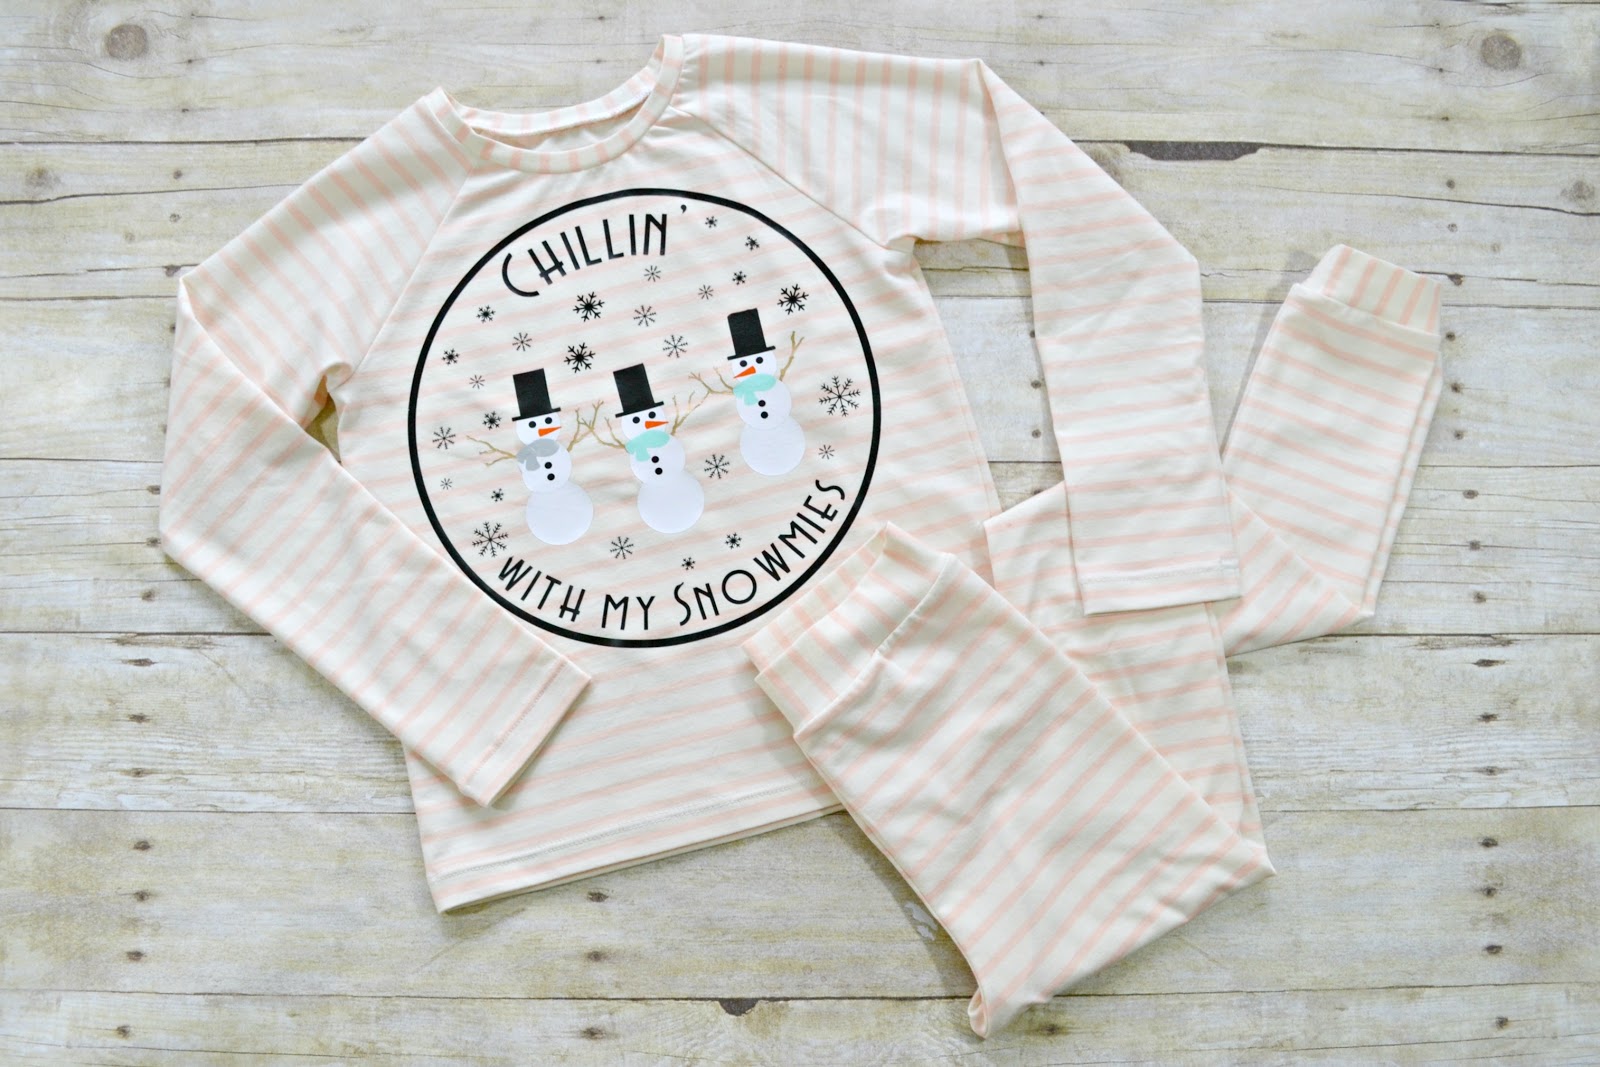
Now that Thanksgiving is over, it's full steam on to Christmas! Since Cricut is having a fun Holiday Pajama Challenge this week, I thought it would be a perfect idea to share another fun pair of Christmas jammies!
You can check out the Christmas Unicorn and Gingerbread Men here.
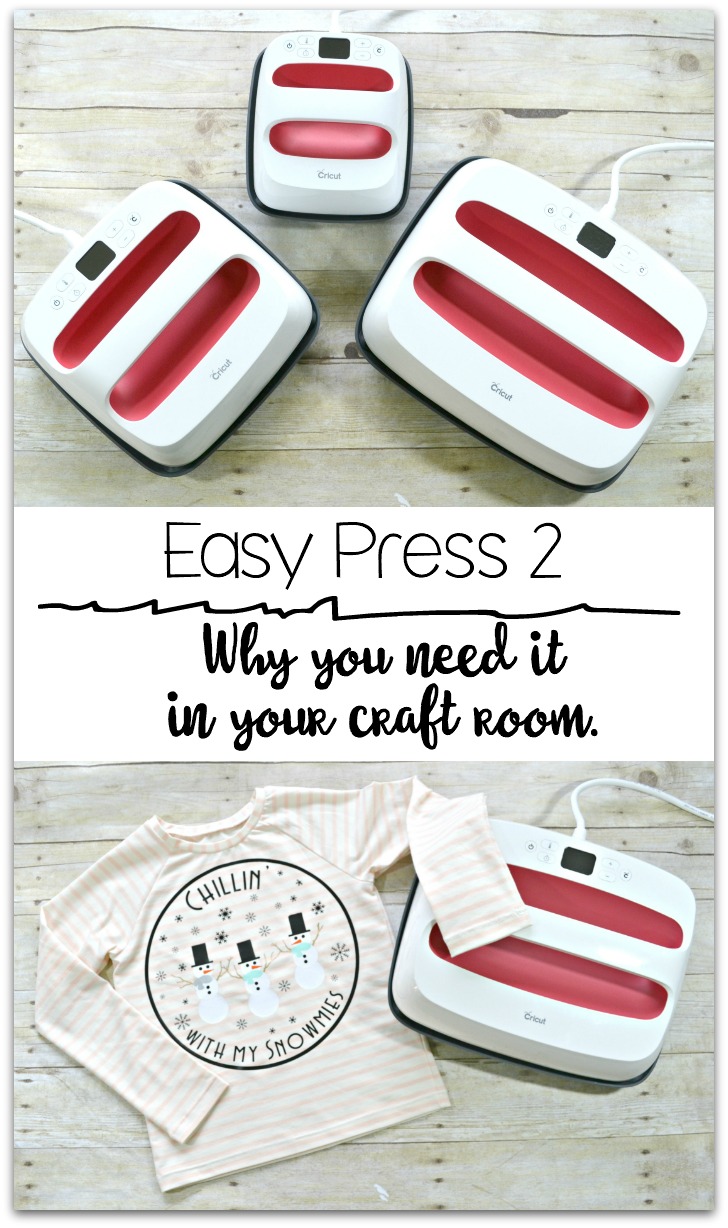
I'm also wanting to talk about the new Easy Press 2's and why I love having them!
I have the original Easy Press that is 9" by 9", but there are some amazing reasons why I had to get the new Easy Press 2's!

First off is the size. The original is 9" by 9" where the new ones not only comes in the original size, but there's also a 12" by 10" option for bigger shirts and tote bags, even wood signs! And also a 6" by 7" size for labels, onesies, baby bibs, cosmetic bags, all those little "spot" jobs that the bigger sizes are just too cumbersome to really do.
Since most of my kids are in the "tween/adult" section in the clothing, the 12" by 10" size is absolutely perfect for all their t-shirts and gets the most use for now.
I seriously cannot wait for any of my youngest 3 siblings to have a baby though so I can really start slave driving the mini Easy Press!
Another reason I love the new Easy Press' is that they heat up faster than the original (in just over 3 minutes) but it also comes with a memory so when you turn it on, it will automatically start heating up to the last temp you used. For me that's an amazing feature because it saves me a bit of time every time I go to use it since I usually use the same vinyl for most projects.
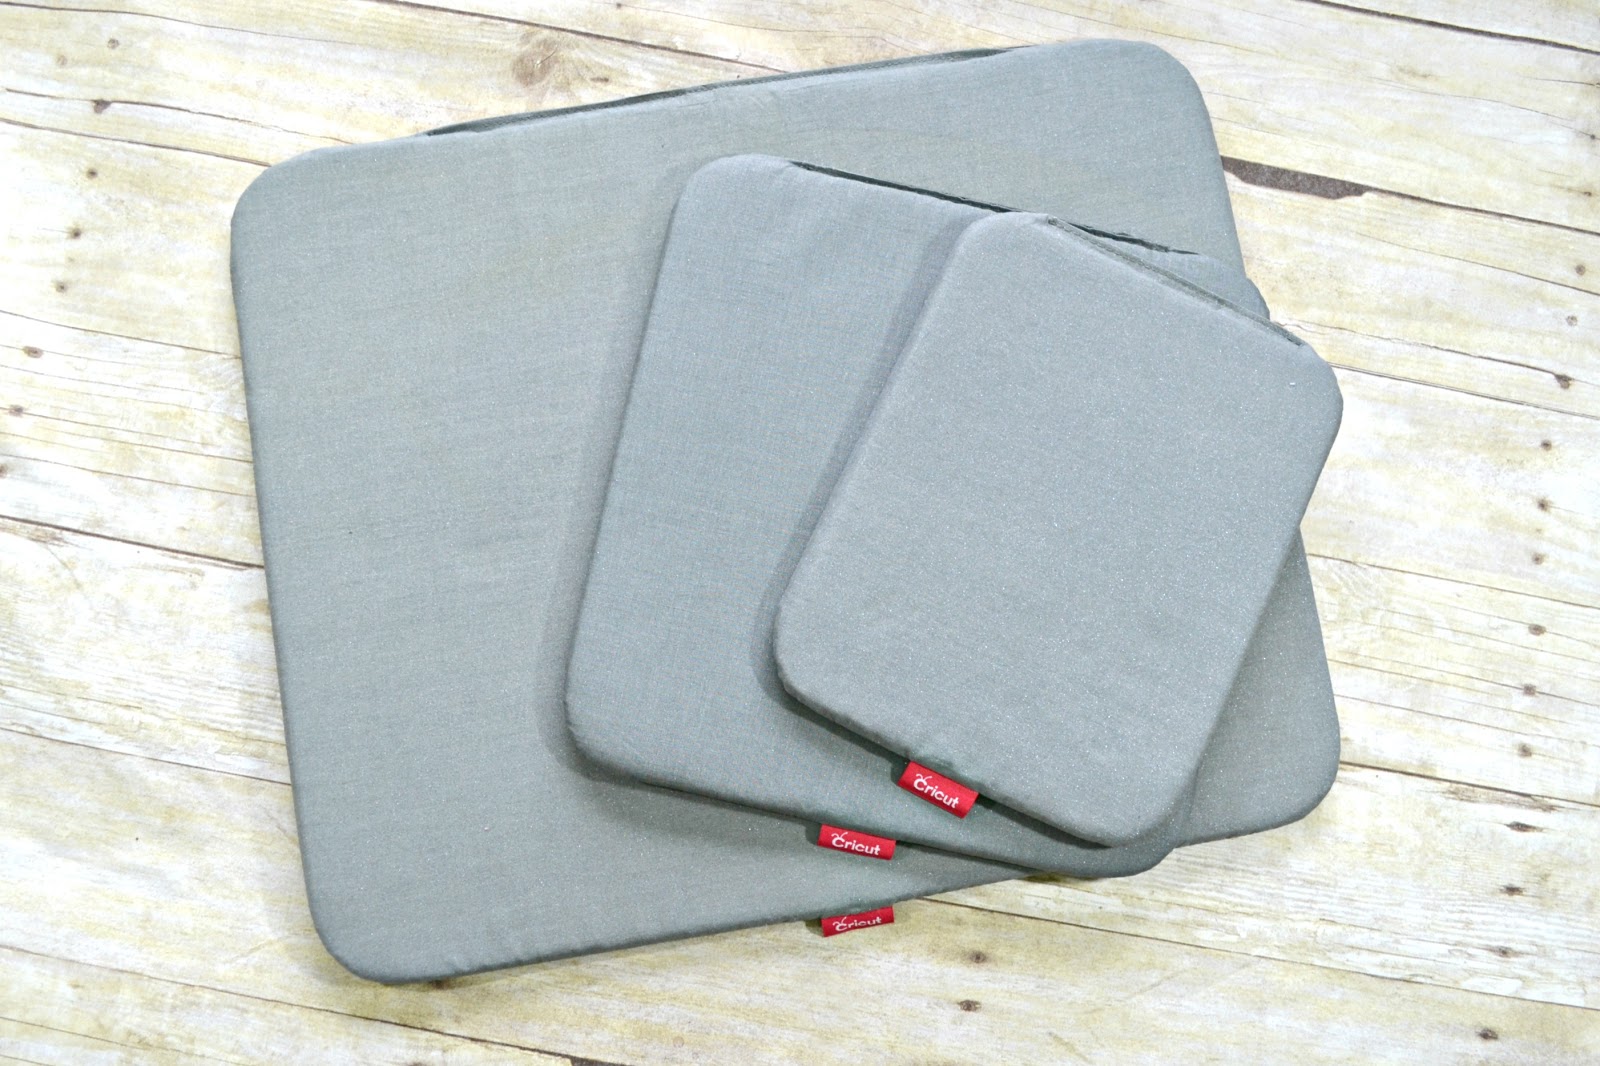
There are also 3 sizes of Mats that come you can buy to accompany the sizes. 8" by 10" is perfect for those small items. 12" by 12" works amazing inside t-shirts or just for your average kid shirt. Then there's the 20" by 16", which I honestly use most often. My children are giants....
They also include the auto shut-off feature, just for those times things get crazy - you totally know what I mean!
The new line of Easy Press' go up to 400 degrees rather than the original's 350 degrees, which I love to use it to press my fabric before cutting and I can't get that kind temp and press with a regular iron!
You can grab the Recommended Easy Press Temp Settings here.
Lastly, I want to talk about how easy these Presses are to store and travel with. Although my craft room is an actual room, I have 2 doors, a pair of French doors and a window that shares the space, so storage space is a bit more creative. I had really looked into getting a Heat press, but always put it off. How heavy and the size was a concern. I also was so scared of them popping open, and I've heard so many have issues with them shorting out....I just constantly hesitated to buy it.
The Easy Press though? The biggest size weighs less than 10 pounds and it's safe enough that my 6 year old uses it with supervision. With the pop back I had been hearing with regular Heat Presses, I would never have felt comfortable letting any of my kids use it! They all come on insulated safety bases that keep your surface areas protected.
I also love how portable these are! I've taken my Easy Press down to my best friends house (she lives 2 hours away) to work on projects with her, as well as my mothers house, and I even took the original one up to sewing events throughout this last year in case I needed any last minute shirts!
I've used the Easy Press to iron-on swimsuits and my girls have worn those constantly throughout the summer and none of the vinyl has peeled up. And those swimsuits battled every type of water you can get! Swimming pools, lakes, splash pads, sprinklers in the yard. I think they were pretty much worn every day.
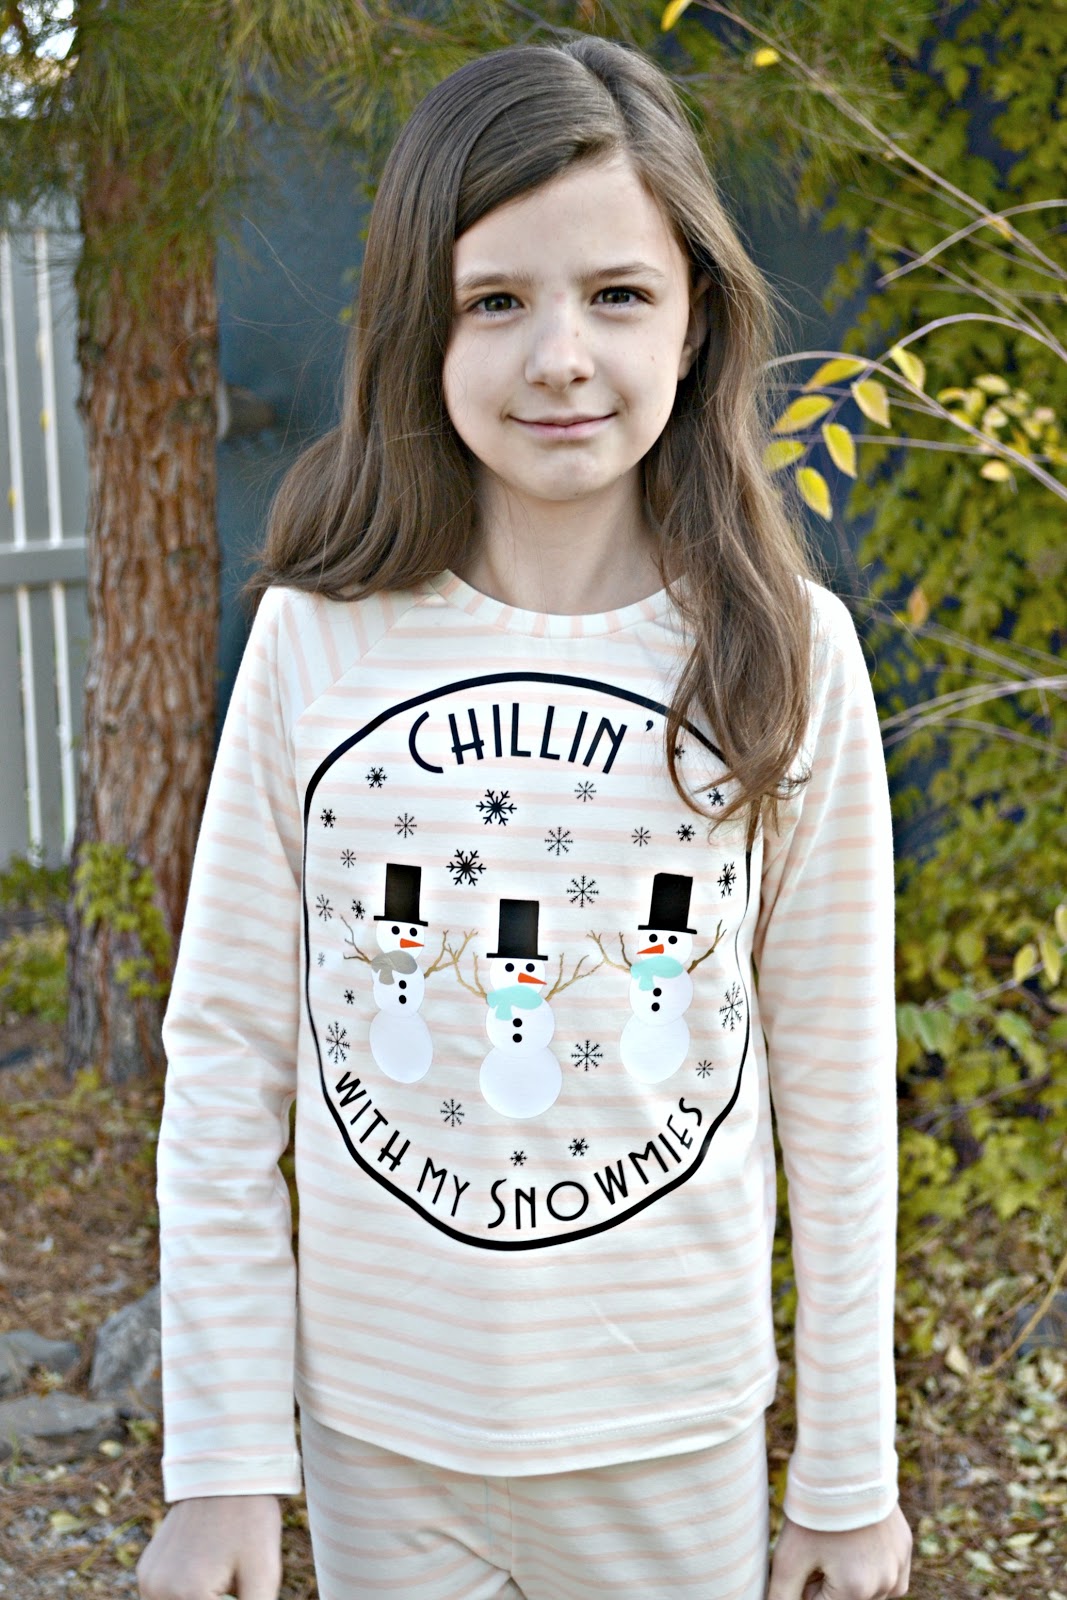
So now that you know why I love the Easy Press 2, lets get started with our Christmas Jammies!
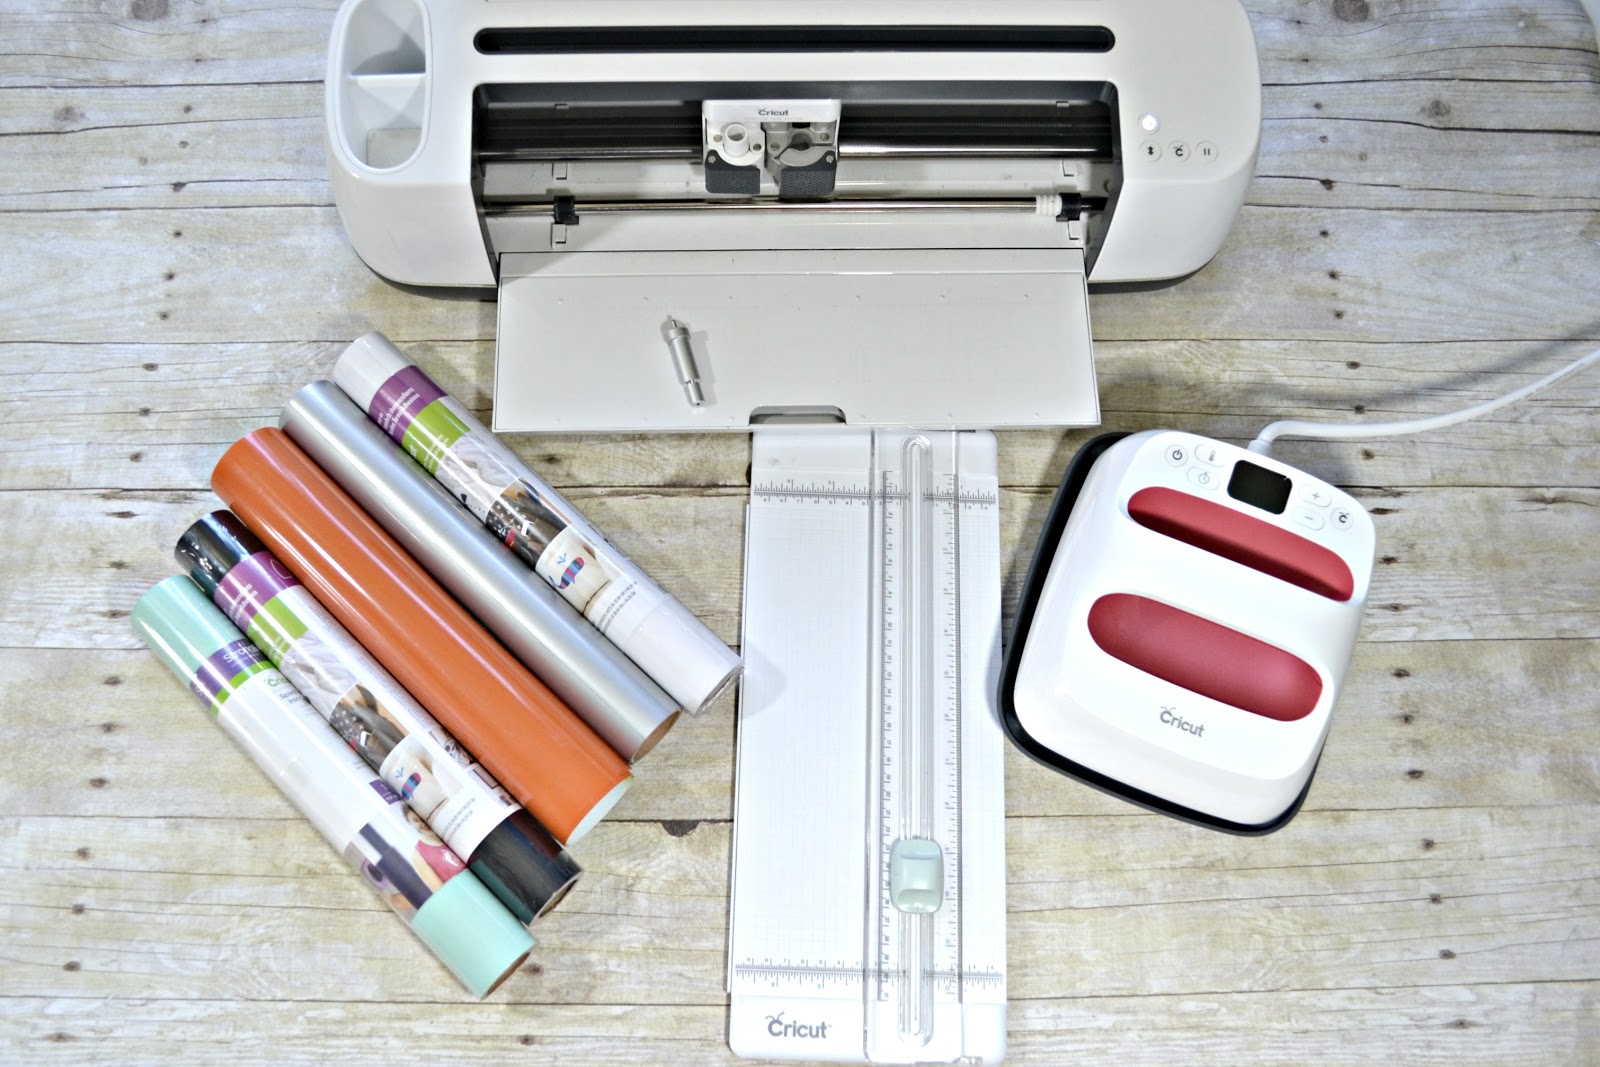
You will need these supplies:
Cricut Every Day Vinyl in White, Black, Grey, Aqua, Gold
A pair of Pajamas (these can be store bought, or you can make them! I used Titchy Threads Safari Raglan and Fancy Pants leggings)
Cricut Maker (Cricut Explore Air 2 works too!)
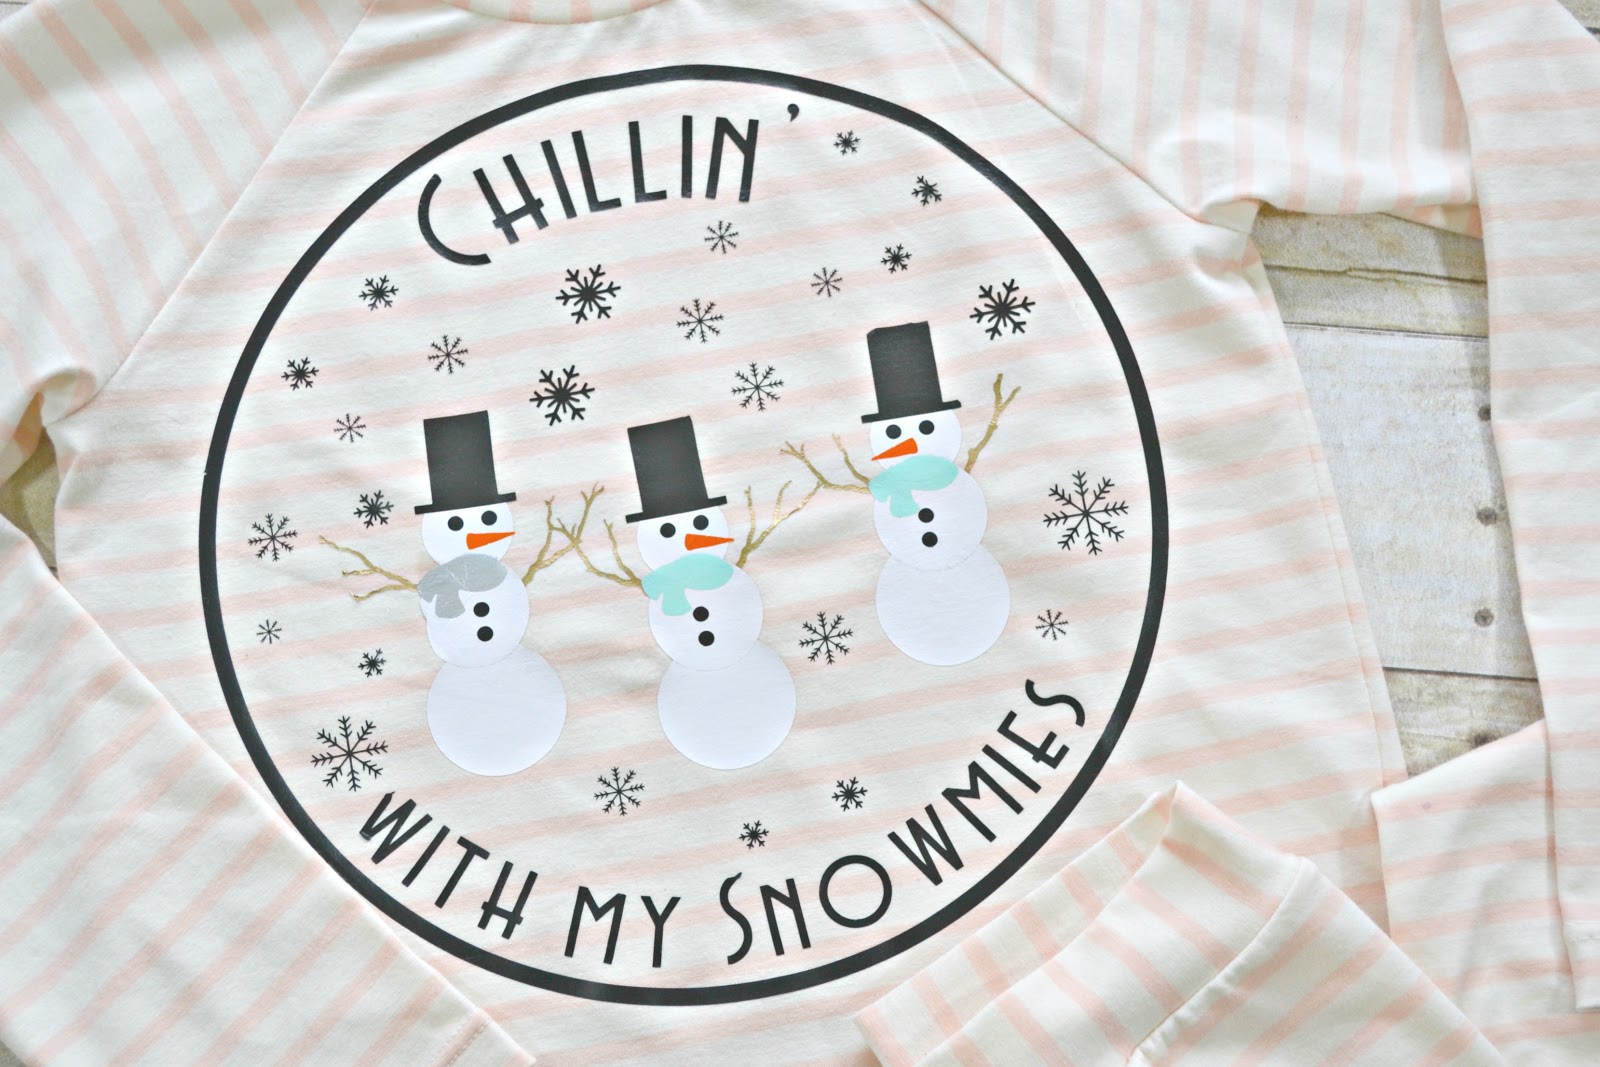
You can check out my sped up video of this entire Christmas Pajama's process, from turning on the machine, to loading the mats, to cutting and weeding the vinyl, and finally to ironing the design on layer by layer.
I know I've seen a lot of people say they're intimidated by the Cricut Maker and Design Space, so I'm really hoping to get a series up showing step by step how to use the Cricut Maker and Design Space. If you have any questions for sure comment and I'll make sure to address them in a future video!

No comments:
Post a Comment
Shout outs are ALWAYS welcome! I LOVE comments!!