


*This post was sponsored by Cricut and contains affiliate links. All thoughts and opinions are my own.
So, what side of the coin are you on? Christmas tree up in November? Or tree up after Thanksgiving (which I get is STILL in November, but that's besides the point.) Last year we didn't have the tree up until like, Christmas Eve....we had JUST moved that week, so you don't have to think I'm some awful Grinch! LOL
Since last Christmas we've moved twice more and thankfully we've been able to settle into this new house before the holiday's came around!
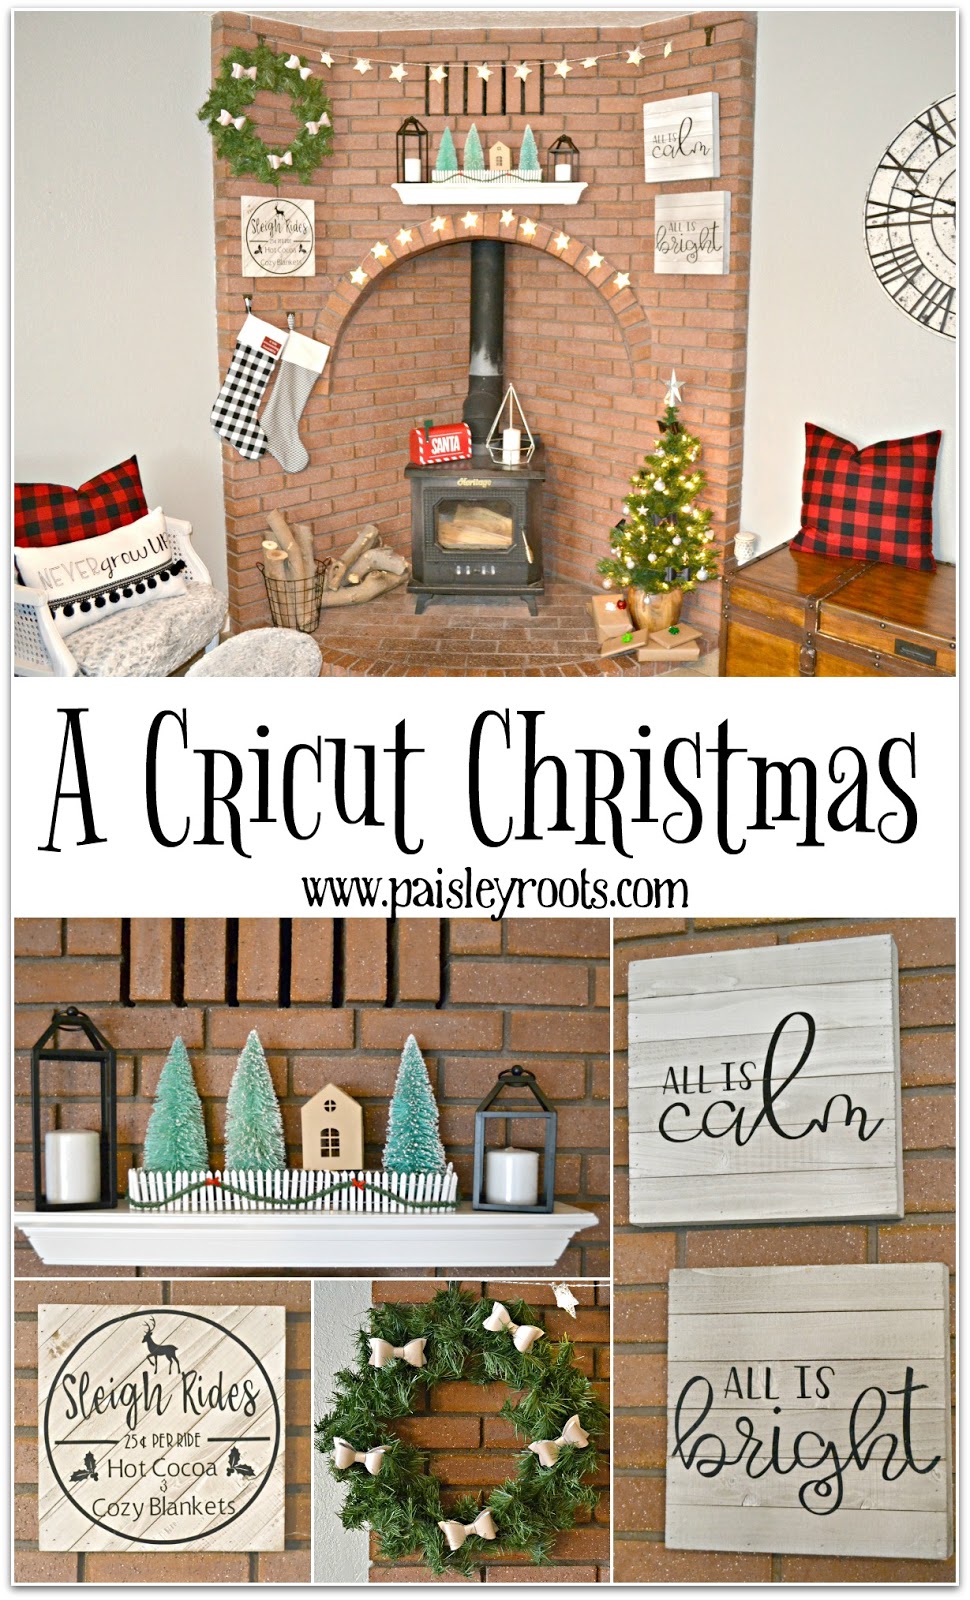
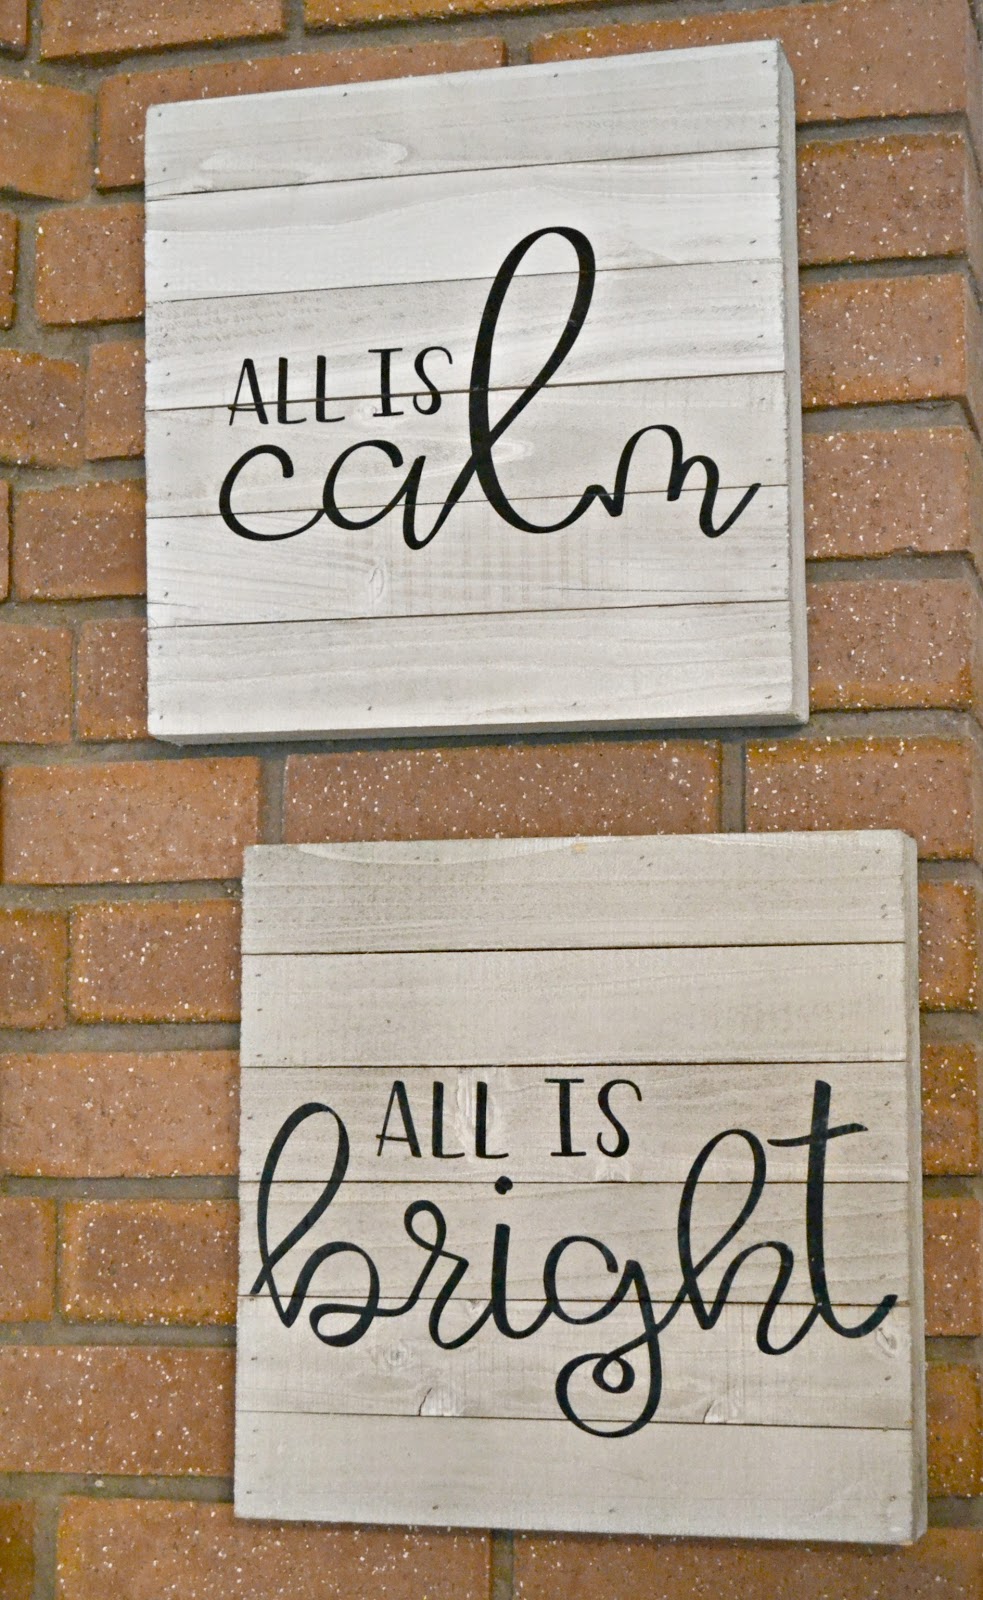
Being that this is our first Christmas in this house, along with our first Christmas with a fireplace, we had to make some new decorations!
As you can tell, I've put my Cricut Maker to use lately!
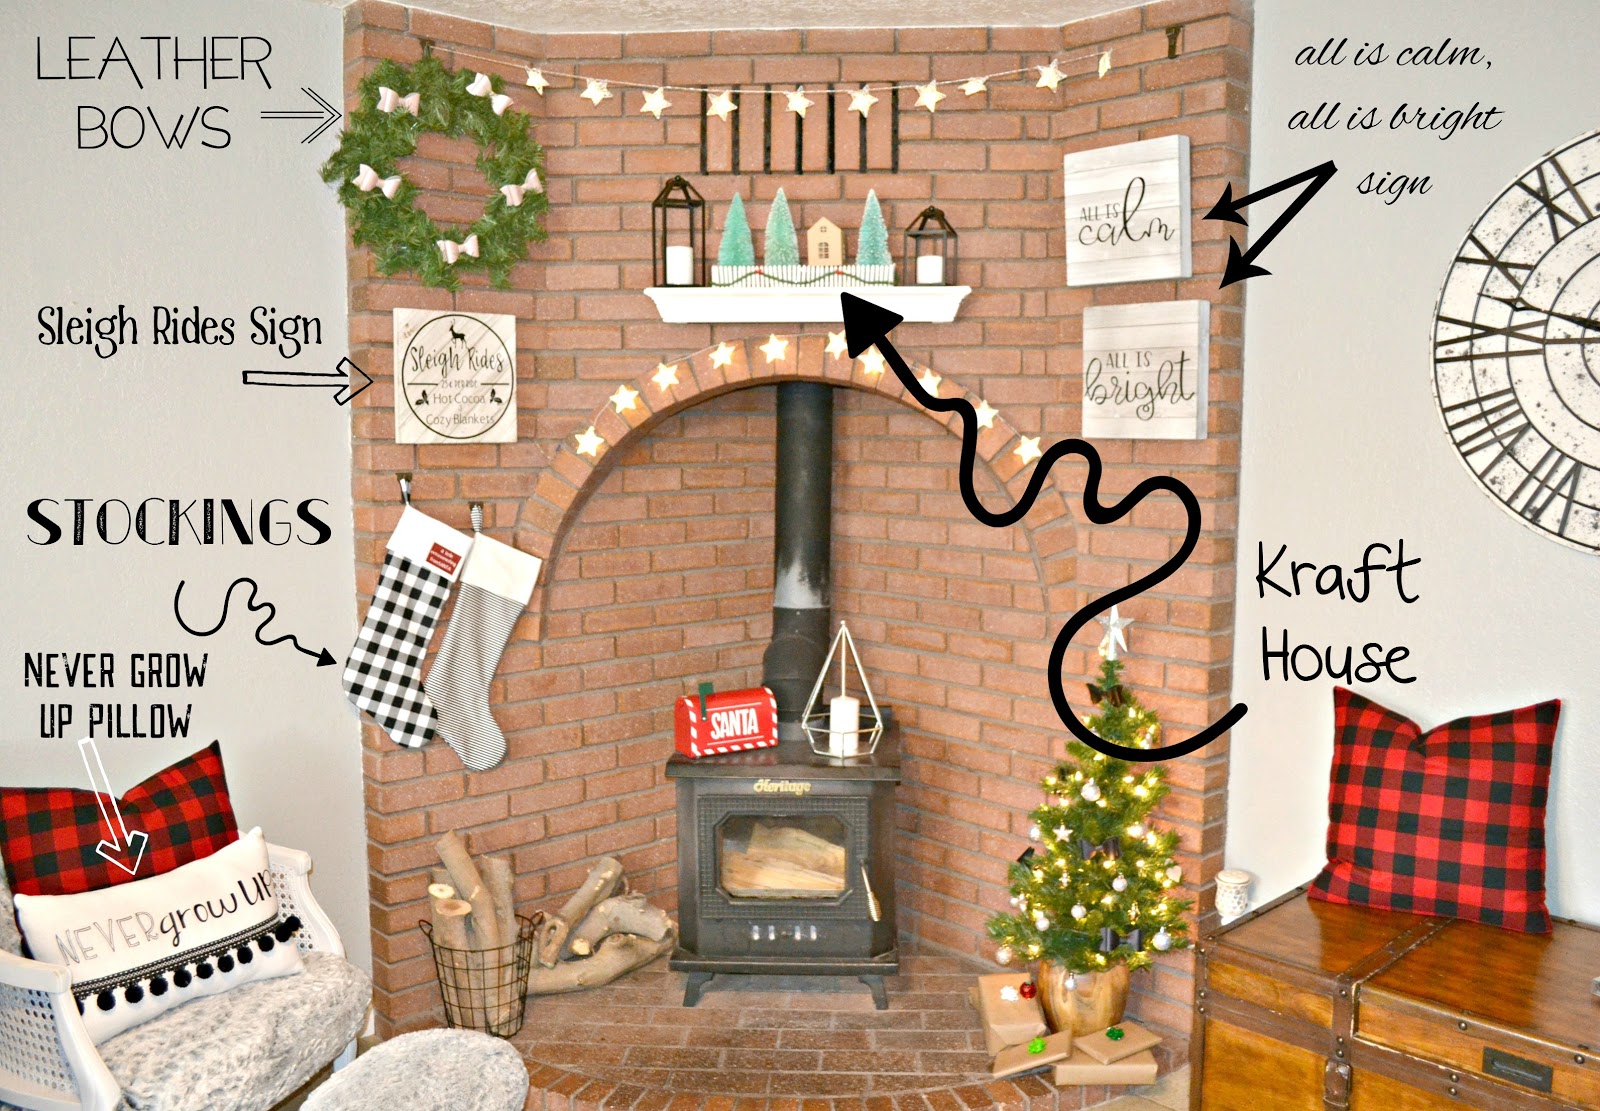
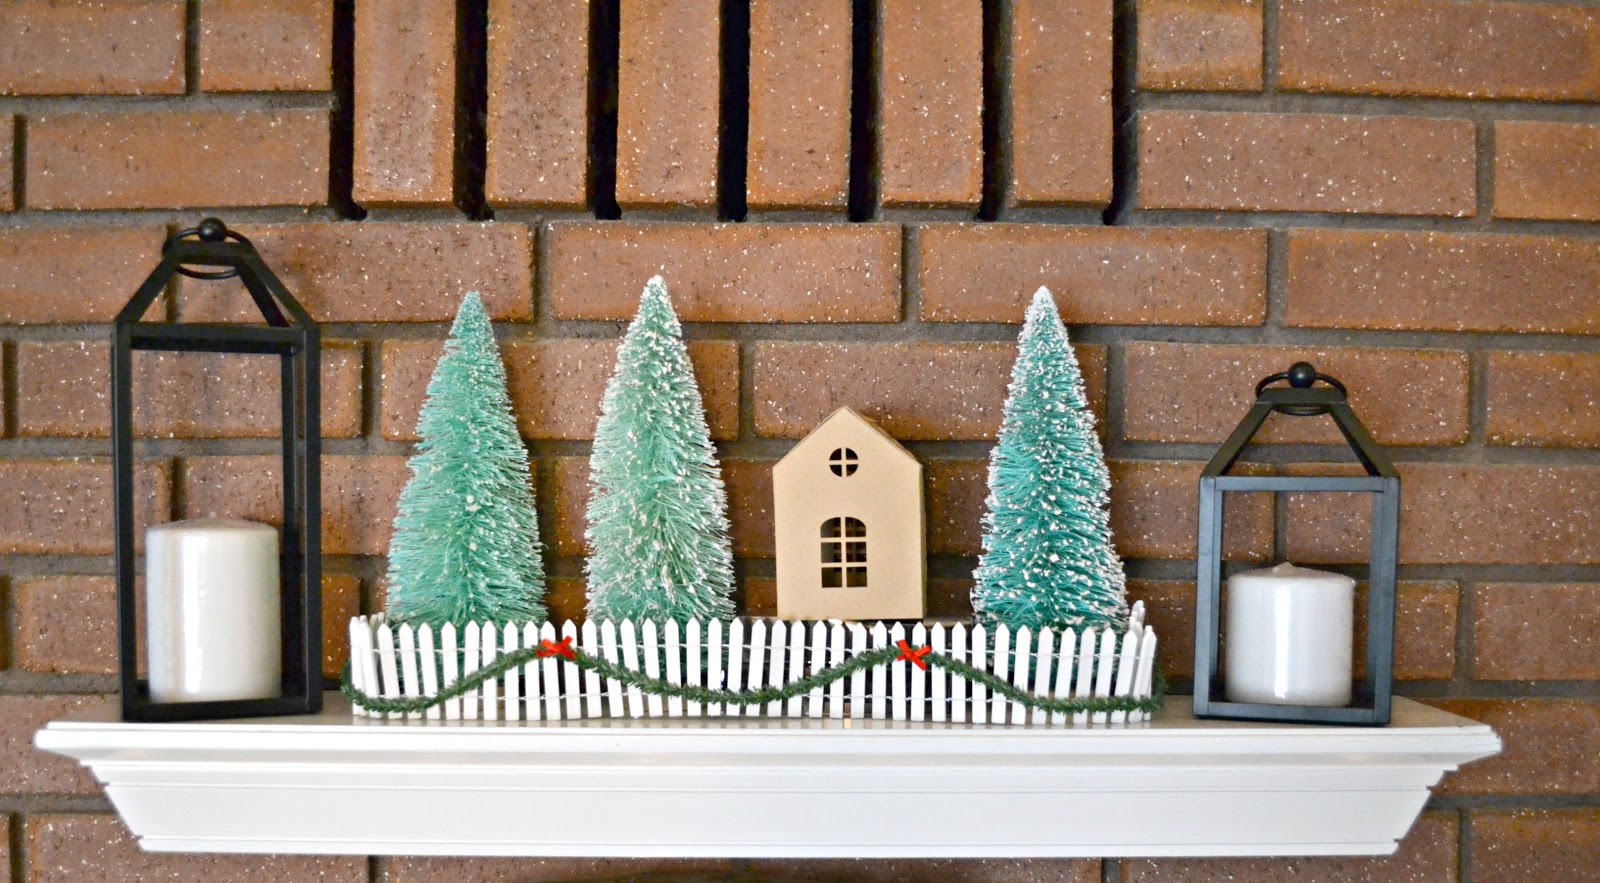
Since this is our first ever fireplace, I wasn't quite sure how to decorate it. One of the issues I ran into was trying to figure out how to hang things on the brick without damaging it. I'm sure any of you with brick fireplaces are shaking your heads at me, but it took me a bit to realize that there are Brick Clip Hooks! They definitely saved the day!
I'm also so amazed how versatile the Maker is. I've used it on sooo much!
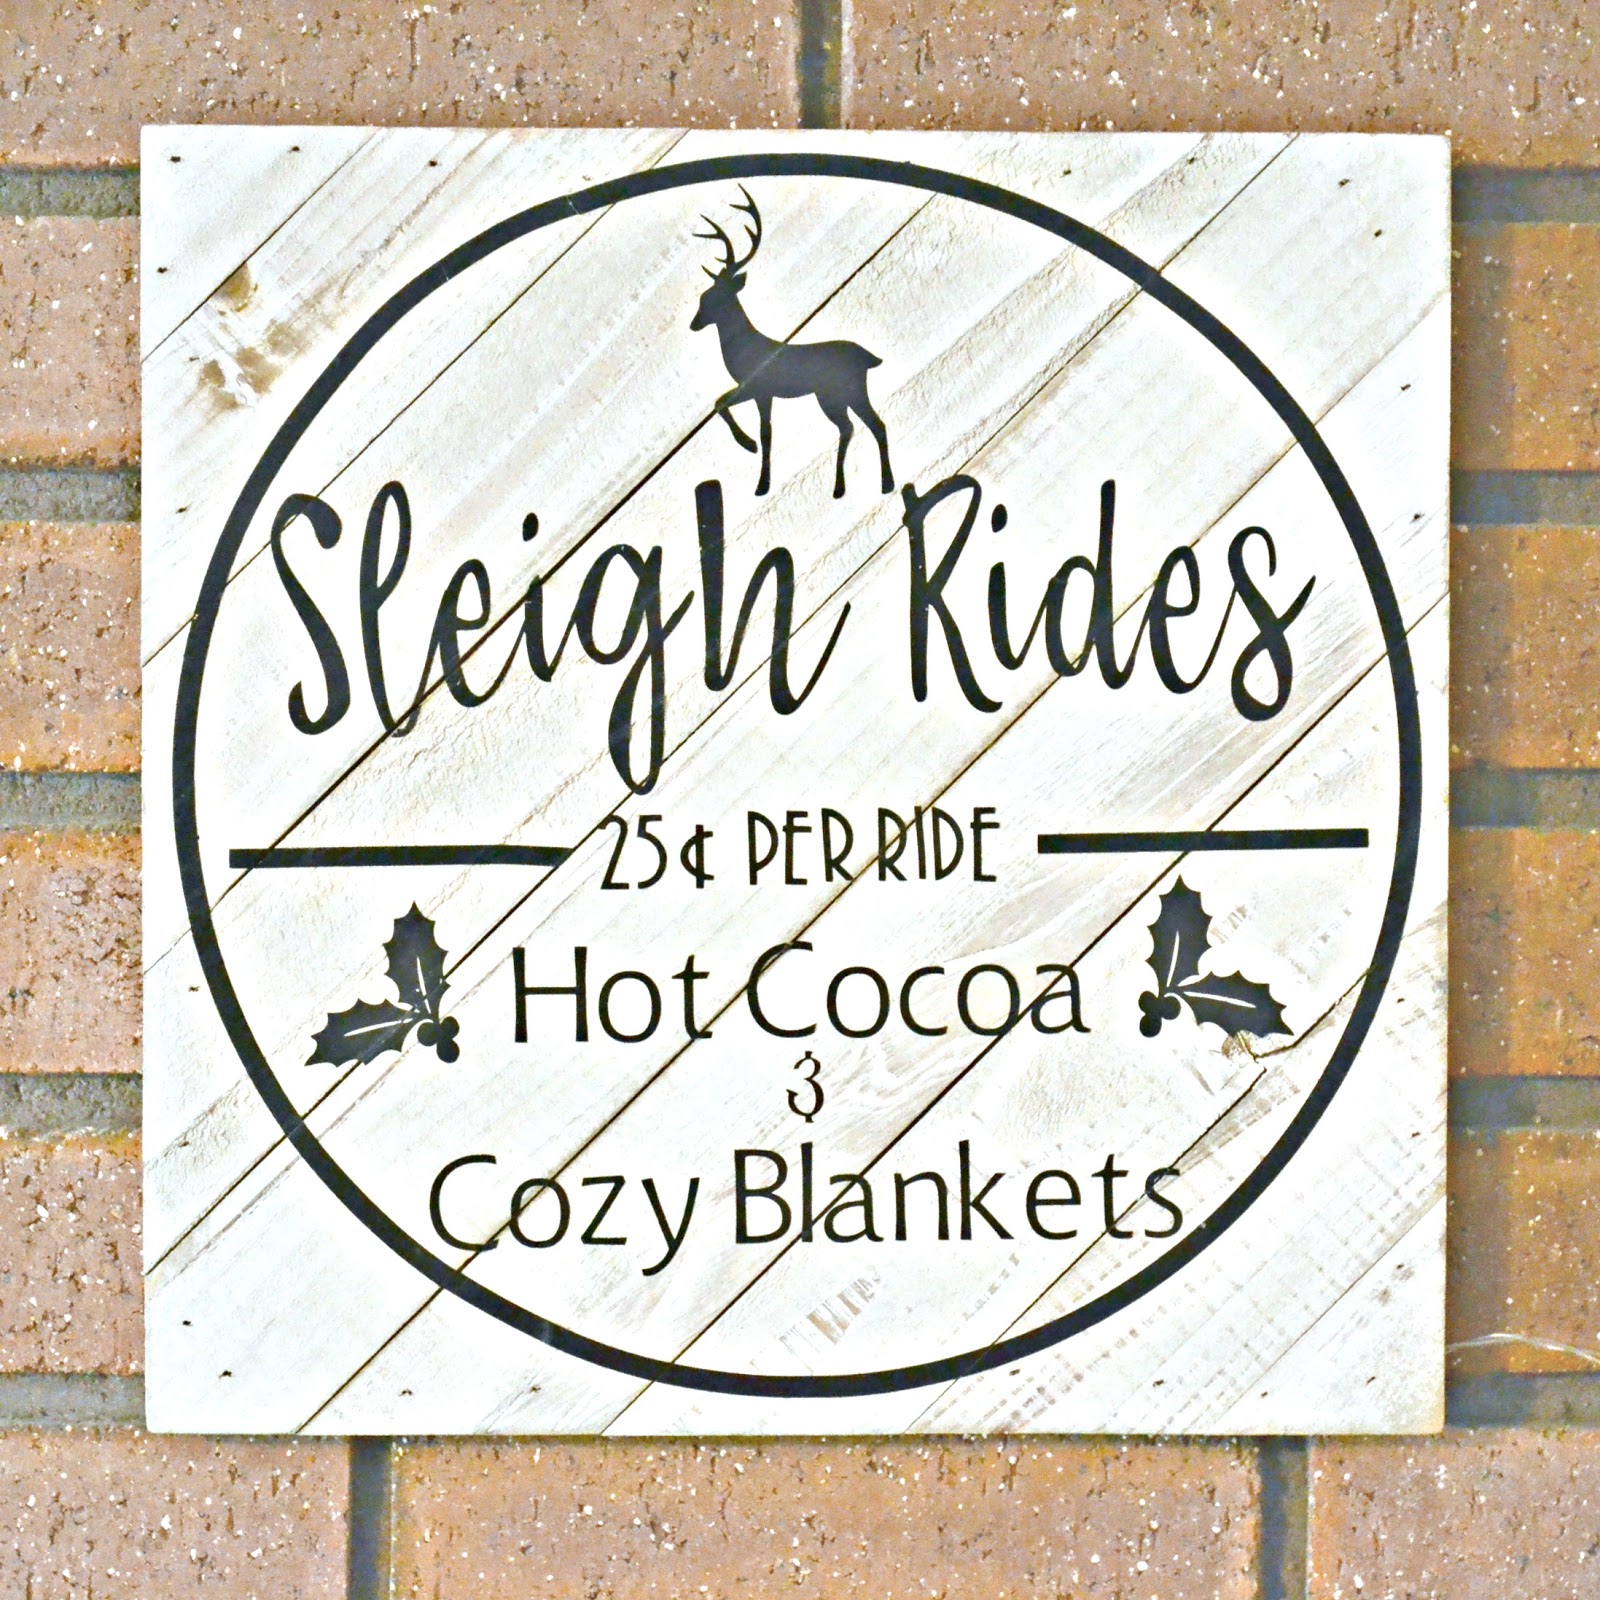
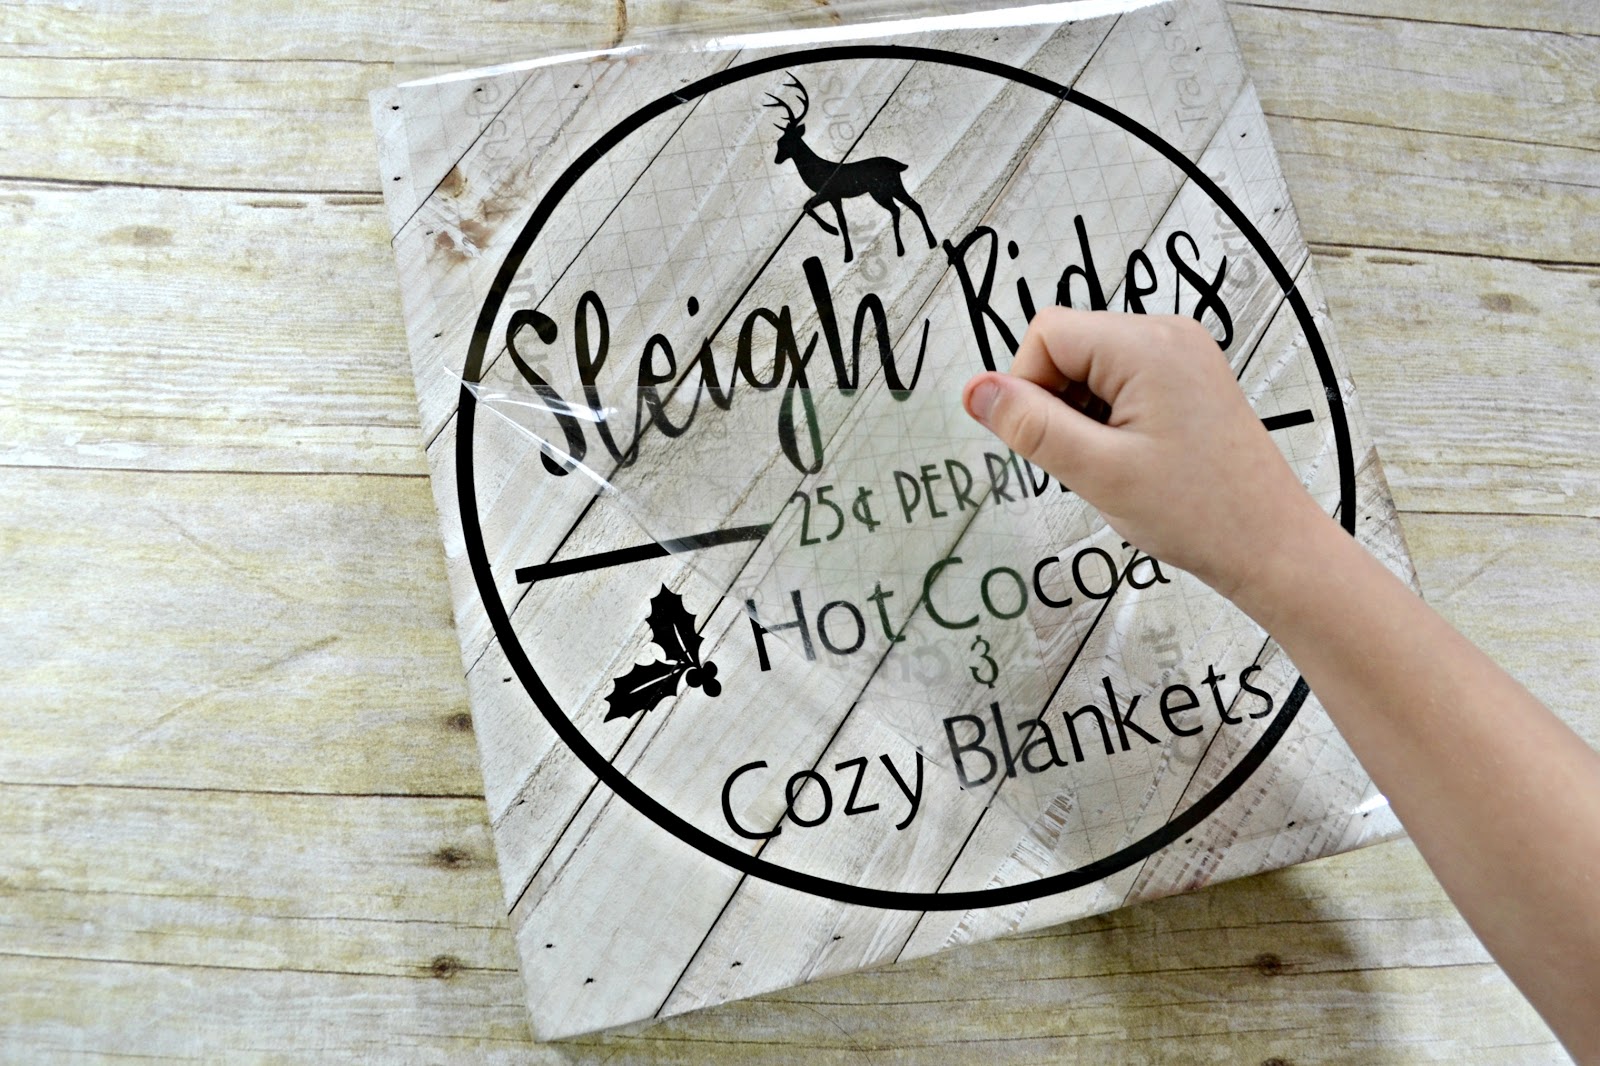
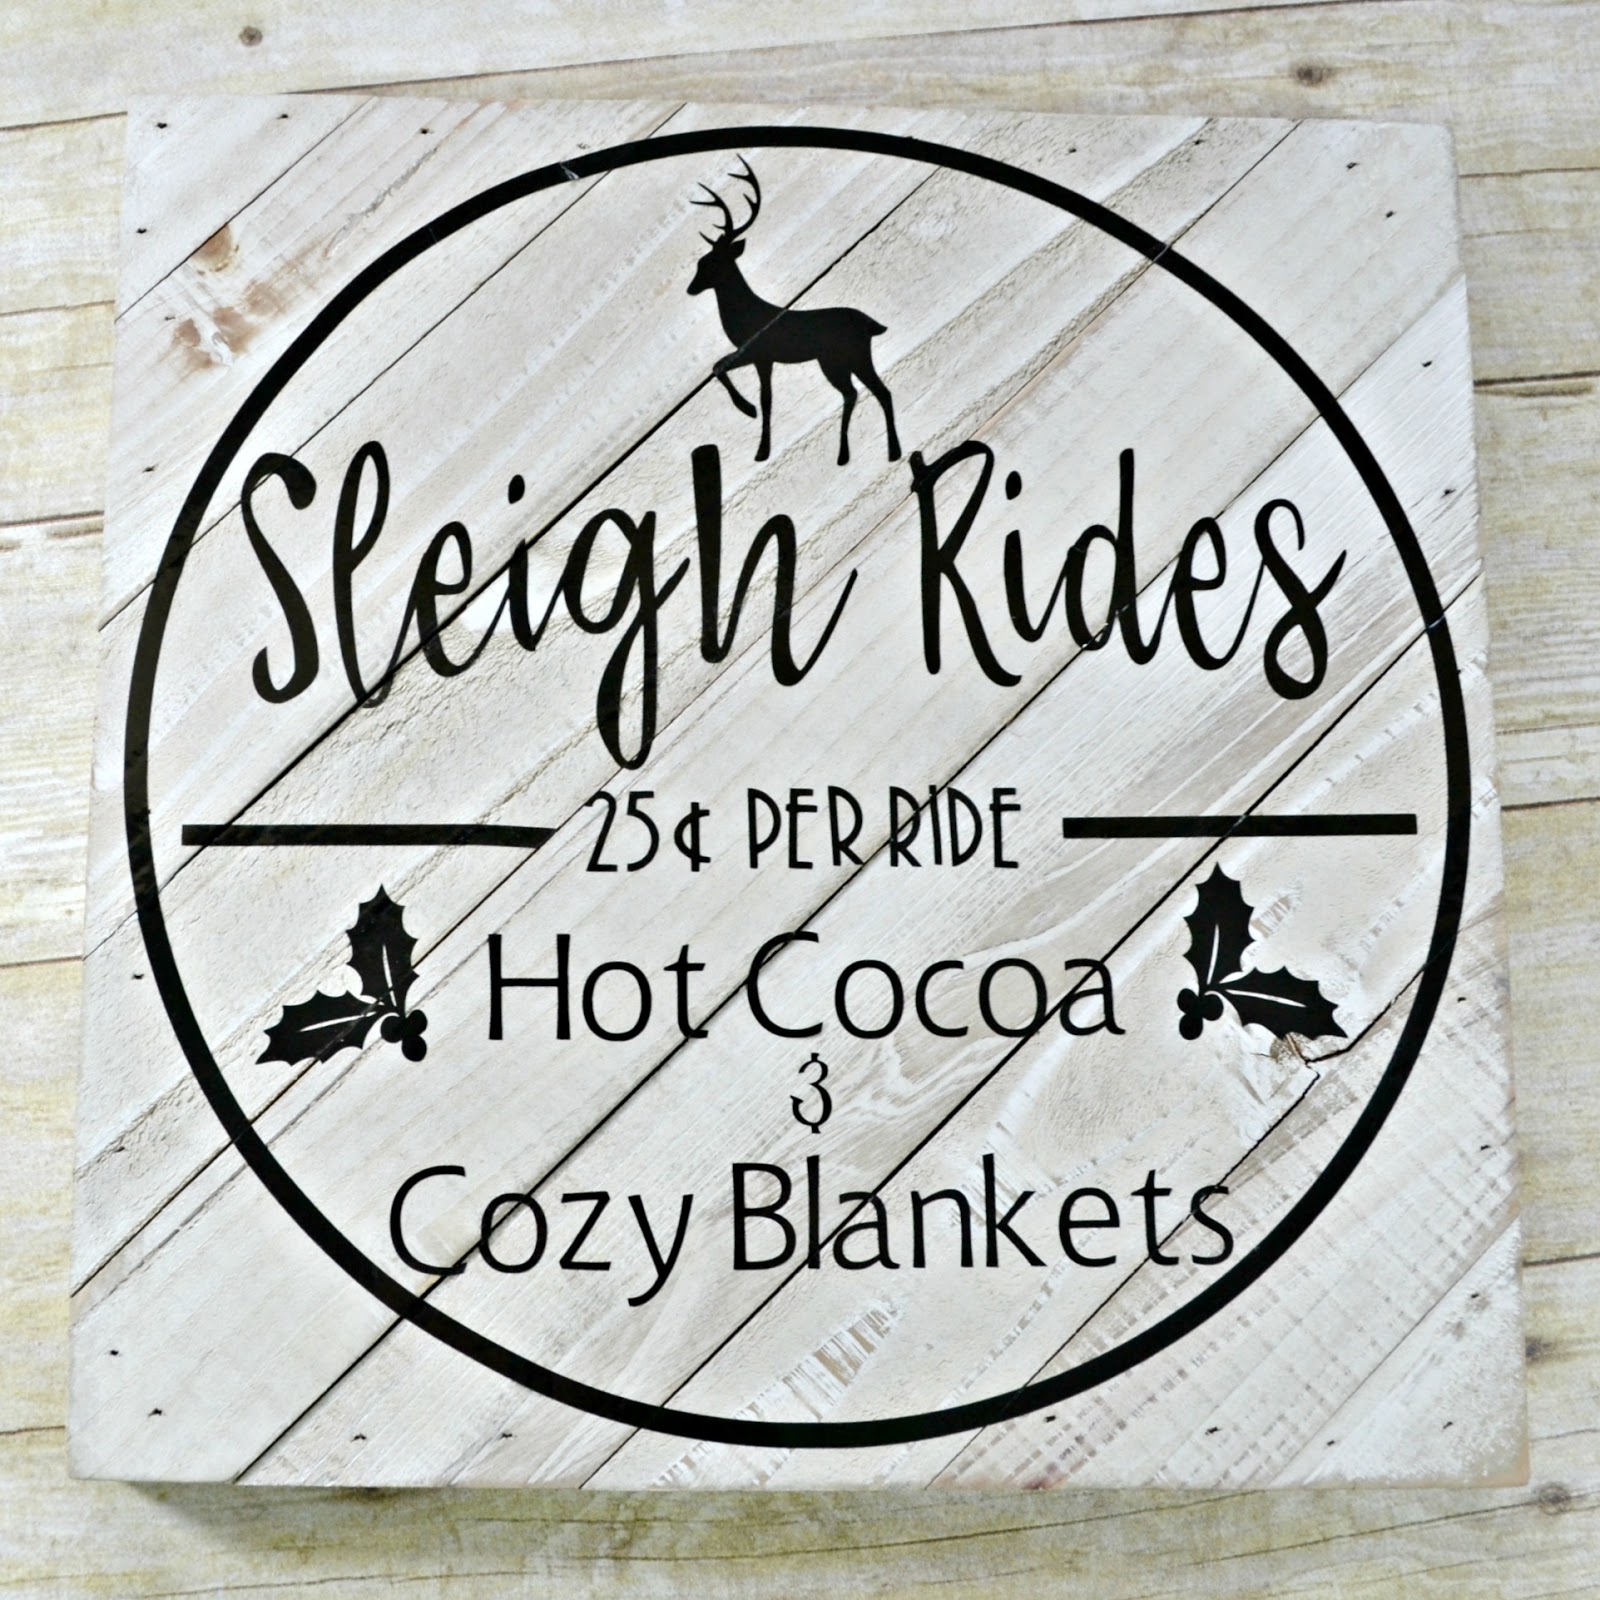
Today I'm going to share how to make this Wood Pallet Sleigh Rides Picture and later in the post I have info about the other projects I made for my decorations.
So first, grab your supplies!
The 12" by 12" wood pallet canvas is from Walmart.
True Control Knife
Circle and Square come in the Basic Shapes.
The Reindeer and Holly are part of Cricut Access
Then I used 4 fonts:
A Child's Year
Avenida Com
Chianti BT Std Roman OSF
and Babette
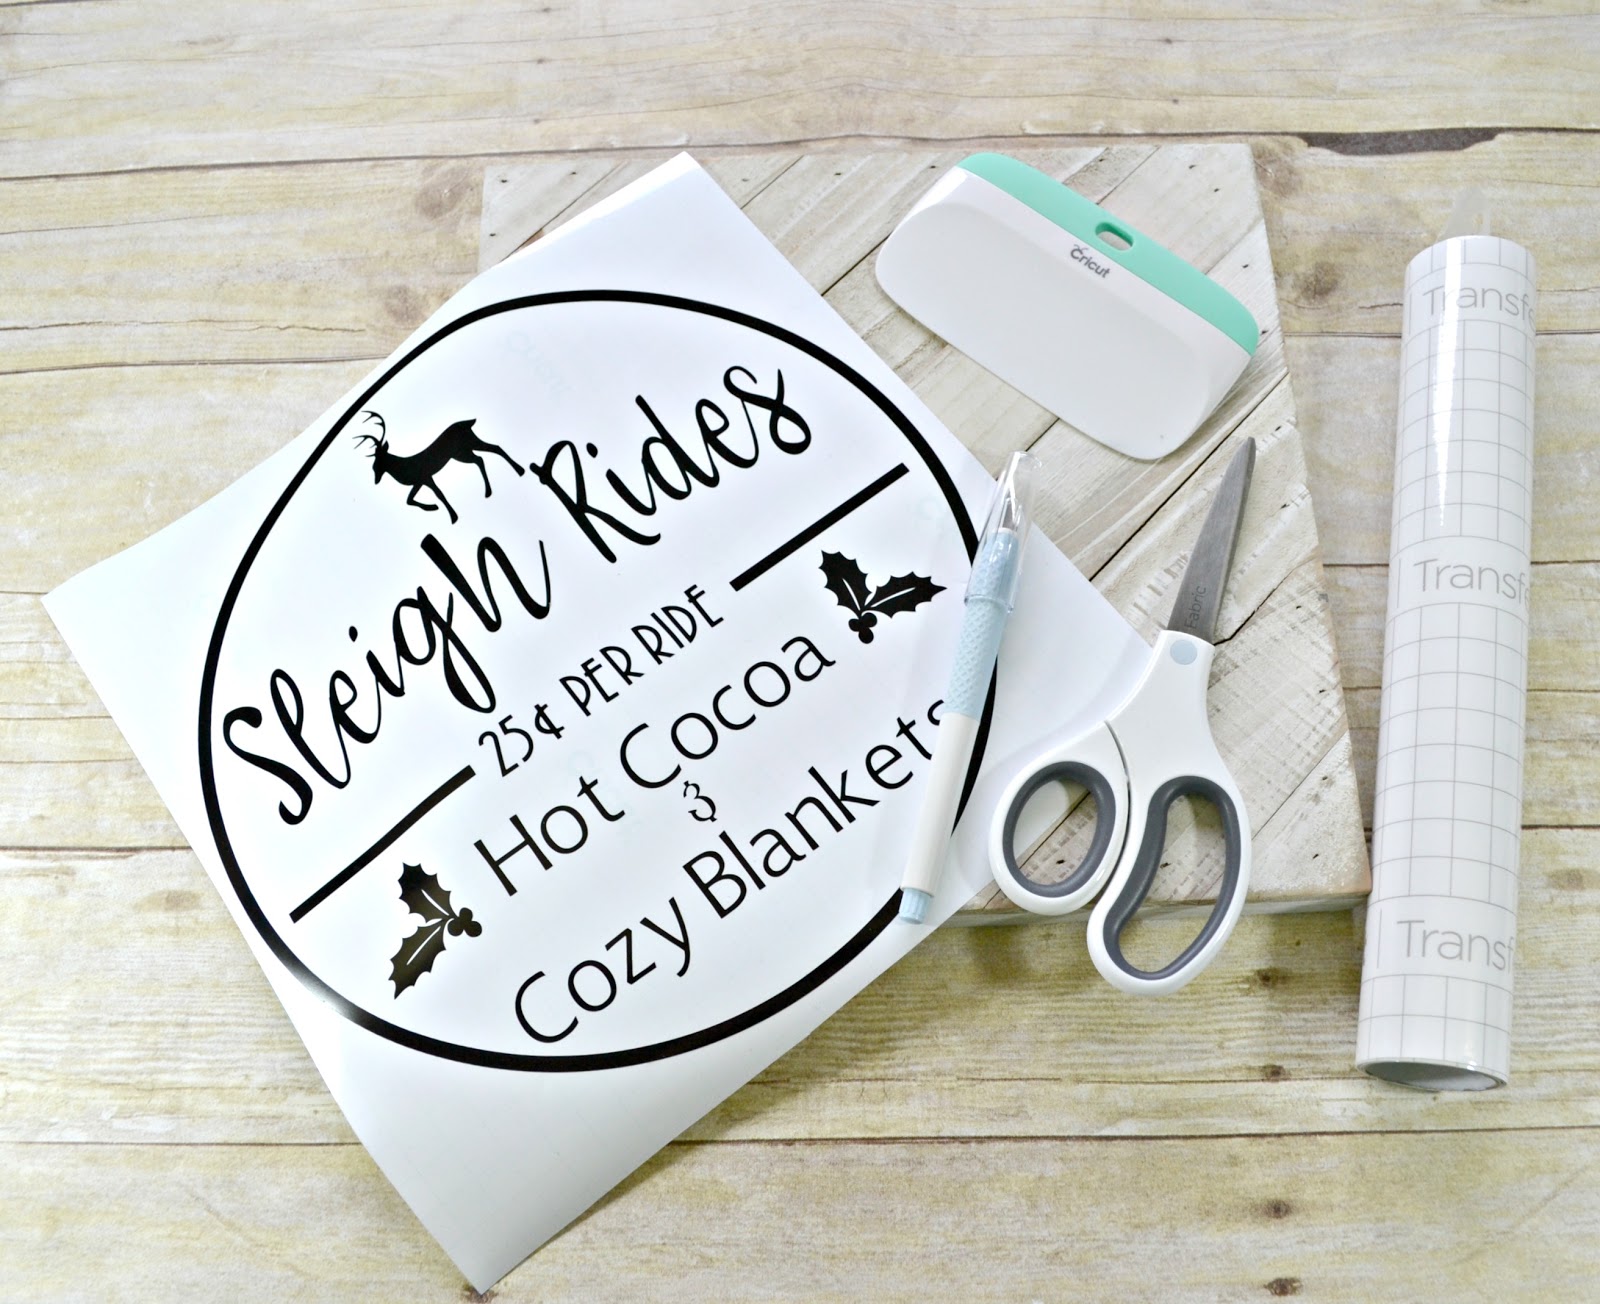
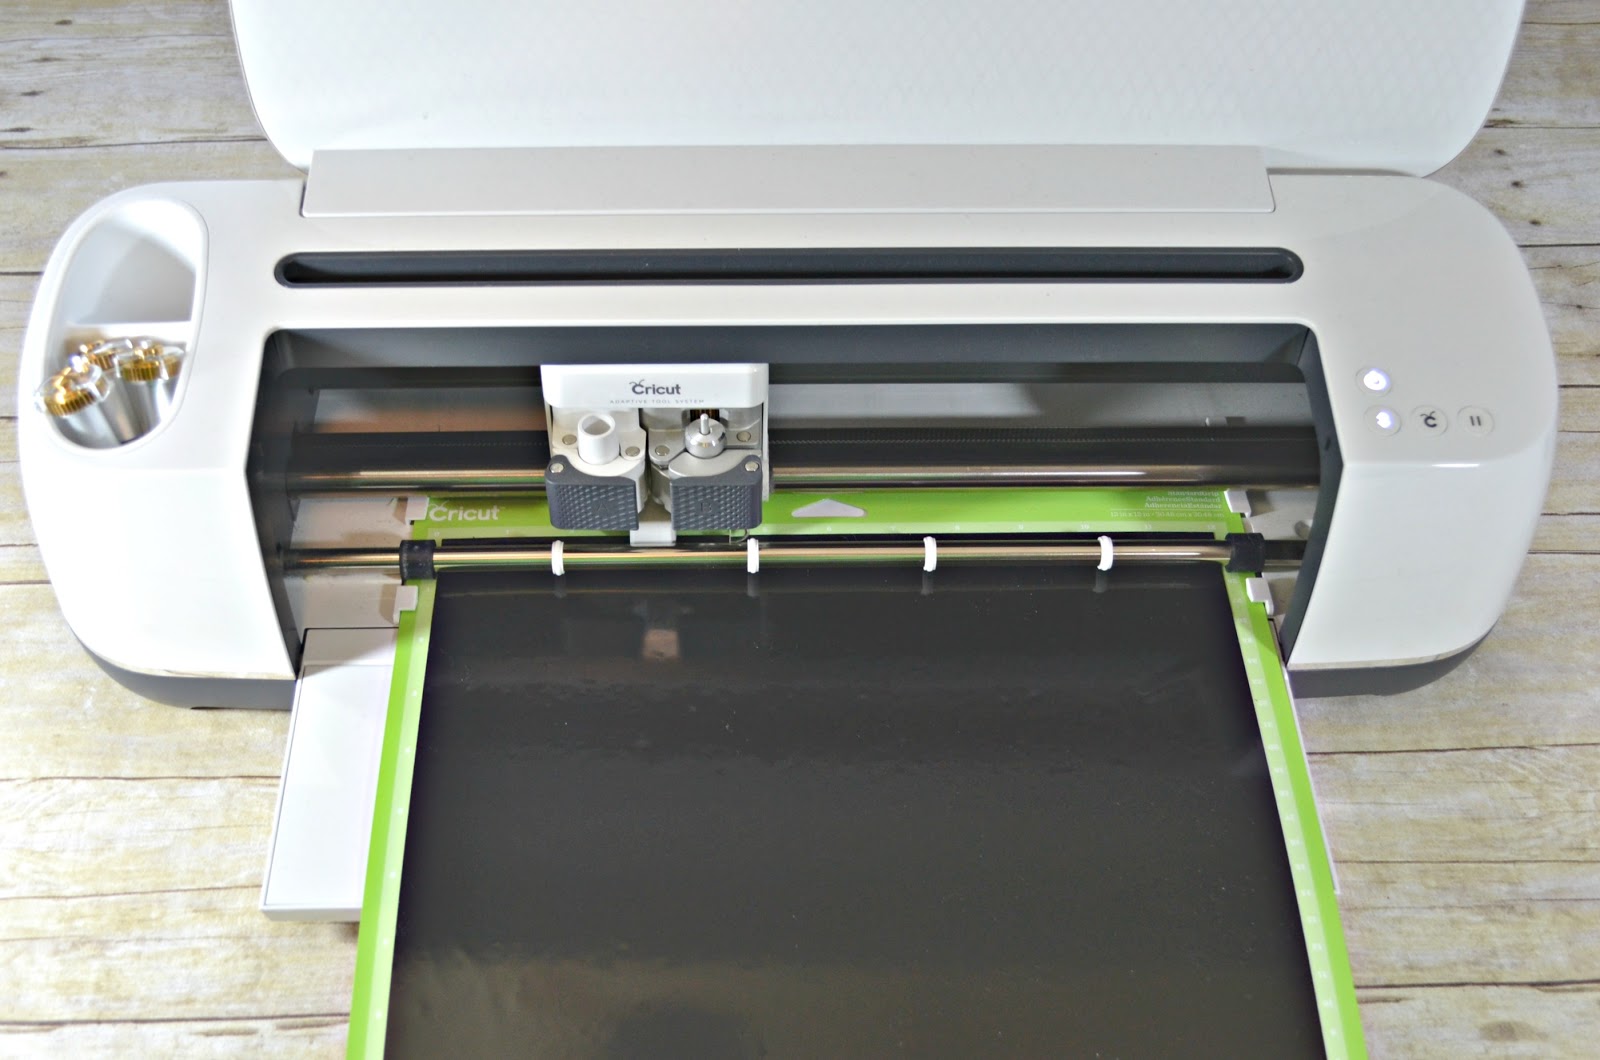
1 - To start, load your mat with your vinyl. Since this is Permanent Vinyl, you will want to have the shiny side up and cut your project as is (no mirror imaging!)
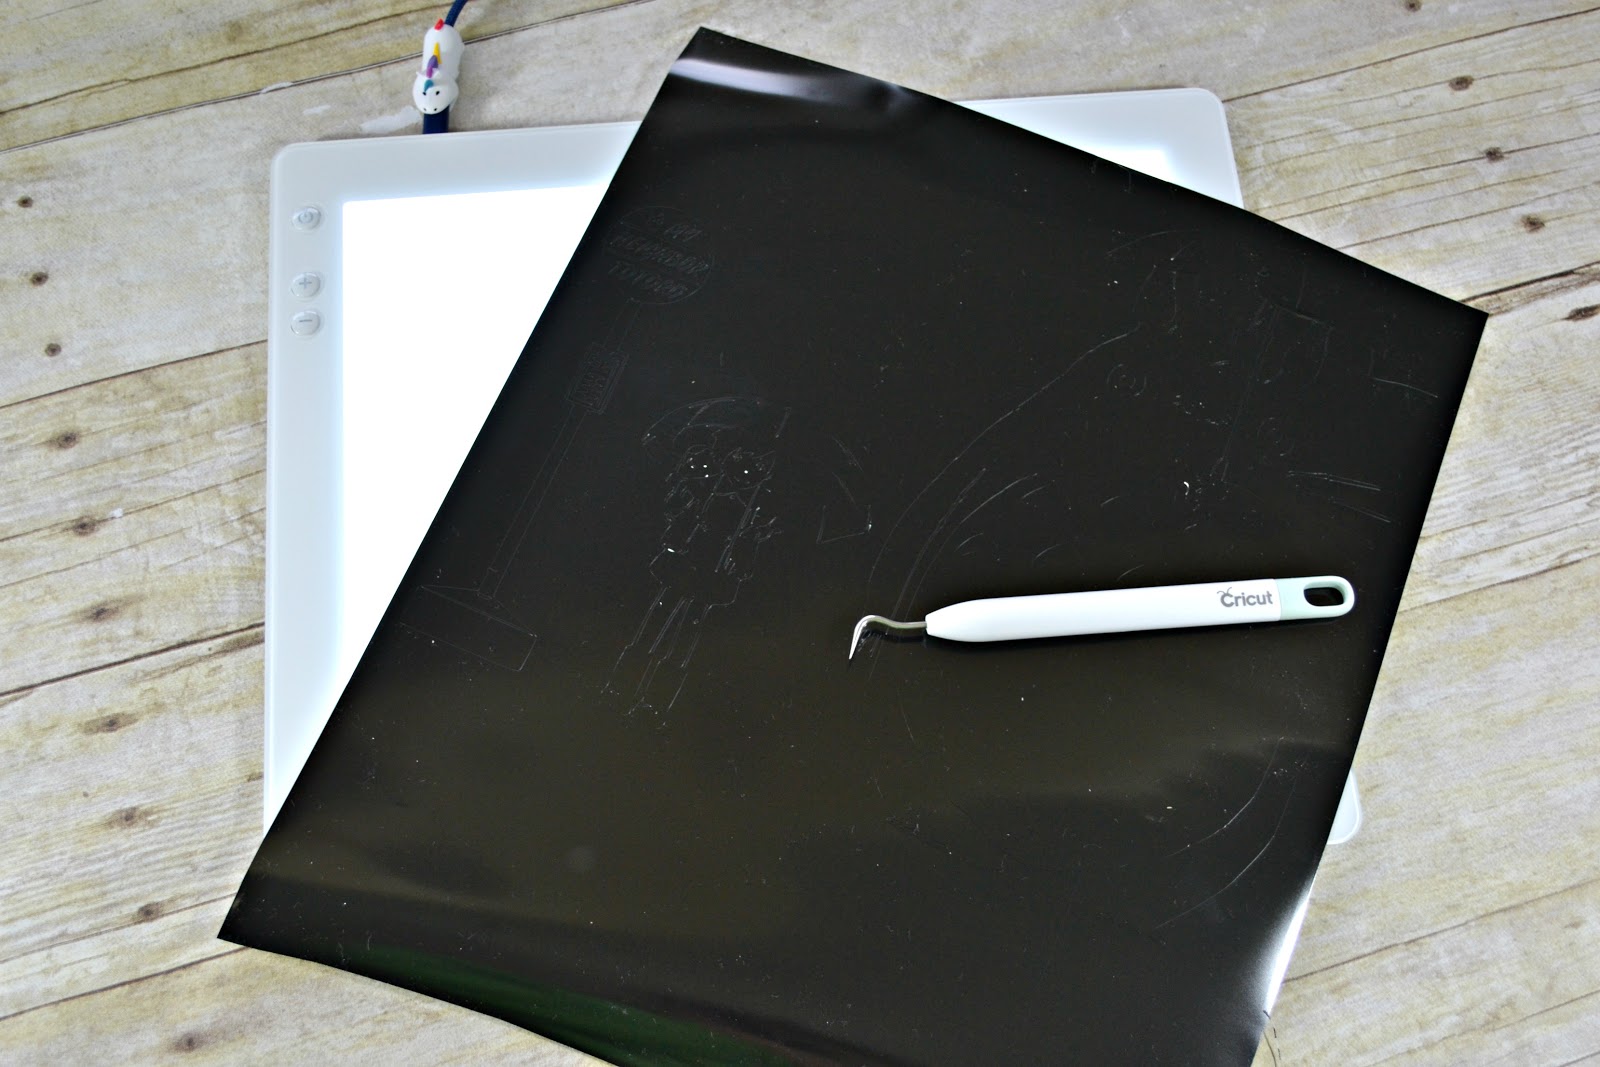
Is it a bit obvious I cut an enormous amount of Iron-on?? LOL
It really helps to see all those little small places. I also find it useful to break or cut your excess vinyl while you weed big projects. Otherwise it gets in the way and can make it more difficult to weed.
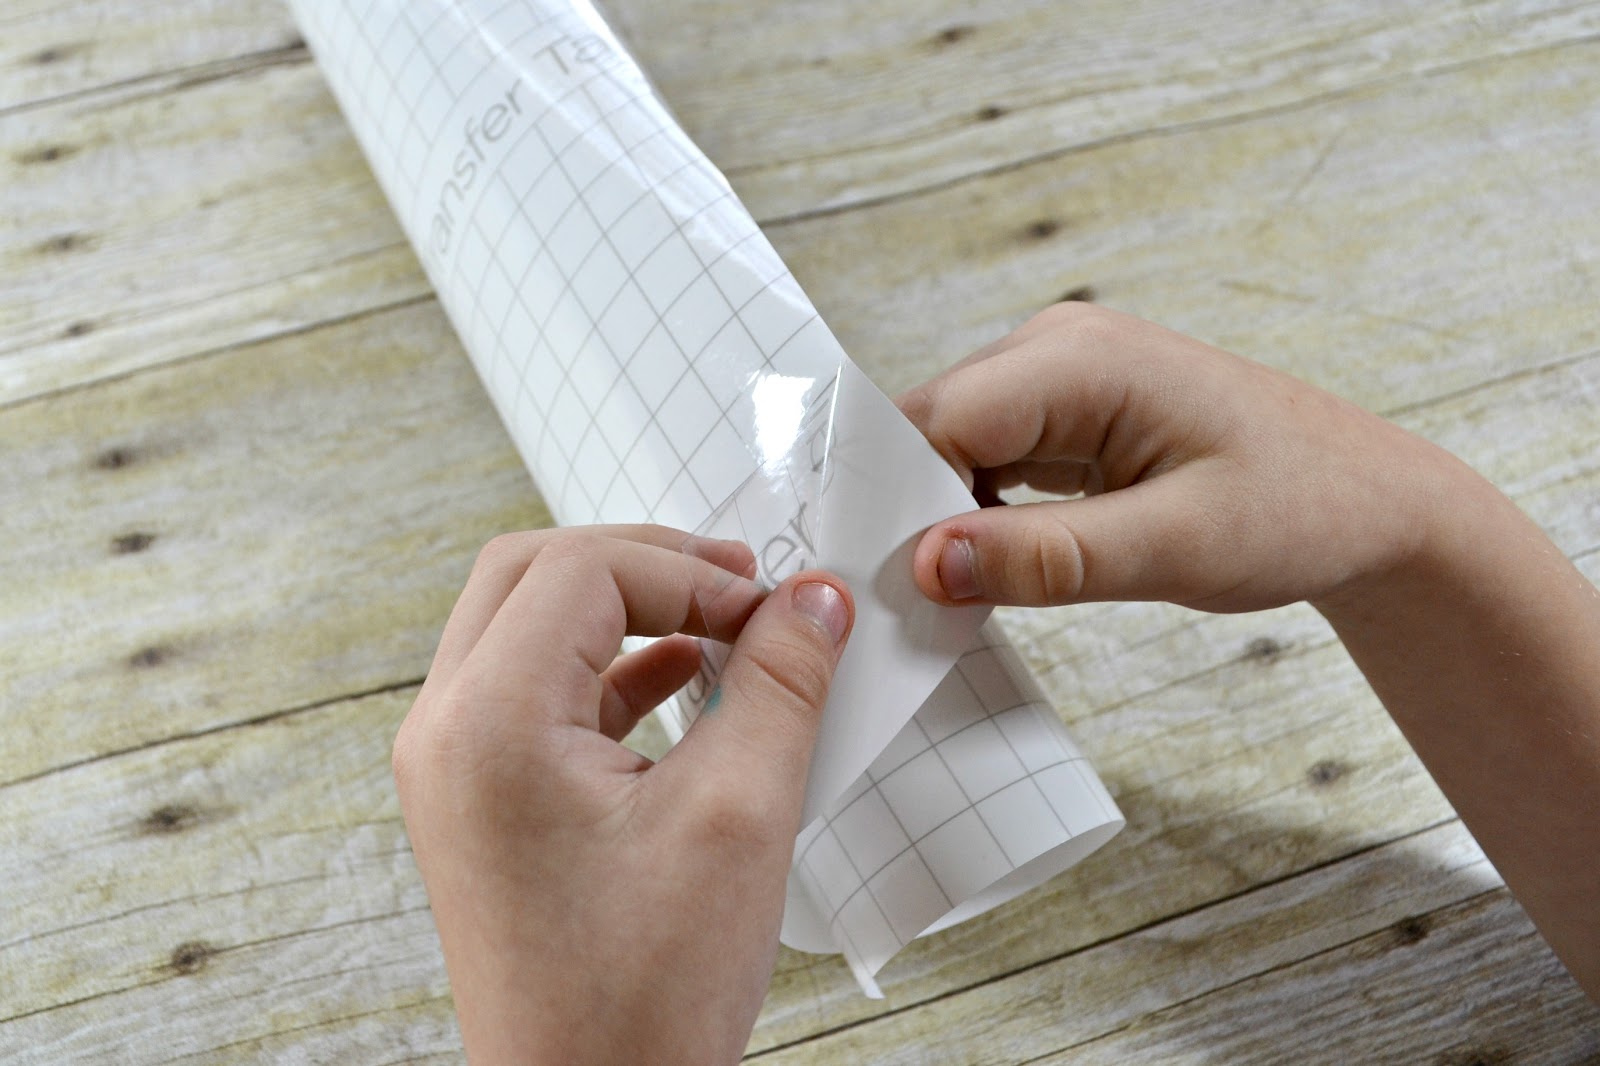
3 - Once you're finished weeding, cut out a piece of transfer tape and peel the backing off. I enrolled the help of Jude. LOL
4 - Use the XL scraper (credit card works too!) and go across the design. I find it easiest to pull the backing of your design off with the transfer tape facing your surface. The design tends to stick to the transfer paper better that way.
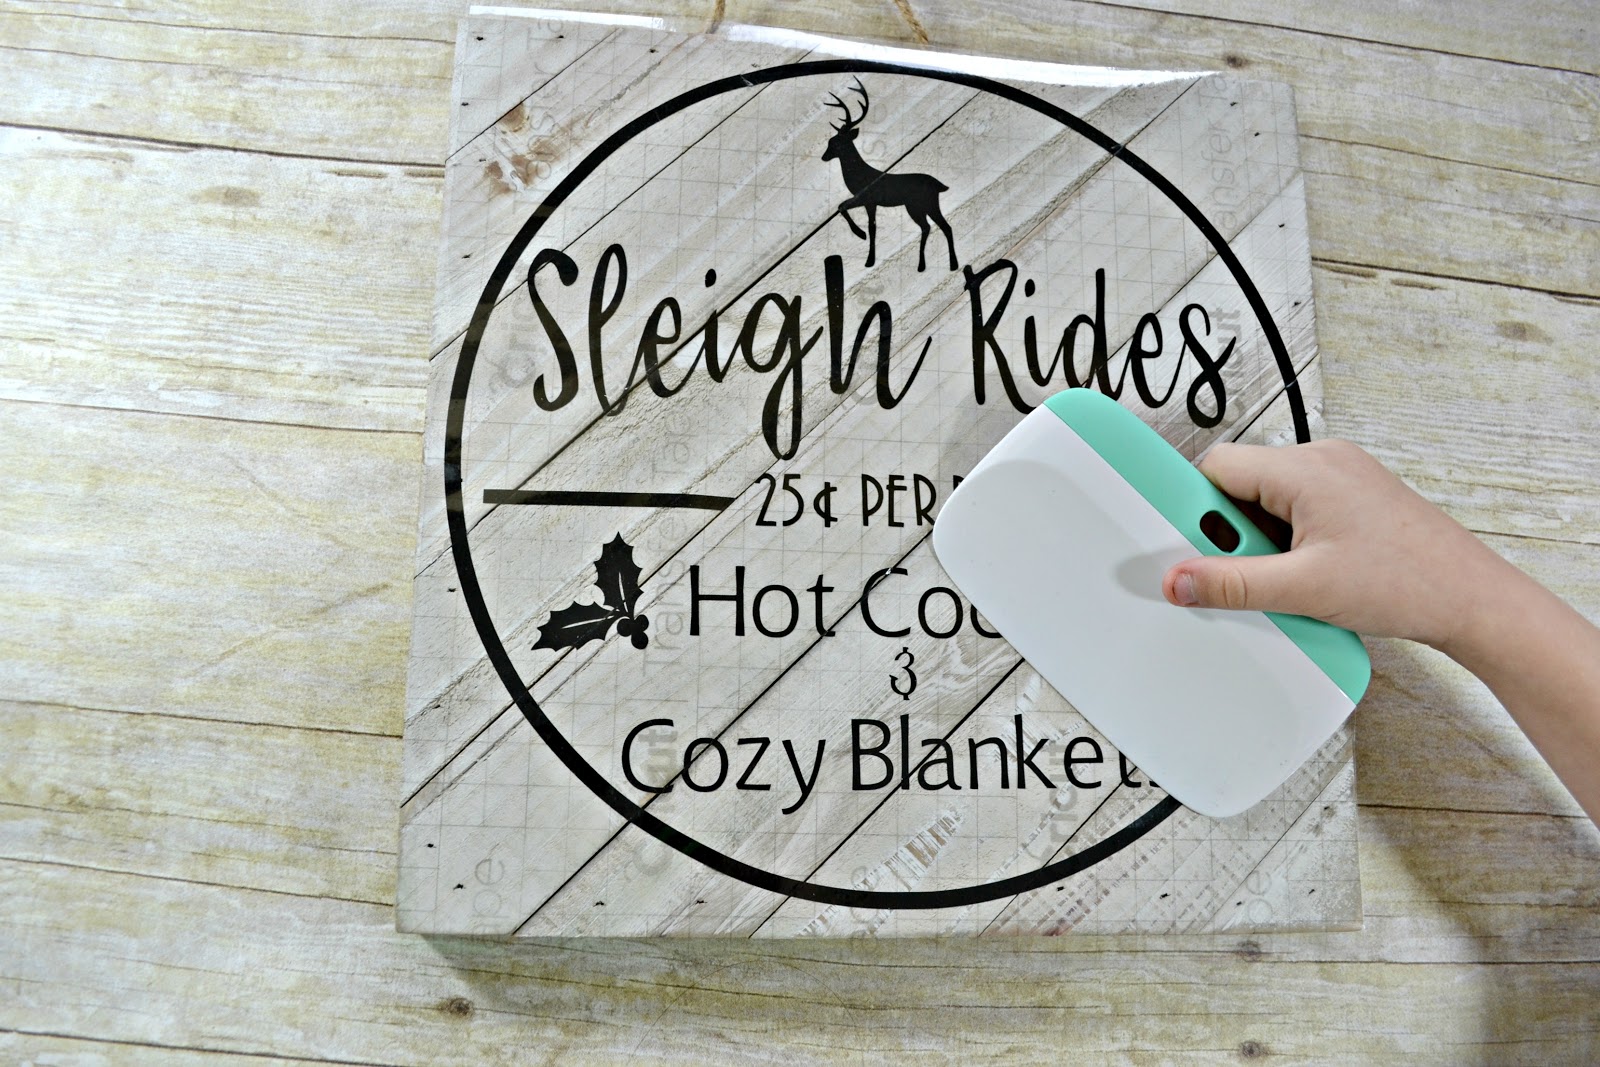
5 - Center your design onto the wood pallet and press firmly. Use the XL scraper to go across your design again. Make sure you put a lot of firm pressure on it!
Then carefully pull the transfer sheet up.
I find going at an angle, along with going slow, helps a lot!
6 - Once your design is in place and the transfer tape is off, use the True Control Knife to cut your design along the cracks in the wood. Since the pieces aren't all quite level, this helps the vinyl pieces stick to the piece of wood they're on better.
And don't worry, I watched Jude like a hawk while he was helping me!

And now you can hang your new picture up!
You can also check out the video showing all the steps too!
Here's all the other decorations:
Wood Pallet Canvas from Walmart
This project used the Fine-Point Blade.
Glue stick to glue sides together.
This project used the Fine-Point Blade - and just as a note, if your blade doesn't seem to be cutting well, just check it to make sure nothing got stuck to it. I've had bits of cardboard or kraftboard stick to the blade before so it wasn't cutting all the way through. All I had to do was remove the debris and it's cut perfectly since!
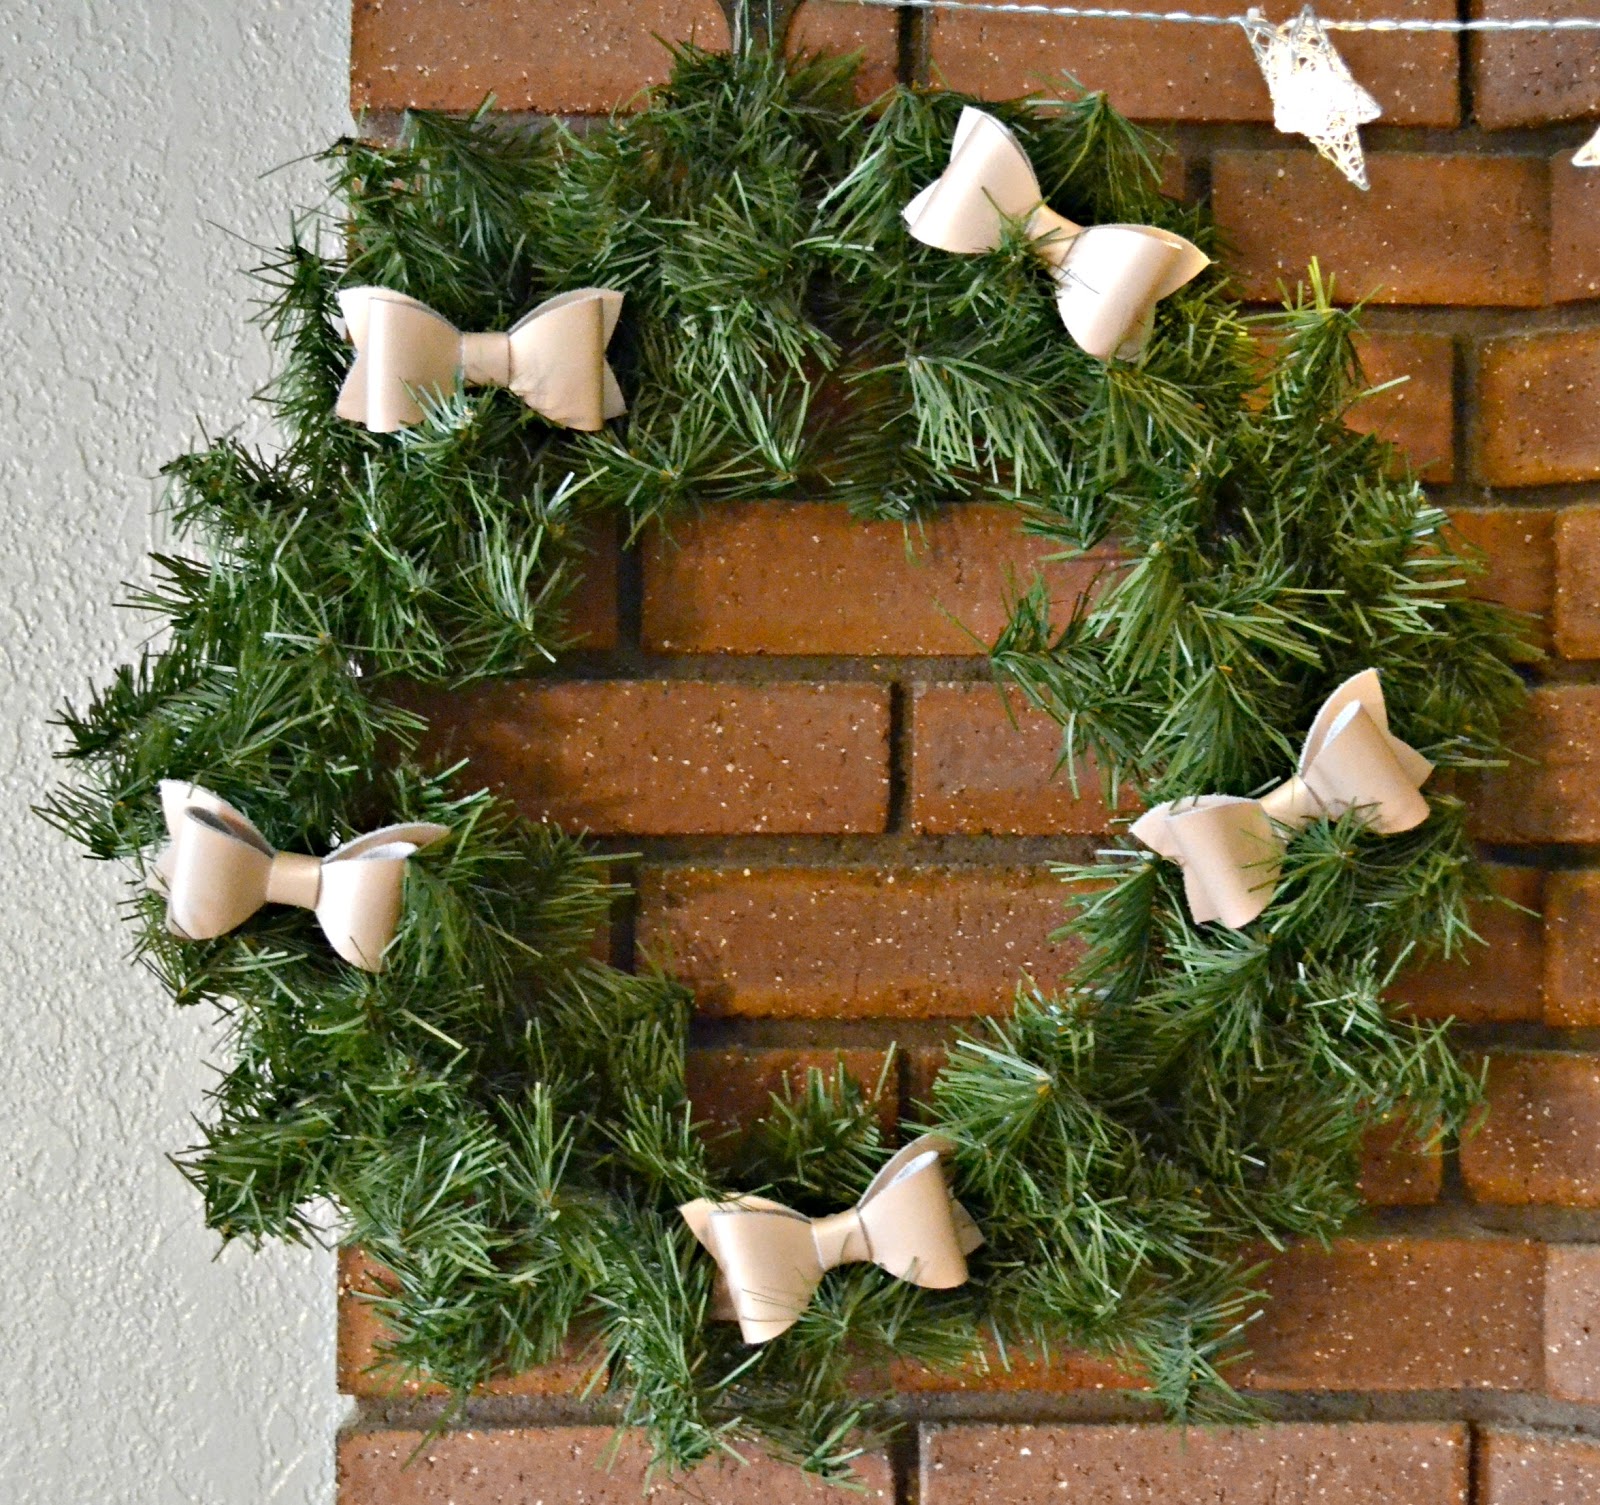
I just love these leather bows! I made 10 of them. 5 in this lovely Gold, and 5 in Black.
I sized them up in Design Space to be 3" then and duplicated that 4 times so I would get a total of 5. One piece of leather isn't quite big enough to cut them all out of.
And since I put French Barretts on the back, I can also have my girls use them as hair bows along with decorations!
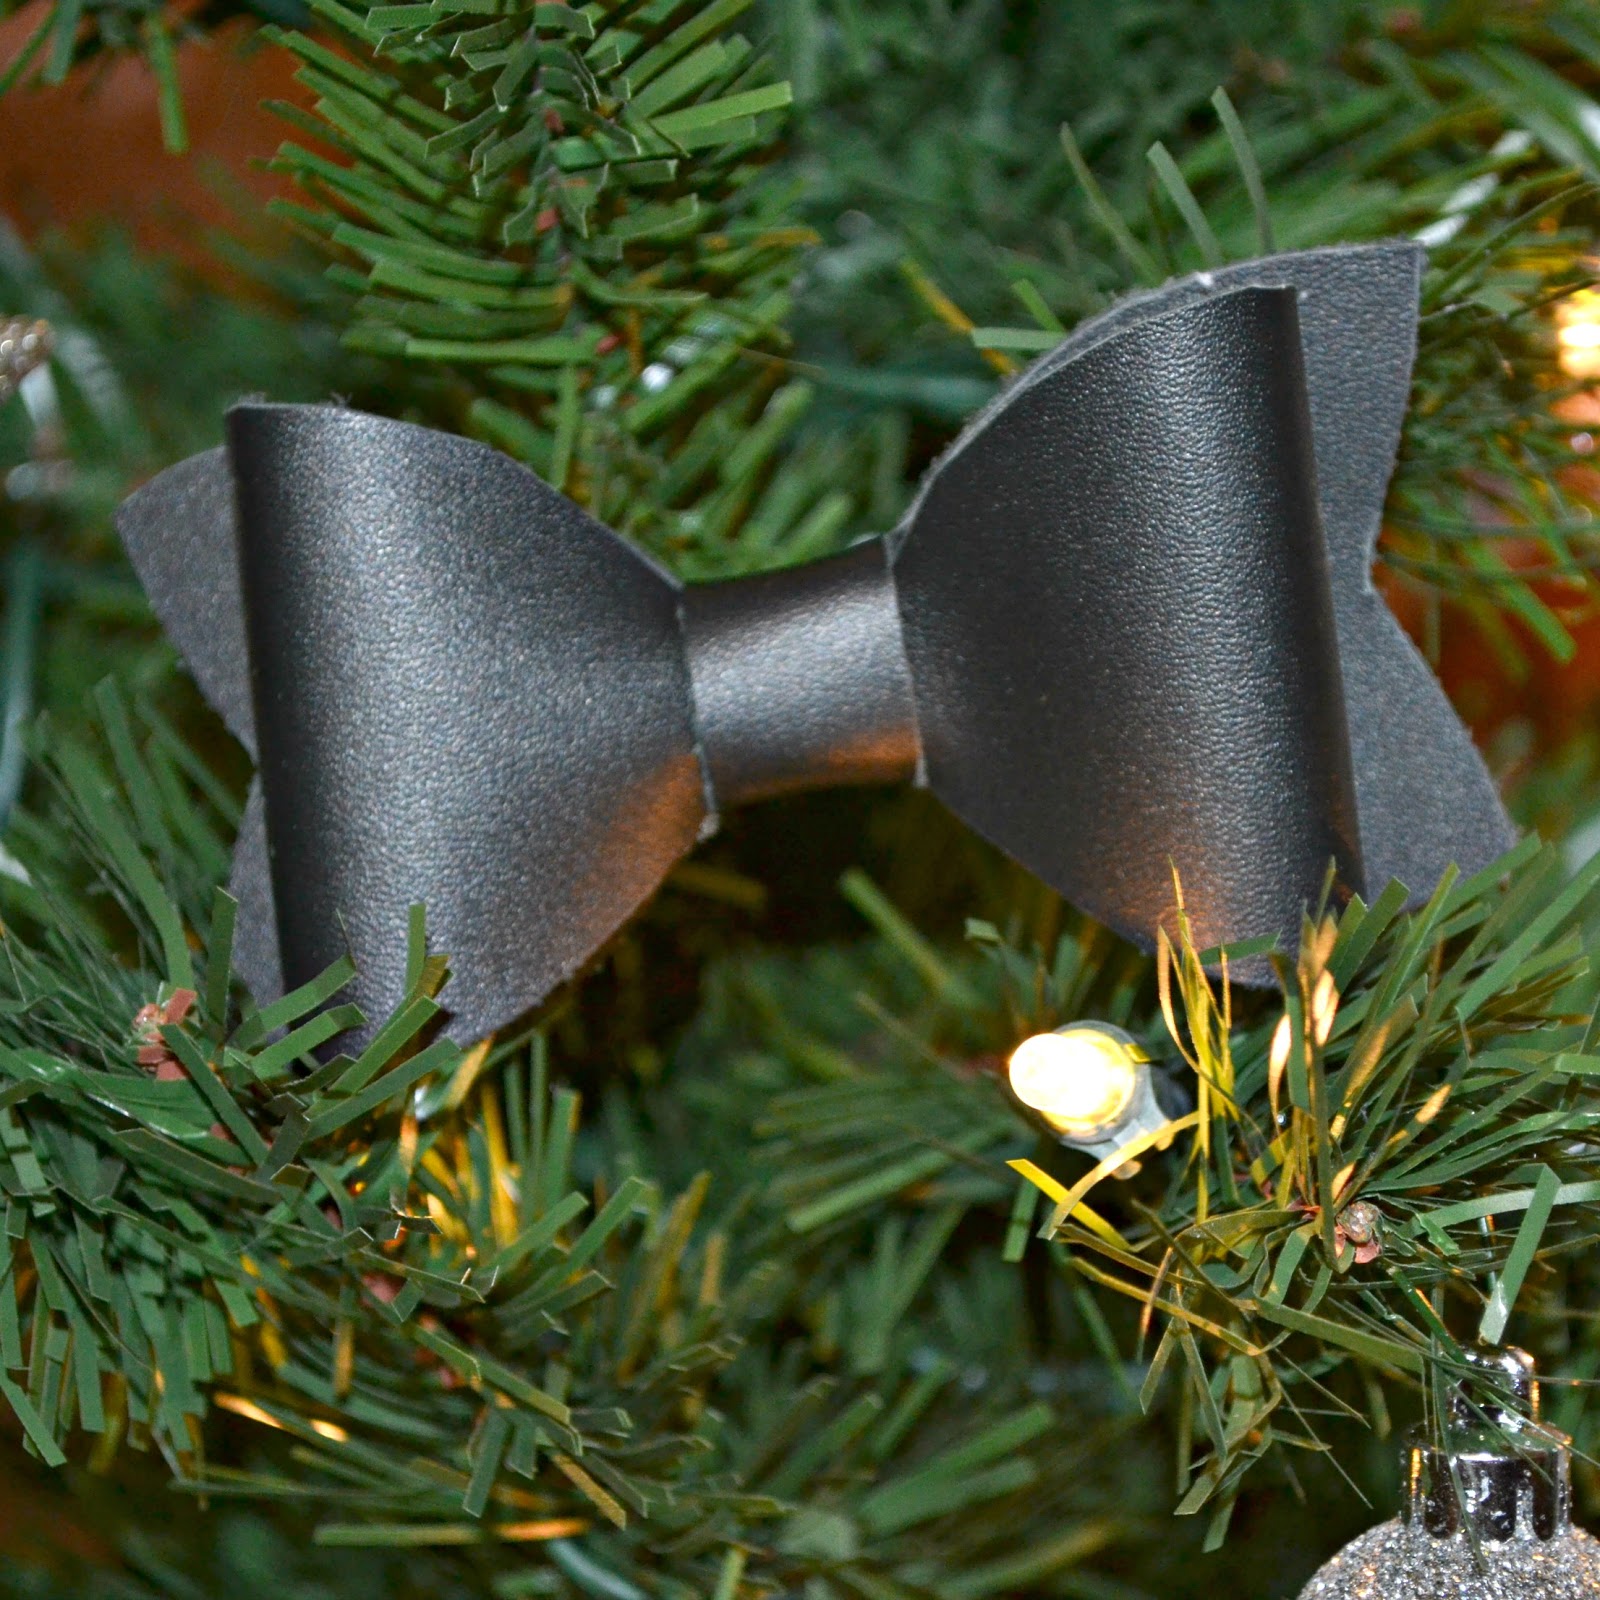
Now, I've had a bit of trouble getting the leather to cut all the way through for me on most of the settings, but this time I put my settings to cut "Chipboard" and put in the Knife Blade. It had completely clean cuts on the 8th pass (that setting is set to 20 turns!) so I think I found my setting for leather! But please if you try this, make sure you watch it! That Knife Blade can cut through your mat if you aren't careful!
French Barretts from my stash
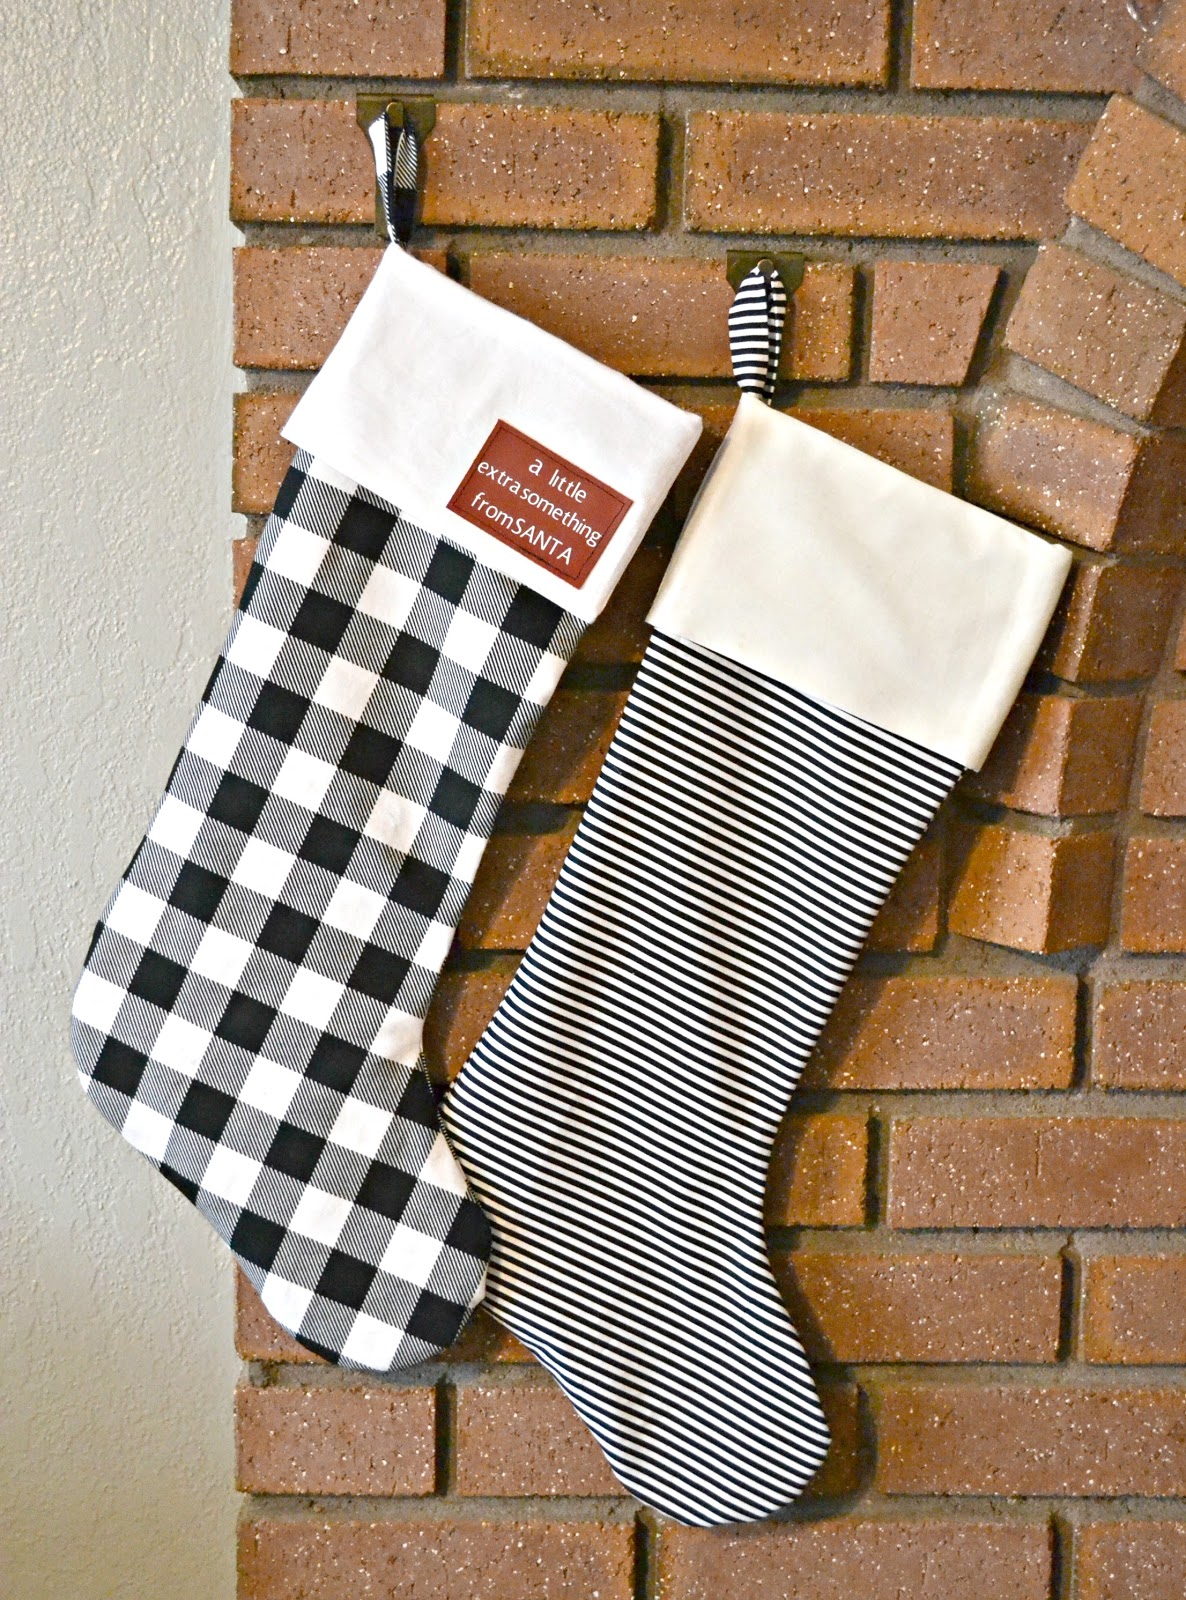
And lastly are these Cricut Stockings that you can read about in this post!
Fabric from Riley Blake Designs
This project uses the Rotary Blade. And just like the Fine-Point Blade and Knife Blade, make sure you check your blade between cuts and remove any debris that may get caught around it. It's amazing what a good cleaning can do!
So that's it for now for my Christmas Mantle! My next project is using some Window Cling for our main front window!
Do you have all of your decorations up yet?


No comments:
Post a Comment
Shout outs are ALWAYS welcome! I LOVE comments!!