


This post contains affiliate links. All thoughts and opinions are my own.
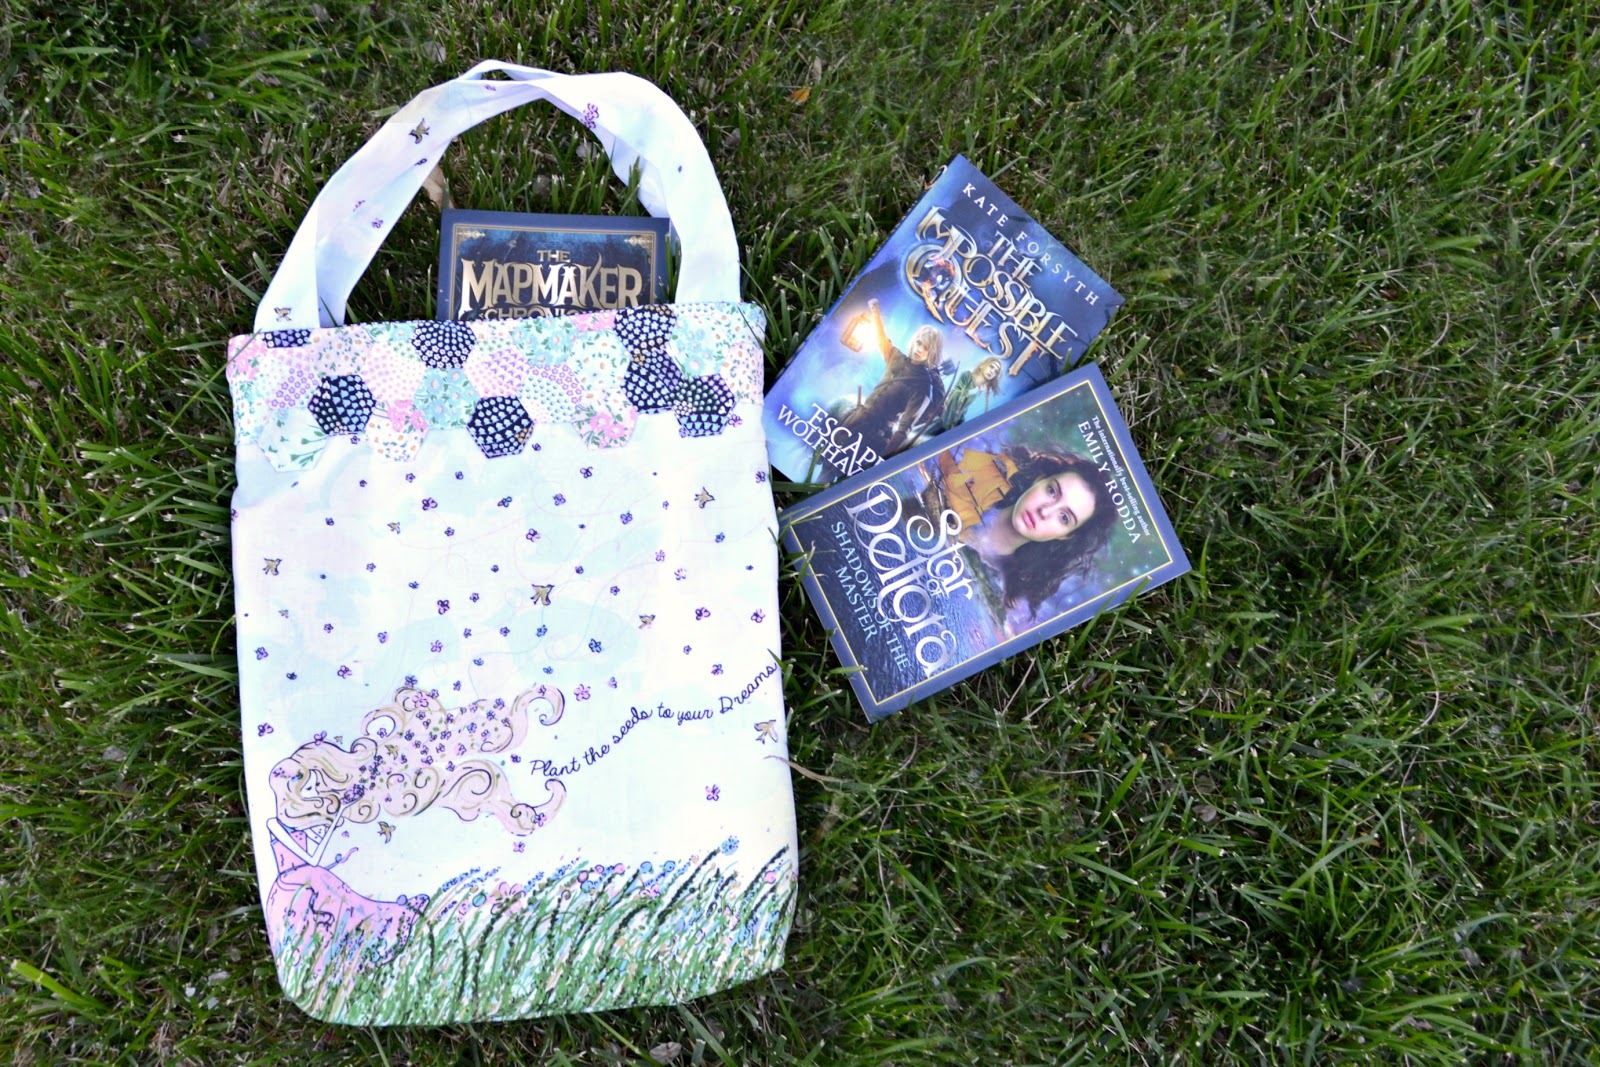
Can you guys believe how quickly the summer break is coming up on us? Although most of my kids went to public school this year, I plan to work on some homeschooling during the summer, and a reading list is high on my list! Of course with Reading lists, we need some fun book bags for my kiddo's too and Michael Millers Flower Girl border print is perfect for this project.
"Plant the seeds to your dreams" I think is extra perfect, since reading, I feel, is the seeds to learning.
I love all the fun florals in this print and the border fabric works perfectly for my long blonde eyed girly! Also, if you've never worked with Michael Miller Fabrics before, I cannot tell you how buttery soft their woven prints are! If you aren't up to buying some online, go find a store that carries their fabric close to you and just feel it. You will thank me!
Lets get straight into it!
Materials:
4 - Fat Quarters (or 4 - 6" by 12" pieces)
Michael Miller Pocket Full of Posies Cauliflower
Michael Miller Pocket Full of Posies Flower
Michael Miller Daisy Days Garden
Michael Miller Daisy Days Stone
1/2 yard - Michael Miller Flower Girl Border Print
1/2 yard - Michael Miller Daisy Days Stone
Thread
Needle
Glue Stick
If you don't have a Cricut Maker:
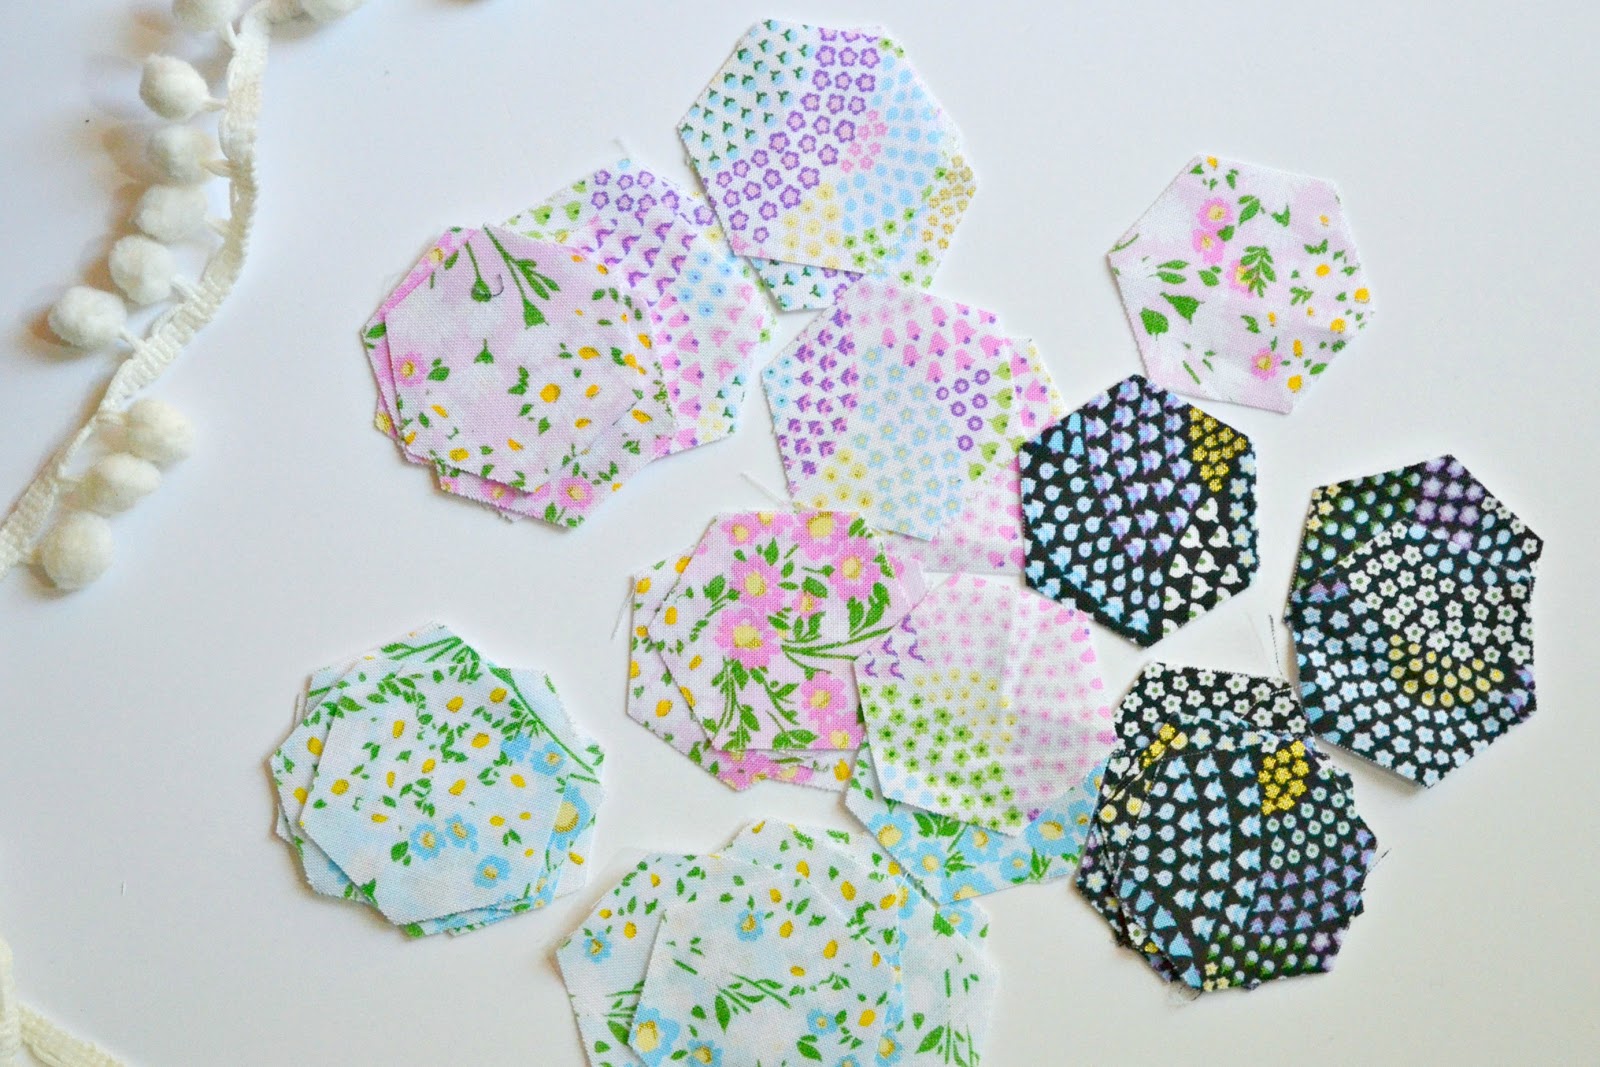
60 - 1.5" English Paper Piecing Hexies
60 - 2" Fabric Hexies
Cut fat quarters into 6" by 12" rectangles (cut into 60 - 2" Hexies if not using the Cricut Maker).
Cut 2 - 16" by 13.5" pieces from main and lining fabric (total of 4 pieces)
Cut 2 - 3" by 16" strips of main fabric
Load Cardstock and cut out Hexies
Place 6" by 12" pieces onto Cricut Mat and cut out Fabric Hexies
Once Hexies are all cut out, fold fabric Hexies around the cardstock. Use the gluestick to glue fabric down or you can sew the corners as well.
Since I'm a beginner at EPP, I chose to use the glue stick. It worked so well!
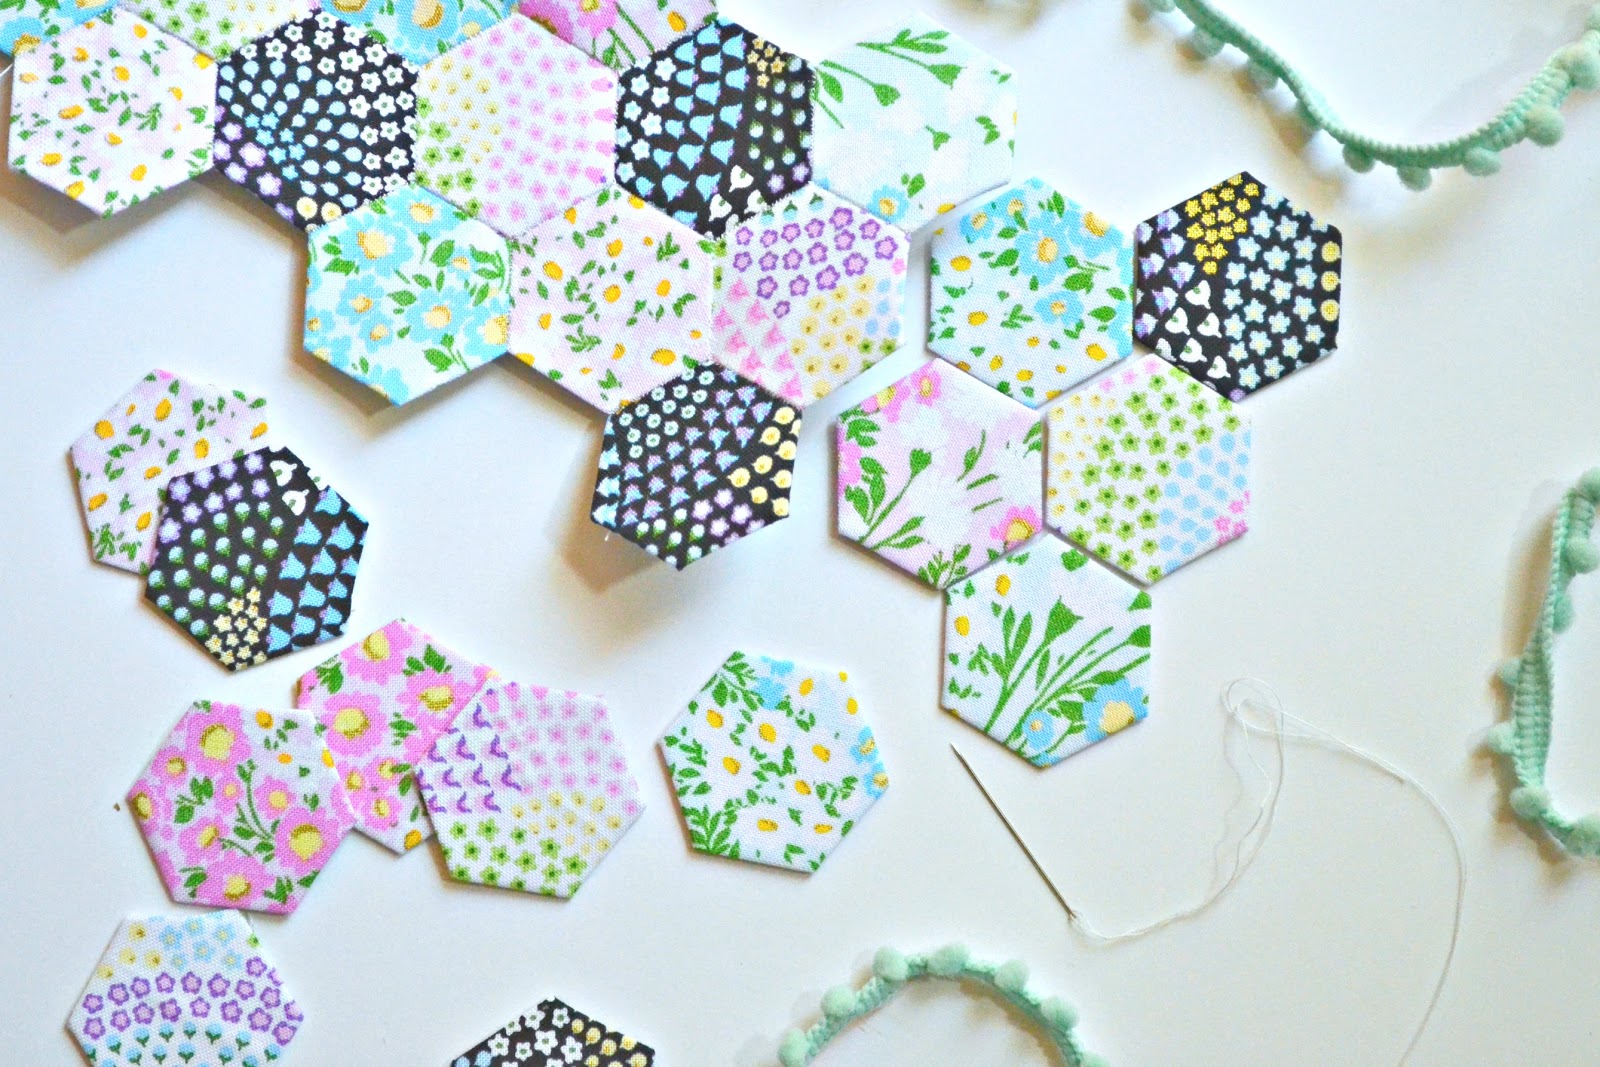
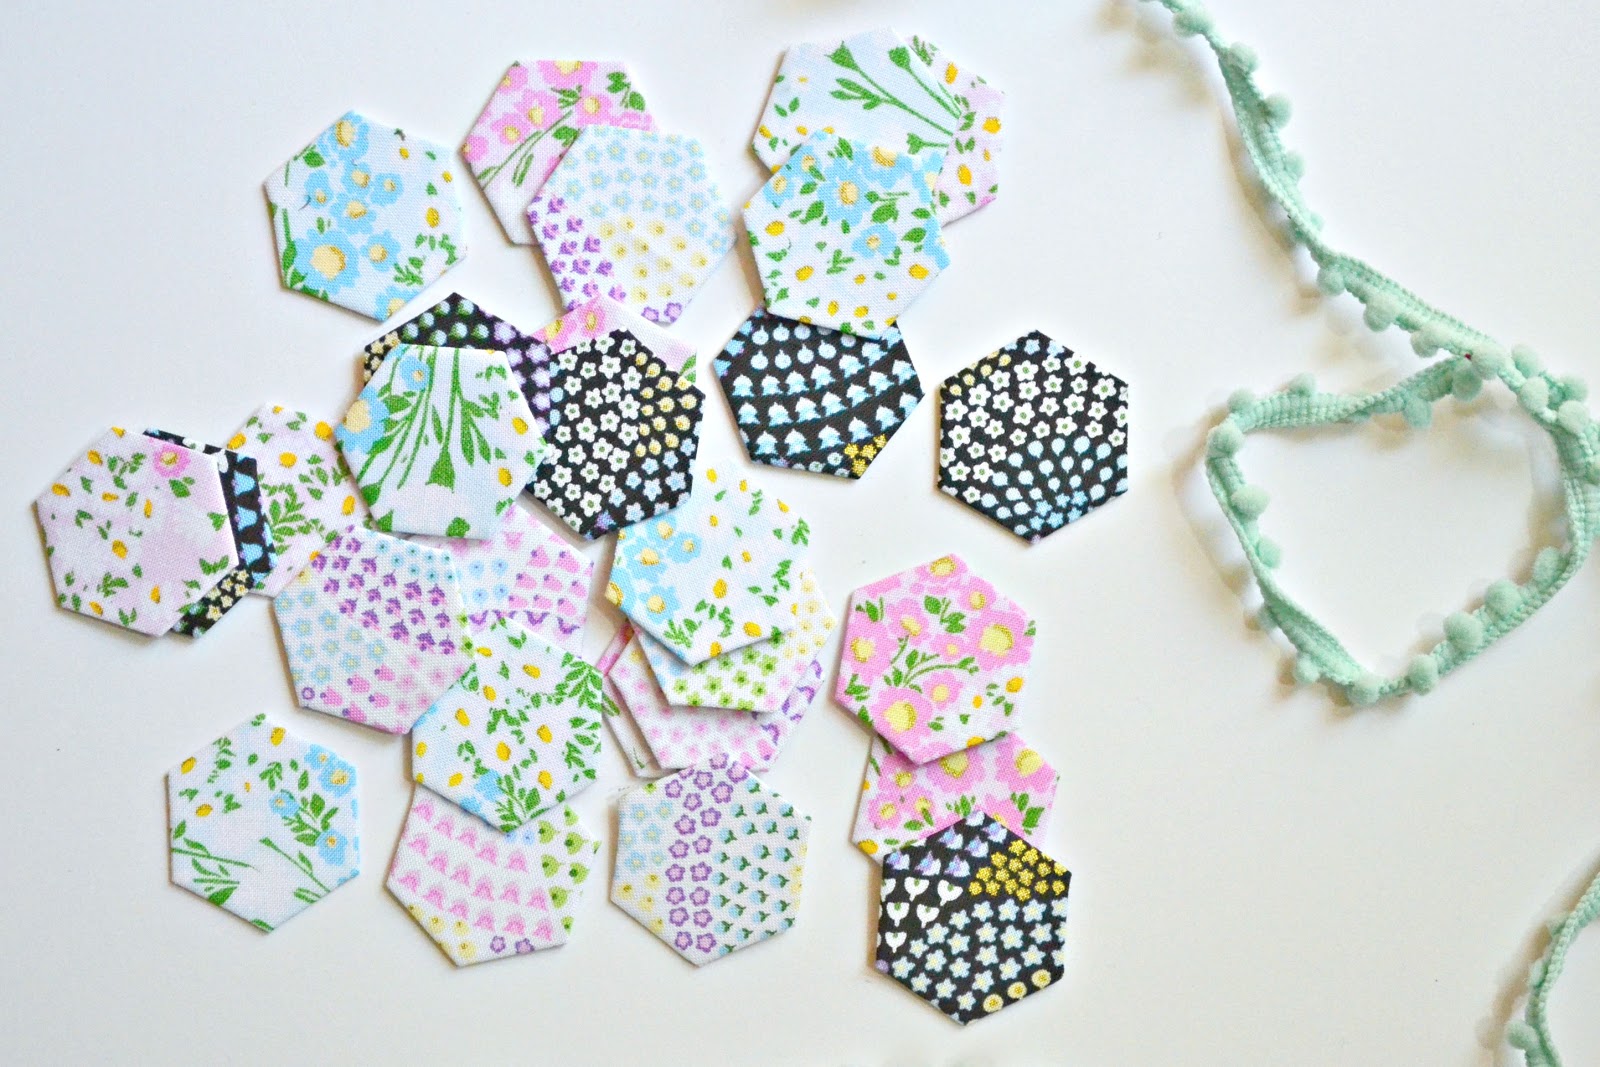
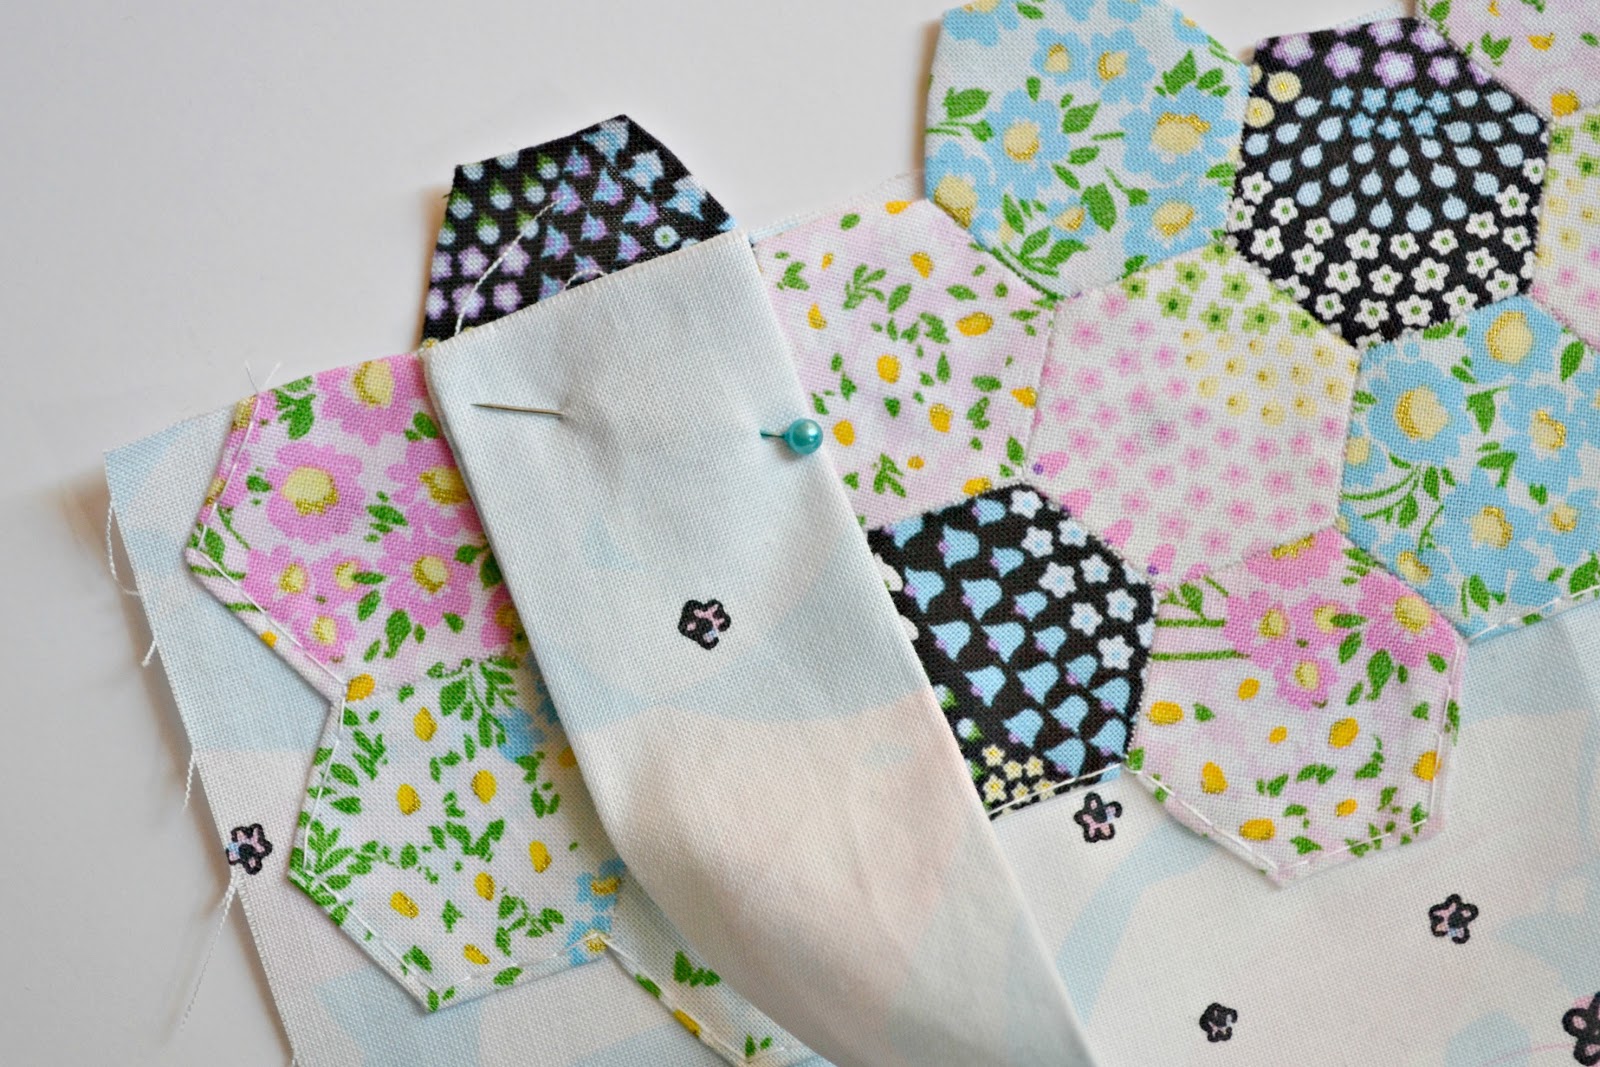
Using English Paper Piecing sew 11 rows of alternating 2/3 hexies together. Repeat to get 2 strips.
Once finished, remove paper pieces and iron your hexie strip really well, making sure all the edge pieces are folded under nicely.

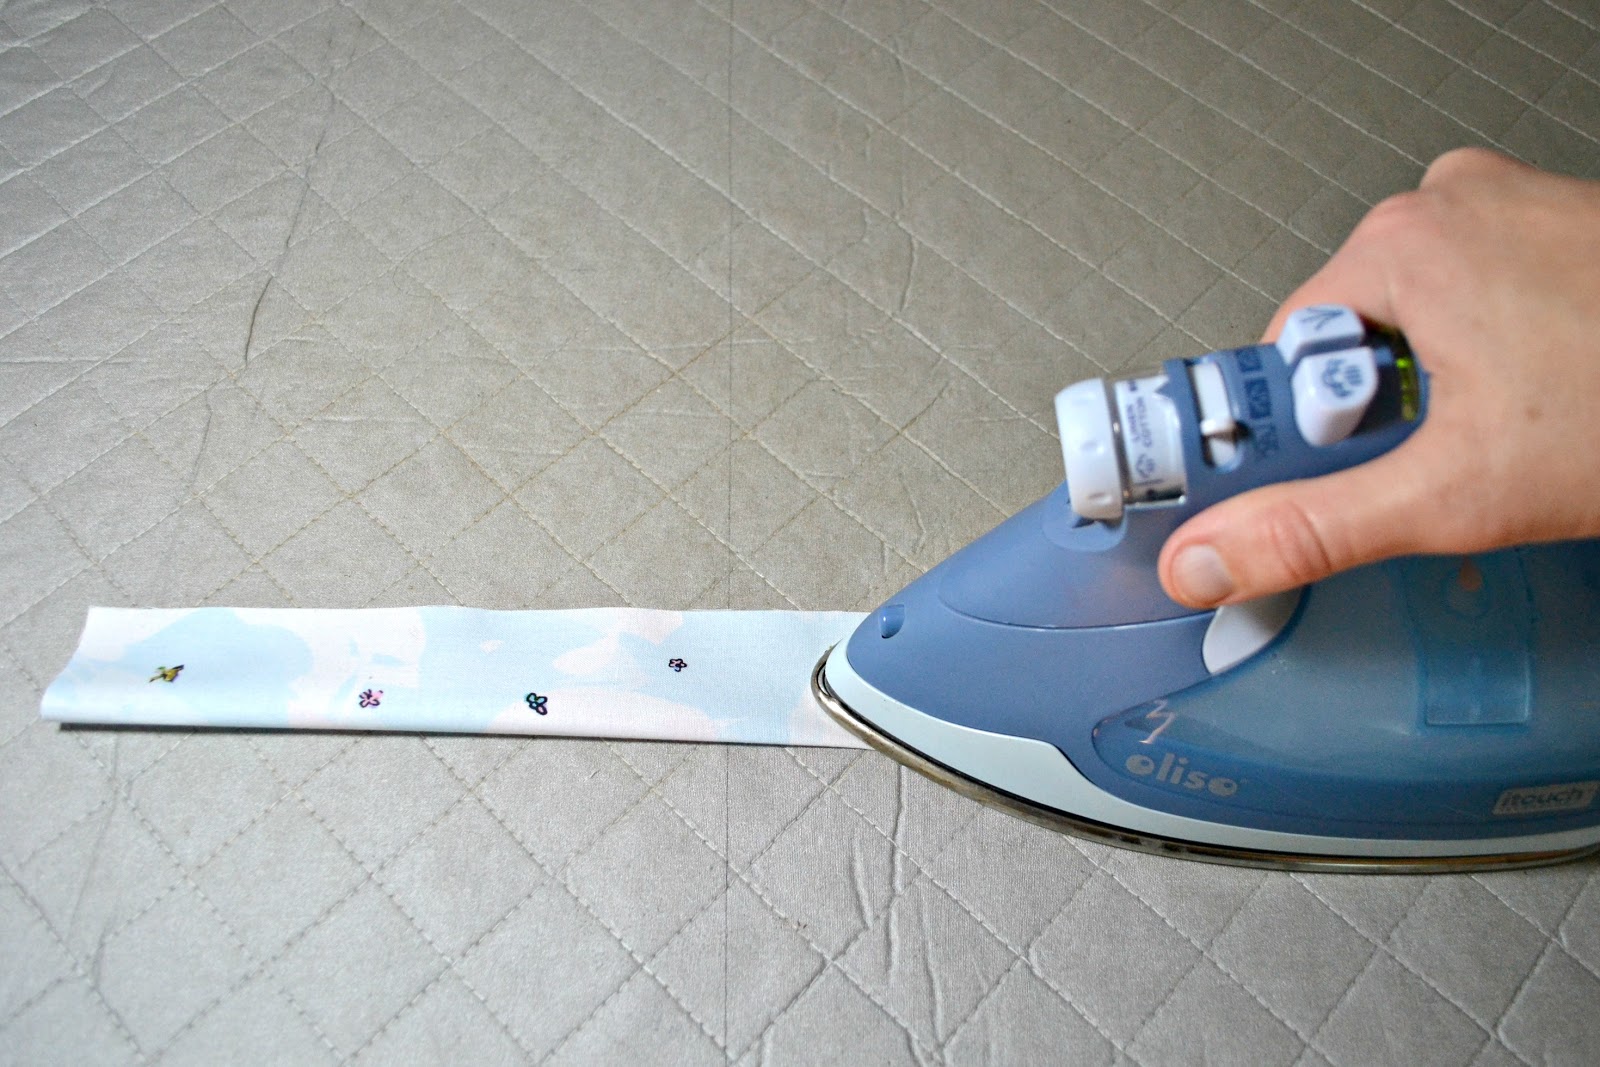
Fold the 3" by 16" strips in half length wise, wrong sides together. This helps to make sure you get an even strap once it's sewn up.
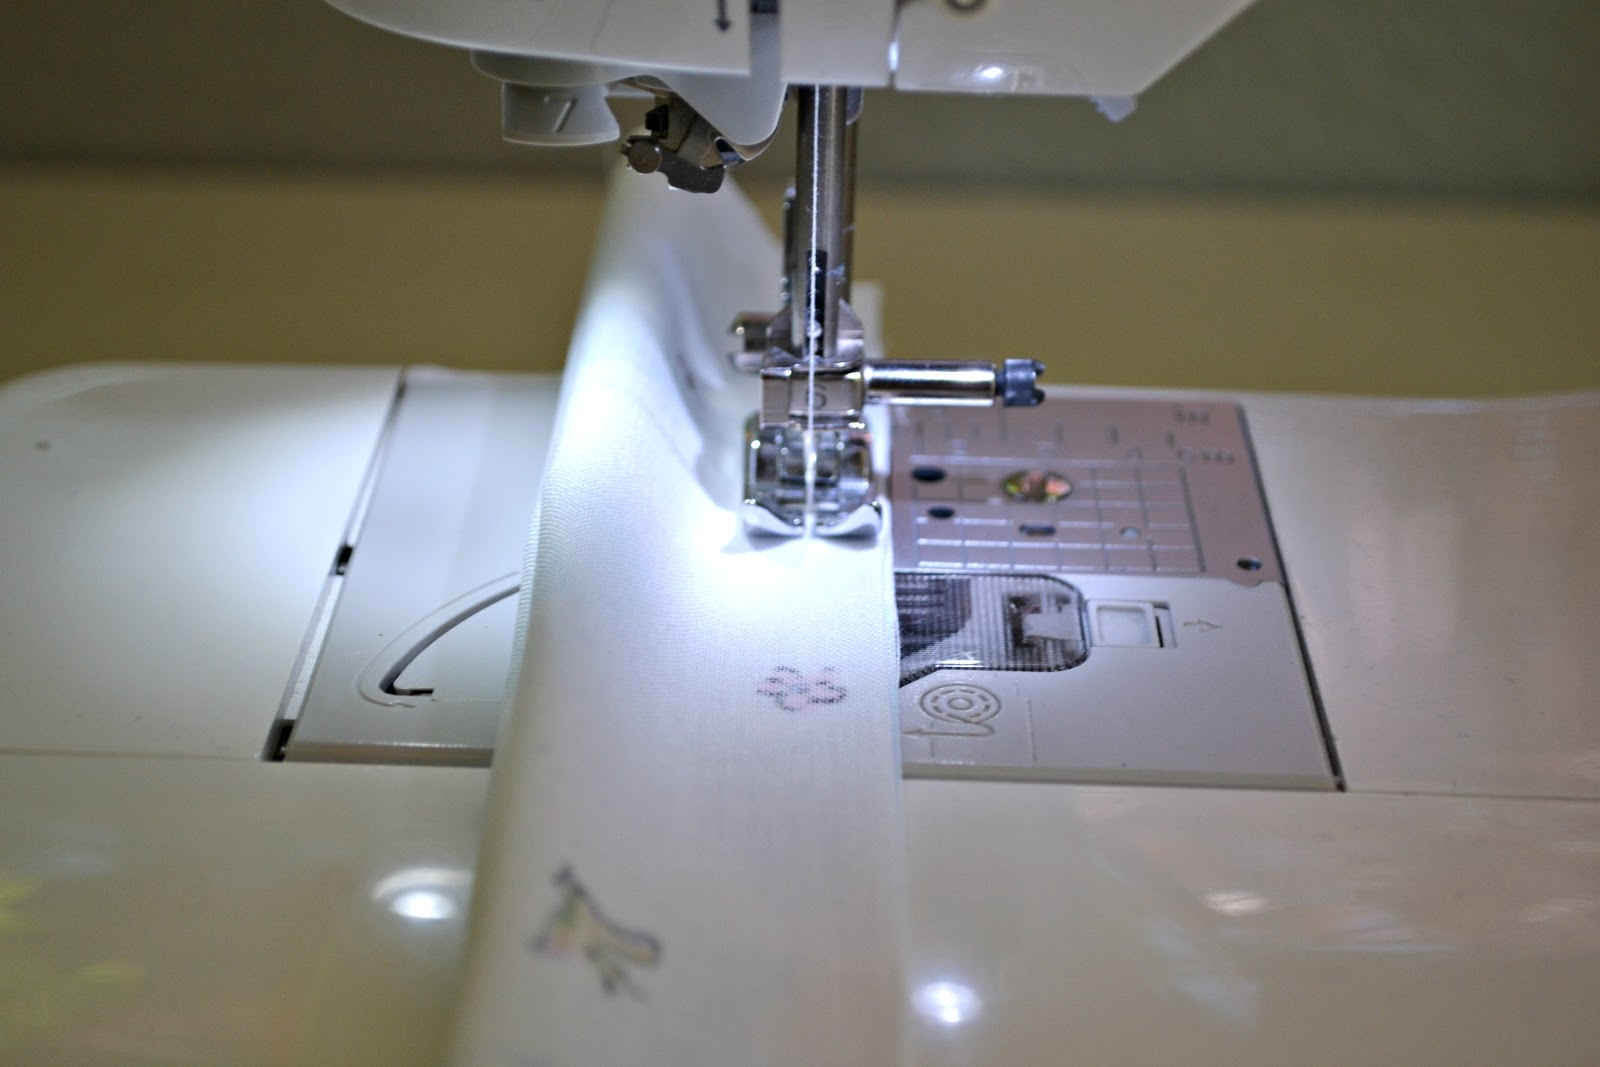
Fold in half right sides together and sew using a 3/8" seam allowance. Make sure to backstitch at the beginning and end.
Turn straps right side out and press well.
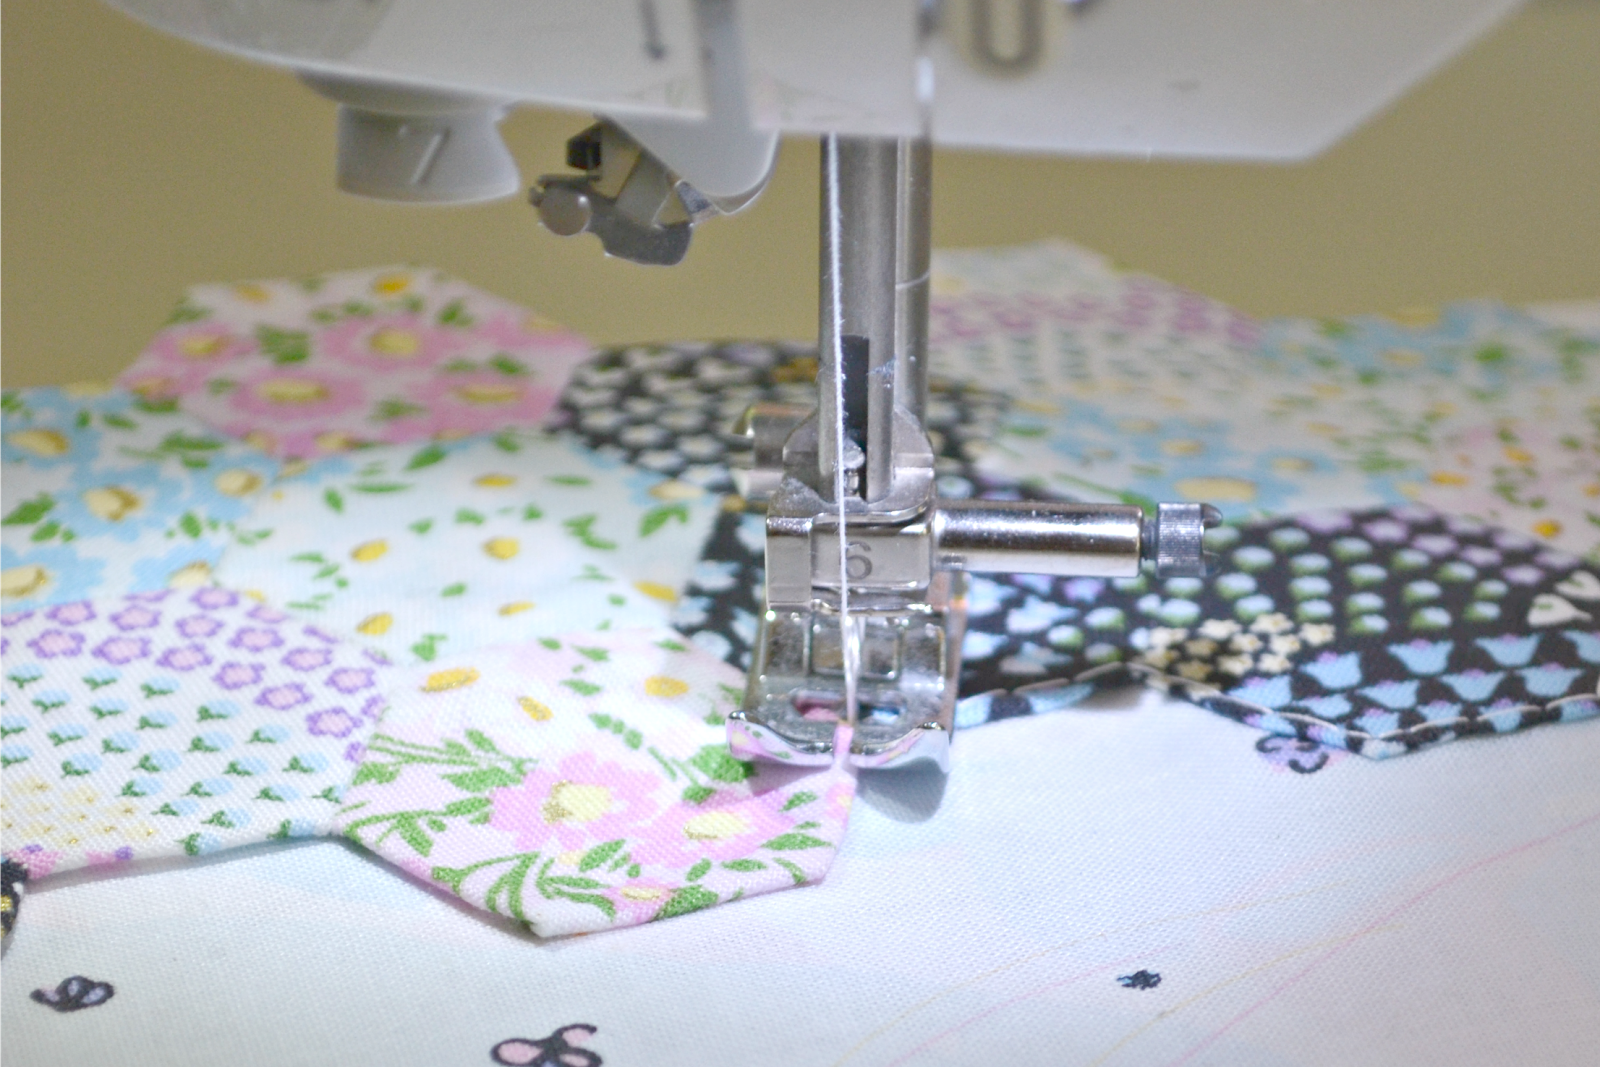
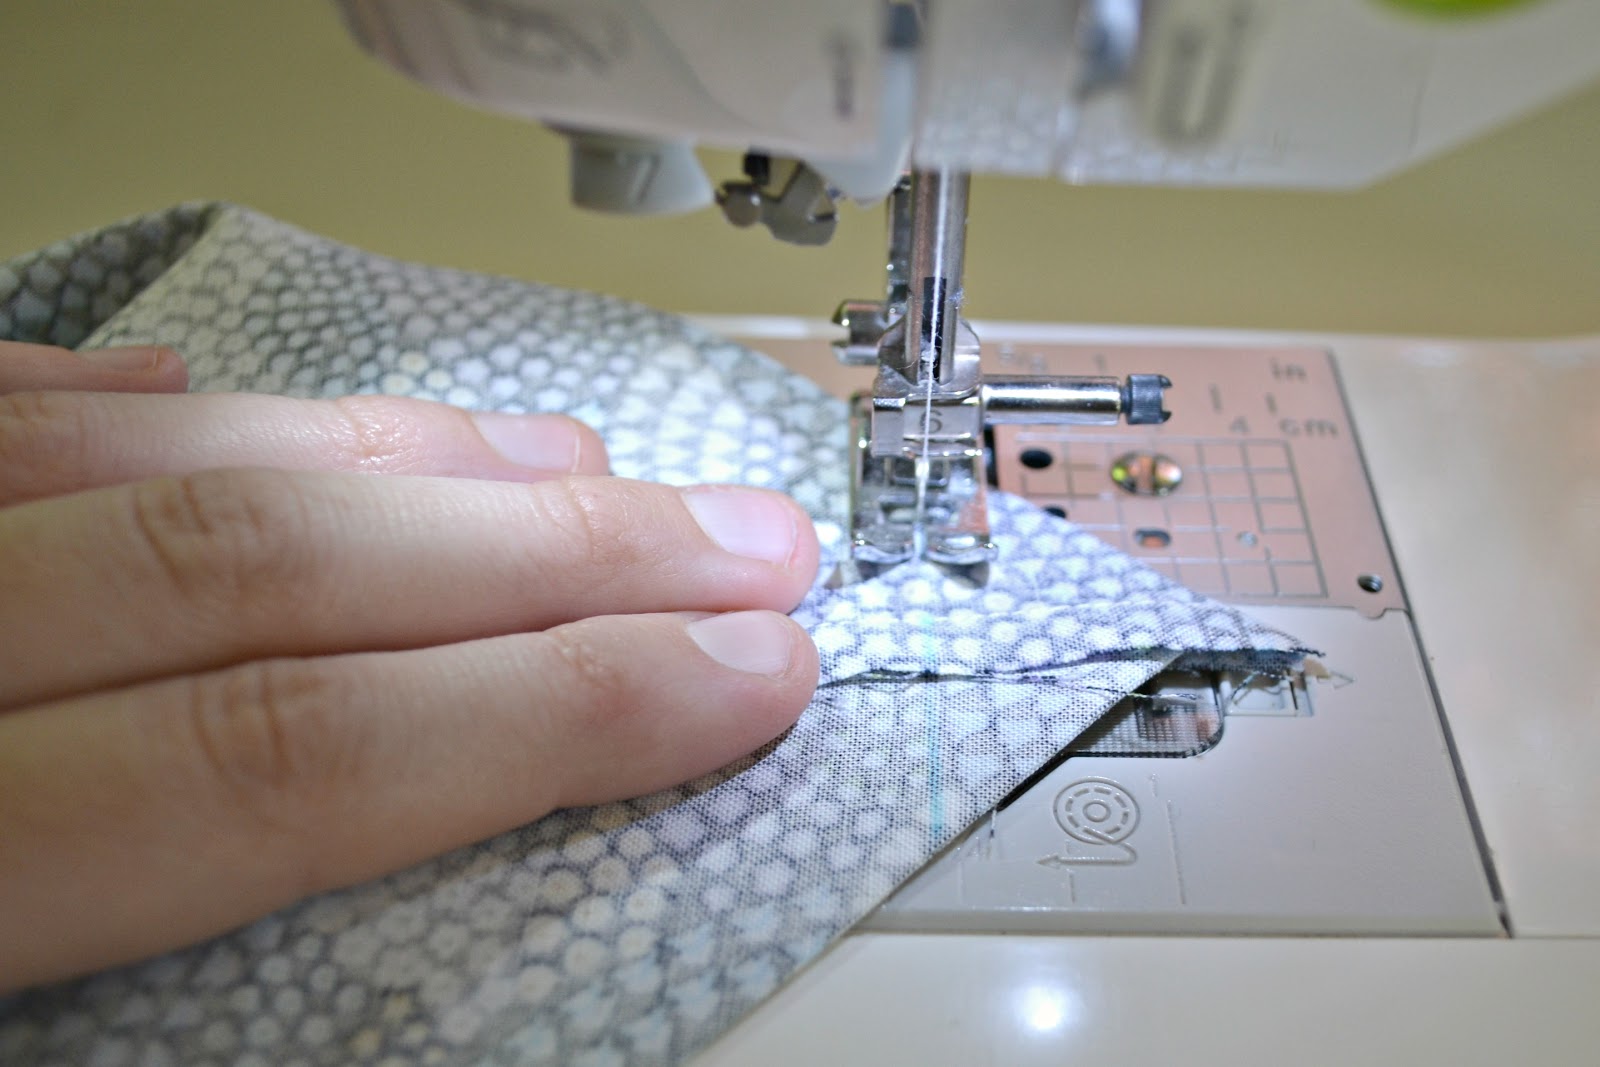
Align the Hexie strip along the top of one main piece. Use the glue stick to help glue it in place. Sew around the edges using a 1/8" seam allowance.
Repeat with the other side.
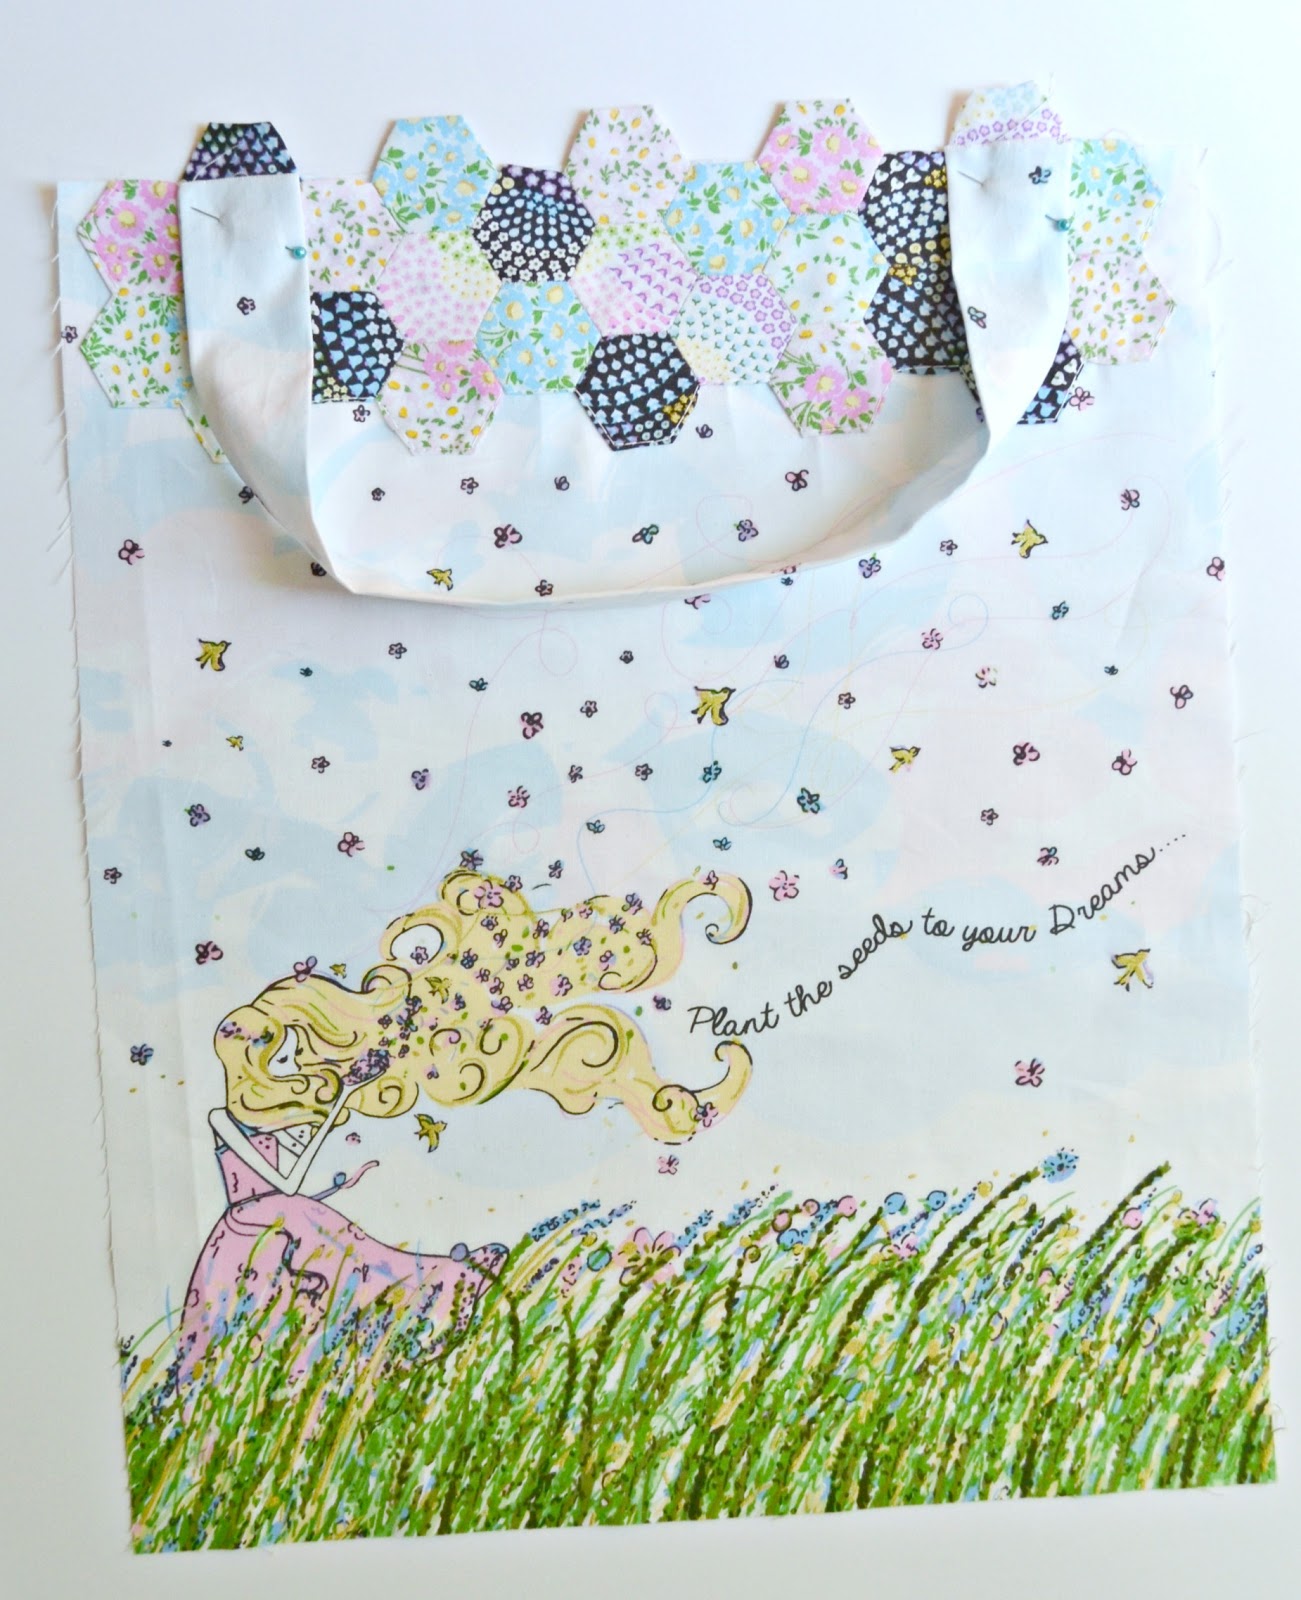
Pin straps 1.5" from each edge, making sure the strap isn't twisted.
Repeat with the other side.
Sew straps in place using a 1/4" seam allowance.
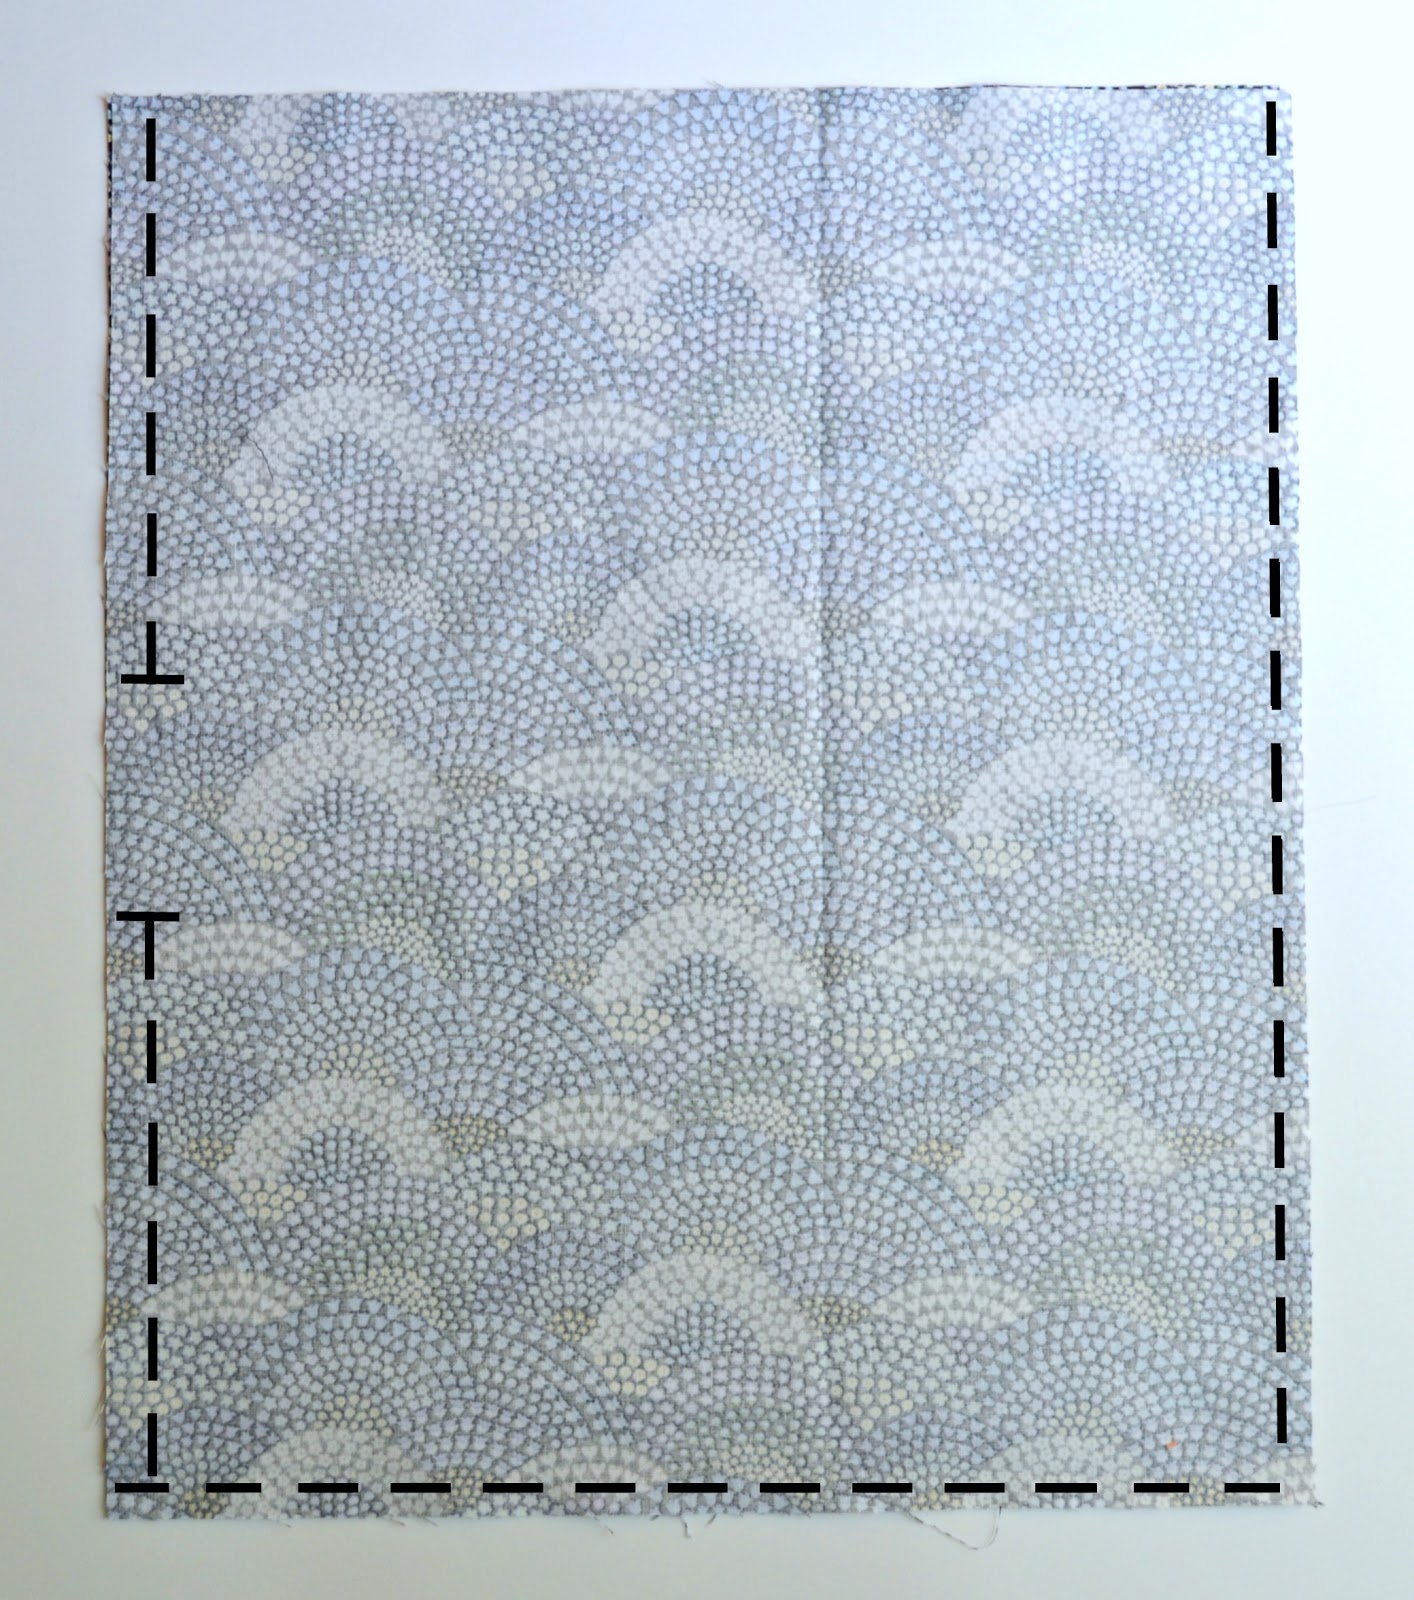
Place lining fabric right sides together. Start at the top and sew using a 3/8" seam allowance. Leave a 2.5" opening in the side to turn the bag right side out. You will be slip-stitching this closed at the very end.
Repeat with the main fabric, but don't leave a gap on that one.
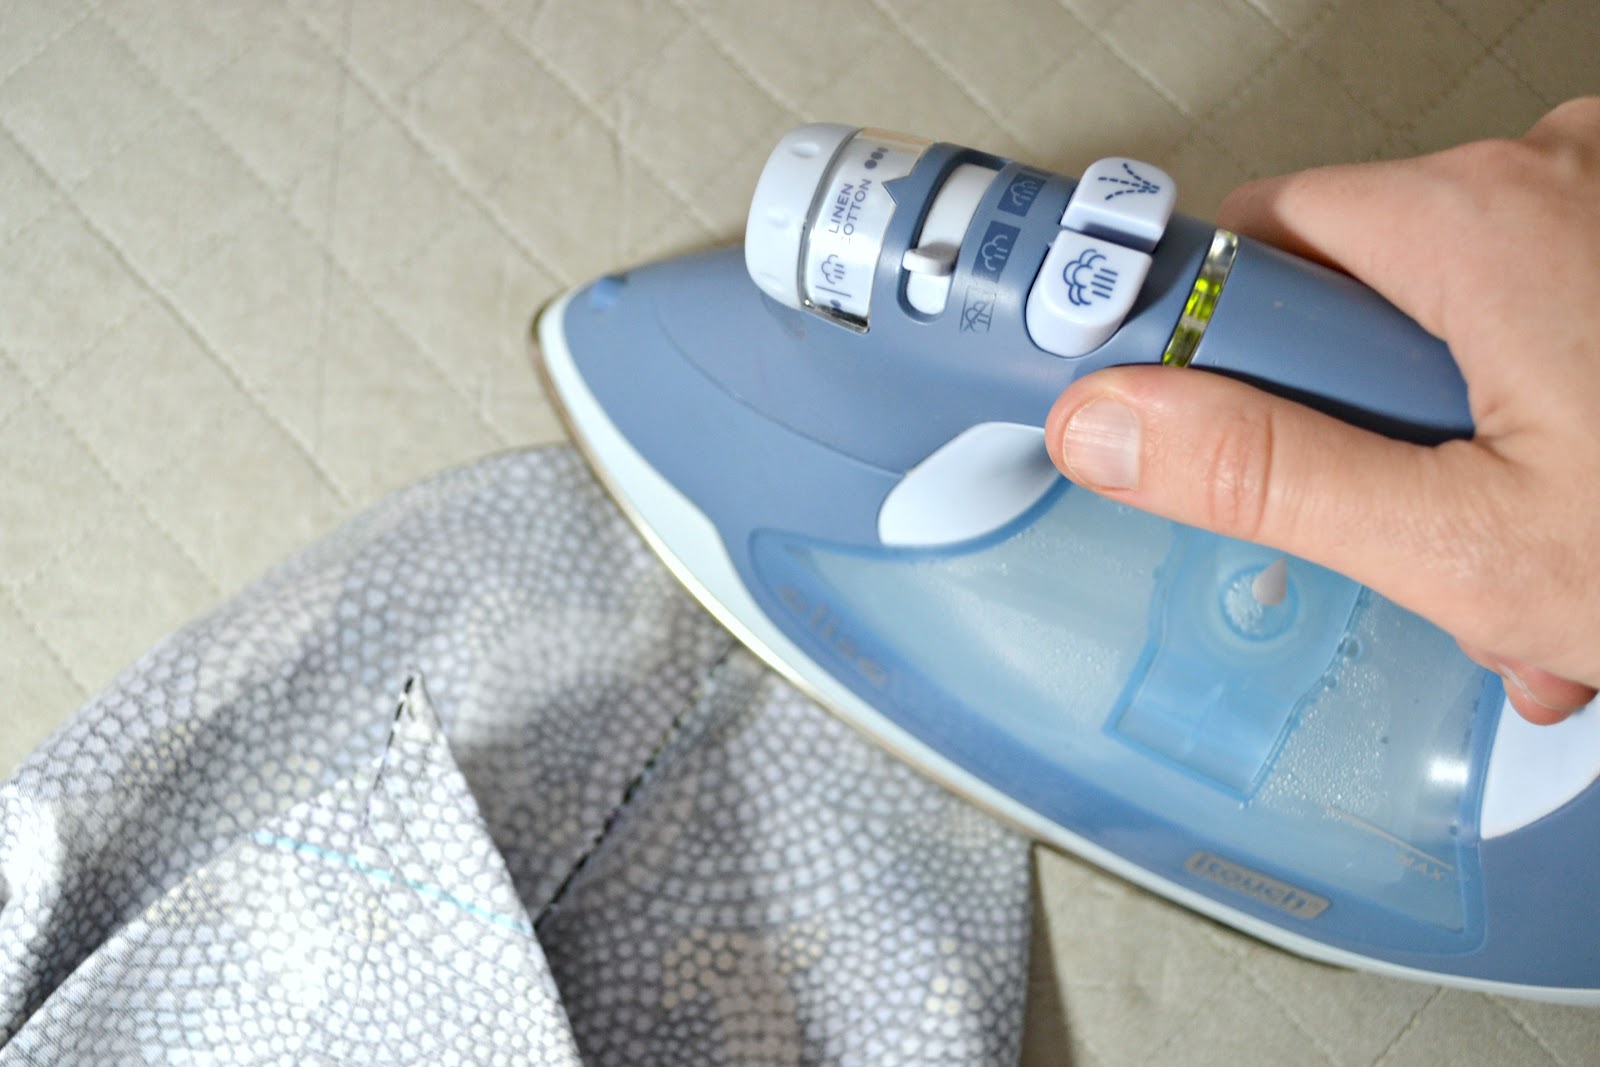
Pull the corners of the bag out and press them well to make boxed corners.
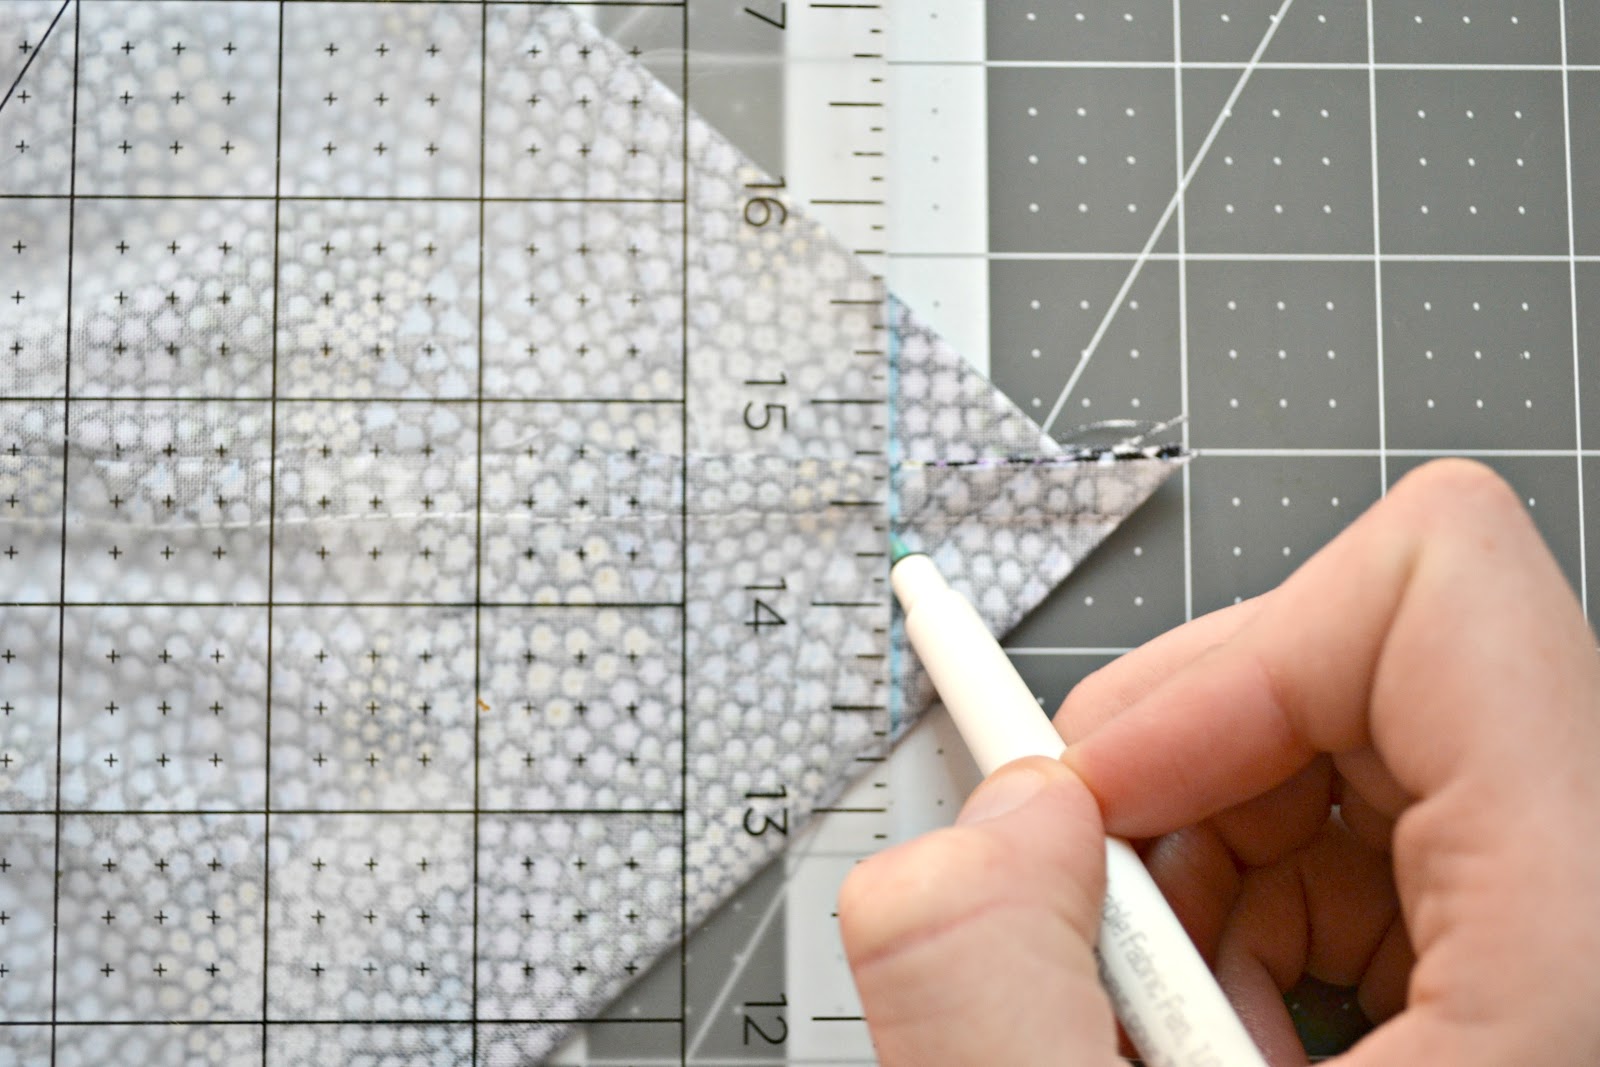
Mark 1.5" from the very tip.
Sew along the line, making sure to backstitch at the beginning and end. Repeat these steps with the main fabric.
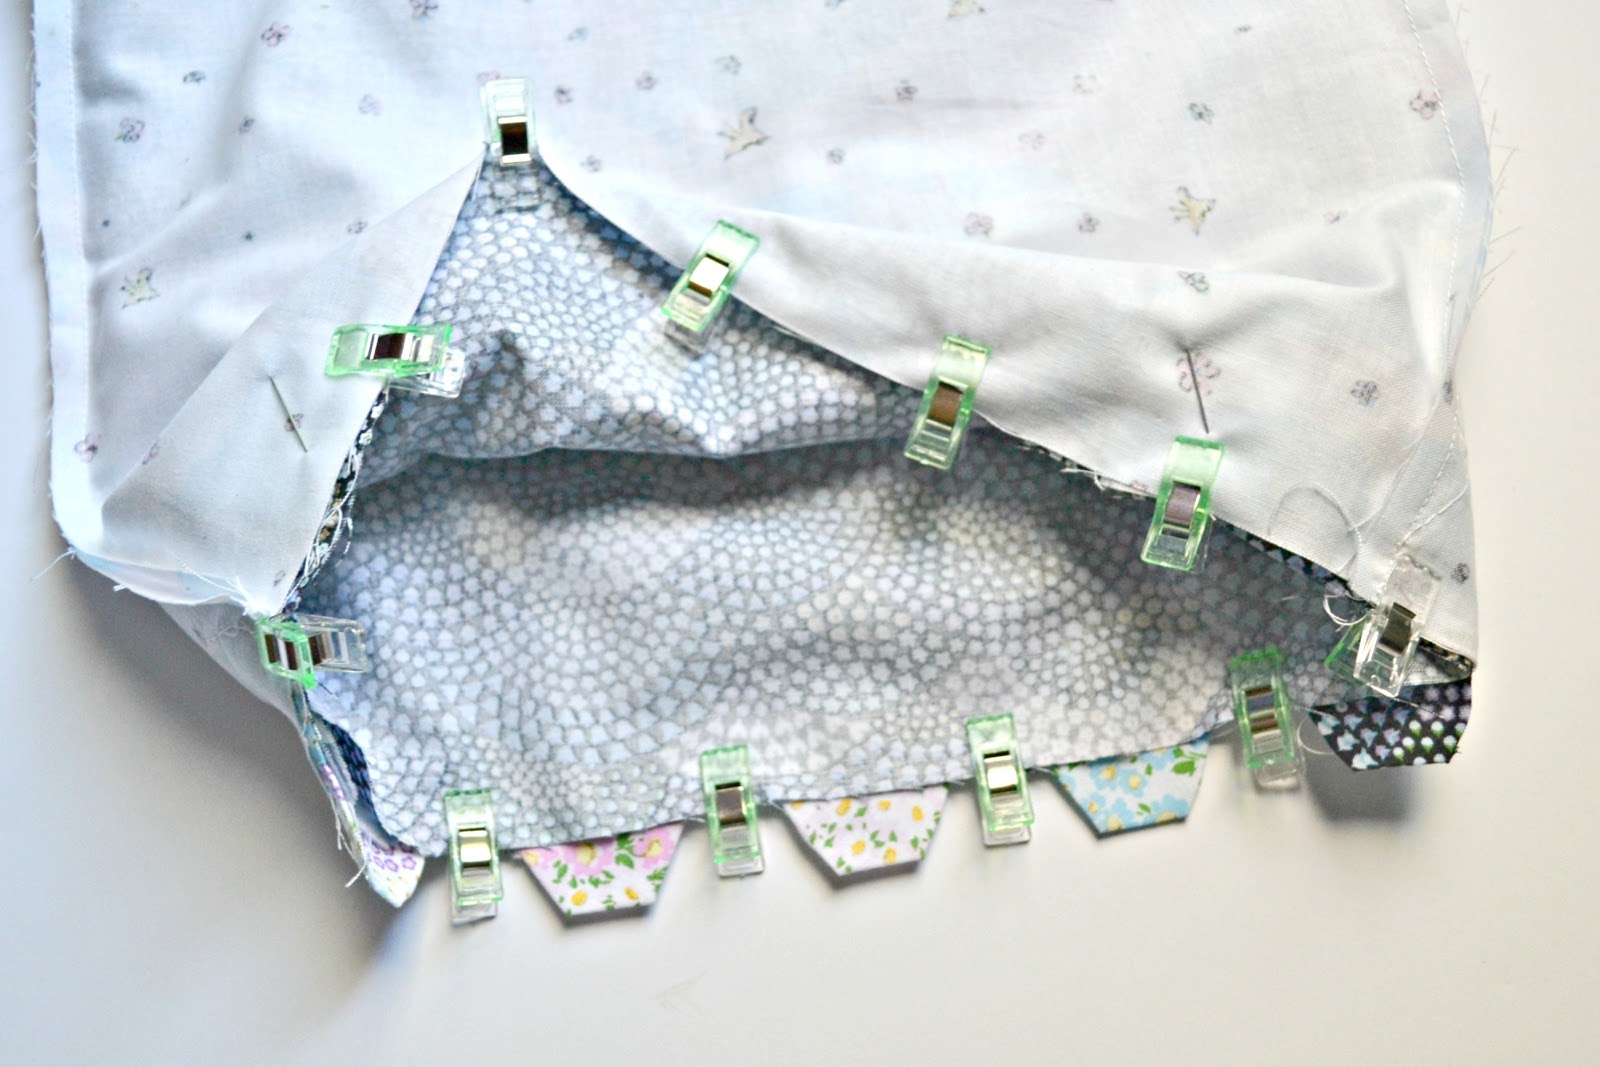
Once you have both the main and lining complete, turn the lining right side out and place into your main bag, lining up the side seams.
Use clips or pins to hold in place, and sew all around the top using a 3/8" seam allowance and making sure to backstitch at the end.
Trim your hexies.
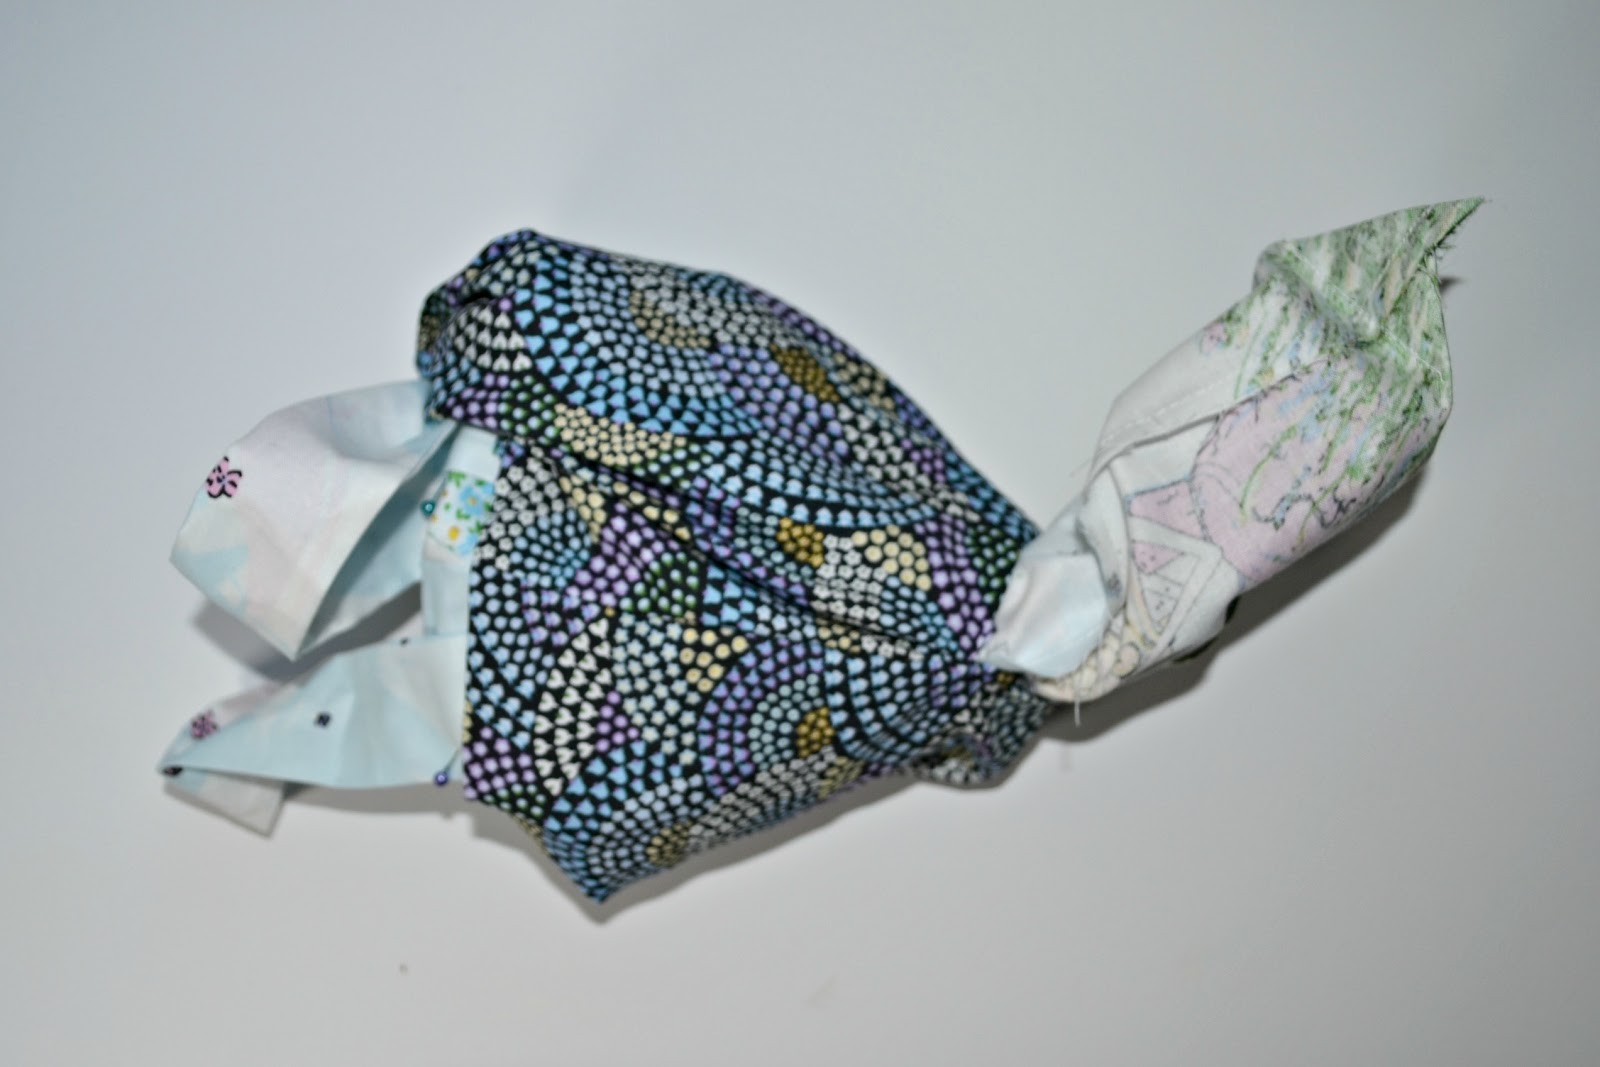
Pull bag right side out, press extremely well and then slip-stitch the opening in the lining closed, and viola!
Your book bag is complete!
Any good books you'll be reading this summer?


No comments:
Post a Comment
Shout outs are ALWAYS welcome! I LOVE comments!!